20
GB
4.
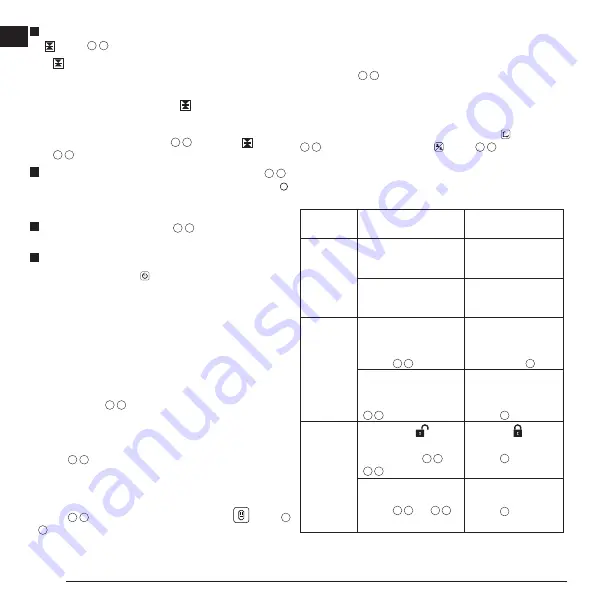
On the top of the display window, view the
Accuracy Mode
icon
(Figure
F
8
).
• indicates that the detector will give an “on grade” reading
only when the laser beam is on grade or no more than 1mm
(1/25") above or below it.
• To change the Accuracy Mode to to have the detector
give an “on grade” reading when the laser beam is on grade
or approximately 3mm (1/8") above or below it, press the
Accuracy Mode button (Figure
F
3
) once. Then (Figure
F
9
) appears on the display window.
5.
Position the detector so that the detector window (Figure
F
14
)
is facing the laser beam produced by the rotary laser (Figure
G
).
Move the detector up or down within the approximate area of the
beam, until you have centered the detector.
6.
Use the marking notches (Figure
F
7
) to accurately mark the
position of the laser beam.
7.
To turn the detector off.
• On the detector, press for 3 seconds.
• If a rotary laser beam does not strike the detector's beam
detection window, or if no detector buttons are pressed, within
30 minutes, the detector will shut itself off.
Controlling the Laser Remotely
You can control the laser unit remotely in either of these 3 ways:
• From up to 15m away
, you can use the remote to control the
laser unit (Figure
I
1
). IR sensors will maintain communication
between the remote and the laser unit.
• From up to 30m away
, you can use the D
E
WALT
®
Tool Connect™
Application on your Bluetooth® device to connect to the laser unit
(Figure
I
2
).
• From up to 335m away
, you can control the laser unit by using
the D
E
WALT
®
Tool Connect™ Application on your Bluetooth®
device to connect to the detector that is connected to the laser unit
(Figure
I
3
). You must press the Detector button
(Figure
A
6
) on the laser in order to connect the detector to the laser unit.
Controlling the Laser from up to 15m Away
The DCE080RS/GS remote control allows you to operate and set
up the laser from up to 15m away. The LED light on the remote
control (Figure
B
1
) indicates a signal is being transmitted from the
DCE080RS/GS laser unit.
You can use all the buttons on the remote's keypad to control the
laser unit. To completely power OFF a DCE080RS/GS laser unit
using the Remote keypad, press the X-Y axis button (Figure
B
5
) and the
Slope Mode
button (Figure
B
2
) simultaneously.
By default, the laser unit is
not paired
to a remote (the laser unit is
in
Public
mode). LEDs on the laser unit and the remote will indicate
that they are
not
paired.
UNLOCKED
in Public Mode
LOCKED
in Private Mode
Description
A laser is in Public Mode
if it is
not paired
with a
remote.
A laser is in Private
Mode if it
is paired
with a remote.
A remote is in Public
Mode if it is
not paired
with a laser.
A remote is in Private
Mode if it
is paired
with a laser.
Control
A Public laser can be
controlled by more
than one Public remote
(Figure
K
1
).
A Private laser can only
be controlled by the
remote to which it is
paired (Figure
L
).
A Public remote can
control more than one
Public laser (Figure
K
2
).
A Private remote can
only control the laser
to which it is paired
(Figure
L
).
LEDs
The unlocked LED
will be lit on the laser
keypad (Figure
K
1
and
K
2
).
The locked LED
on the laser will be lit
(Figure
L
).
The locked LED on the
remote will NOT be lit
(Figure
K
1
and
K
2
).
The locked LED on
the remote WILL be lit
(Figure
L
).
Summary of Contents for DCE080GS
Page 2: ...Figures 2 8 A B C 10 11 12 13 14 15 16 17 18 19 1 2 6 7 4 3 5 7 6 4 3 2 5 1 8 9 ...
Page 3: ...3 3V CR2430 D DEWALT 18V 2Ah USB F E 5 7 6 6 8 DW0743GS 3 1 4 2 9 10 13 11 12 7 7 14 ...
Page 4: ...Figures 4 4 5 6 4 DW0743GS 5 8 11 1 2 3 G H 1 2 5 8 11 I 1 2 3 2 ...
Page 5: ...5 GB I DW0743GS 15m 30m 305m 30m 1 2 3 ...
Page 6: ...Figures 6 K 1 2 ...
Page 7: ...7 L ...
Page 8: ...Figures 8 L X AA BB L X A B M ...
Page 9: ...9 L Y A B L Y AA BB N ...
Page 10: ...Figures 10 O P ...


