background image

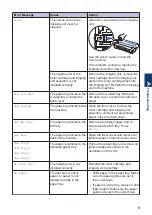
Error Message

Cause

Action

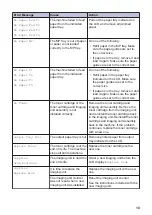
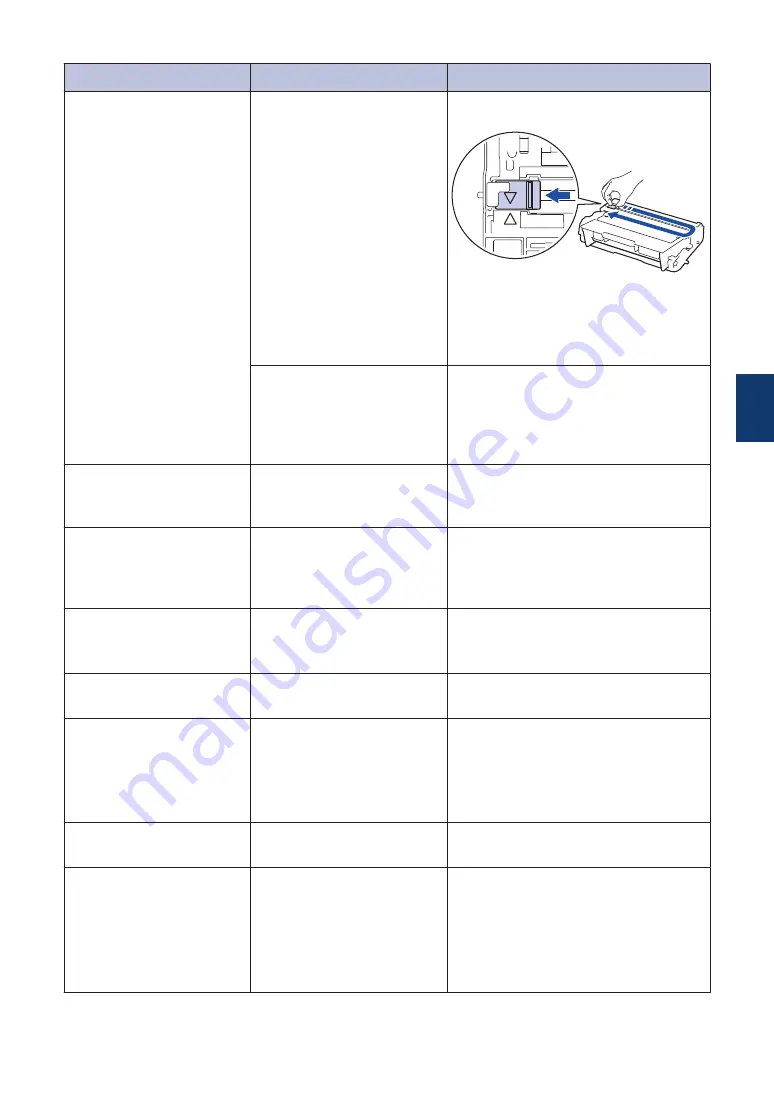
Drum !

The corona wire on the
imaging unit must be
cleaned.

Clean the corona wire on the imaging
unit.

See the 

User's Guide

Clean the

Corona Wire

.

If the problem continues, replace the
imaging unit with a new one.

The imaging unit or the
toner cartridge and imaging
unit assembly is not
installed correctly.

Remove the imaging unit, remove the
toner cartridge from the imaging unit,
and put the toner cartridge back into
the imaging unit. Reinstall the imaging
unit in the machine.

Jam 2-sided

The paper is jammed in the
2-sided tray or inside the
back cover.

Remove the 2-sided tray and open
the back cover to pull out all jammed
paper.

Jam Inside

The paper is jammed inside
the machine.

Open the front cover, remove the
toner cartridge and imaging unit
assembly, and pull out all jammed
paper. Close the front cover.

Jam MP Tray

The paper is jammed in the
MP tray.

Remove all jammed paper from in
and around the MP tray. Press

Retry

.

Jam Rear

The paper is jammed in the
back of the machine.

Open the fuser cover and remove all
jammed paper. Close the fuser cover.

Jam Tray1

Jam Tray2

Jam Tray3

Jam Tray4

The paper is jammed in the
indicated paper tray.

Pull out the paper tray and remove all
jammed paper as shown in the
animation on the LCD.

No Drum Unit

The imaging unit is not
installed correctly.

Reinstall the toner cartridge and
imaging unit assembly.

No Paper

The machine is out of
paper, or paper is not
loaded correctly in the
paper tray.

• Refill paper in the paper tray. Make

sure the paper guides are set to
the correct size.

• If paper is in the tray, remove it and

load it again. Make sure the paper
guides are set to the correct size.

A

Troubleshooting

9

Summary of Contents for ineo 5000i

Page 1: ...Dynamic balance ineo 5000i www develop eu Quick Guide ...

Page 2: ...ivers and software for the operating system and connection type you are using Quick Guide Learn the basic operations and basic machine maintenance See troubleshooting tips User s Guide This guide includes the additional contents of the Quick Guide In addition to information about the Print operations useful information is included about using the machine on a network Google Cloud Print Guide This ...

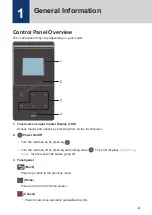
Page 3: ... on the touchscreen 2 Power On Off Turn the machine on by pressing Turn the machine off by pressing and holding down The LCD displays Shutting Down for a few seconds before going off 3 Touchpanel Back Press to go back to the previous menu Home Press to return to the Home screen Cancel Press to cancel an operation available when lit 1 General Information 2 ...

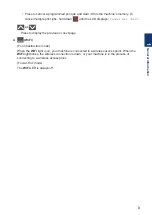
Page 4: ...s or Press to display the previous or next page 4 WiFi For infrastructure mode When the WiFi light is on your machine is connected to a wireless access point When the WiFi light blinks the wireless connection is down or your machine is in the process of connecting to a wireless access point For Ad Hoc mode The WiFi LED is always off 1 General Information 3 ...

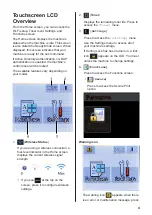
Page 5: ...s Status If you are using a wireless connection a four level indicator in the Home screen displays the current wireless signal strength 0 Max If you see at the top on the screen press it to configure wireless settings 2 Toner Displays the remaining toner life Press to access the Toner menu 3 Settings Press to access the Settings menu Use the Settings menu to access all of your machine s settings I...

Page 6: ...to view it and then press to return to Ready Mode 1 General Information 5 ...

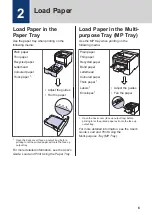
Page 7: ...ation see the User s Guide Load and Print Using the Paper Tray Load Paper in the Multi purpose Tray MP Tray Use the MP tray when printing on the following media Plain paper Thin paper Recycled paper Bond paper Letterhead Coloured paper Thick paper 1 Labels 1 Envelopes 1 Adjust the guides Fan the paper 1 Open the back cover face up output tray before printing to let the printed paper exit onto the ...

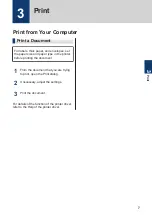
Page 8: ...ze and paper type in the printer before printing the document 1 From the document that you are trying to print open the Print dialog 2 If necessary adjust the settings 3 Print the document For details of the function of the printer driver refer to the Help of the printer driver 3 Print 3 Print 7 ...

Page 9: ... cables are securely connected to the machine and the computer Find the Error Find the Solution Using the LCD 1 Follow the messages on the LCD 2 See the instructions in the following table 3 If you cannot resolve the error see the User s Guide Error and Maintenance Messages The most common error and maintenance messages are shown in the table Error Message Cause Action Cartridge Error The toner ca...

Page 10: ... the toner cartridge and imaging unit assembly and pull out all jammed paper Close the front cover Jam MP Tray The paper is jammed in the MP tray Remove all jammed paper from in and around the MP tray Press Retry Jam Rear The paper is jammed in the back of the machine Open the fuser cover and remove all jammed paper Close the fuser cover Jam Tray1 Jam Tray2 Jam Tray3 Jam Tray4 The paper is jammed ...

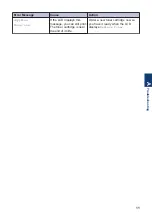
Page 11: ...orrect size No Toner The toner cartridge or the toner cartridge and imaging unit assembly is not installed correctly Remove the toner cartridge and imaging unit assembly Remove the toner cartridge from the imaging unit and reinstall the toner cartridge back in the imaging unit Reinstall the toner cartridge and imaging unit assembly back in the machine If the problem continues replace the toner car...

Page 12: ...Supplies Toner Low If the LCD displays this message you can still print The toner cartridge is near the end of its life Order a new toner cartridge now so you have it ready when the LCD displays Replace Toner A Troubleshooting 11 ...

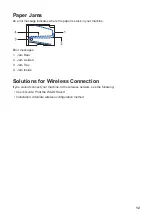
Page 13: ...ine 1 2 3 4 Error messages 1 Jam Rear 2 Jam 2 sided 3 Jam Tray 4 Jam Inside Solutions for Wireless Connection If you cannot connect your machine to the wireless network see the following User s Guide Print the WLAN Report Installation Alternate wireless configuration method 12 ...

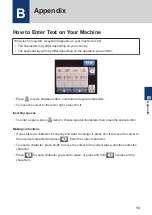
Page 14: ...right press d or c Inserting spaces To enter a space press twice to choose special characters then press the space button Making corrections If you entered a character incorrectly and want to change it press d or c to move the cursor to the incorrect character and press Enter the correct character To insert a character press d or c to move the cursor to the correct place and then enter the charact...

Page 15: ...www develop eu ...

Reviews: