TB-6534
Page 4 of 8
Revision 4/06
© 2006 DESCO INDUSTRIES INC.
Employee Owned
B A L 1
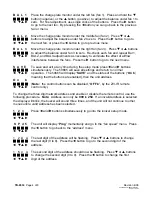
Place the charge plate monitor under the left fan (fan 1). Press and hold the
T
J
J
J
J
button (negative), or the
S
button, (positive), to adjust the balance under fan 1 to
W
T
S
X
zero. For finer adjustment, use single clicks of the buttons. Press the
X
button
to go to the next fan. By pressing the
W
button you can go back to the previous
fan or menu.
B A L 2
Move the charge plate monitor under the middle fan (fan 2). Press
T
or
S
J
J
J
J
buttons to adjust the balance under fan 2 to zero. Press the
X
button to go to
W
T
S
X
the next fan, or press the
W
button to go to previous menu.
B A L 3
Move the charge plate monitor under the right fan (fan 3). Press
T
or
S
buttons
J
J
J
J
to adjust the balance under fan 3 to zero. Re-check each fan and repeat Bal 1,
W
T
S
X
BAL2, and BAL3 adjustments as necessary to eliminate the effect of airflow
interference between the fans. Press the
X
button to go to the next menu.
S A V E
To save and exit at any time during the setup mode press
W
and
X
buttons
J
J
J
J
simultaneously. The 50665 will save all settings and return to normal
W
T
S
X
operation. The 50665 will display “
SAVE
” and the status of the buttons (“
On b,
”
meaning that the buttons are enabled), then the unit address.
O n b
J
J
J
J
(
Note:
the control buttons can be disabled, “
OFF b
”, by the ZVI-IR remote
W
T
S
X
control
only.)
To change the three digit network address and enable or disable the remote control, use the
following procedure.
Note:
Address can only be
000
to
254
. If an invalid address is selected
the display will blink, the buzzer will sound three times, and the unit will not continue to other
menus until a valid address has been selected.
1 2 3
Press
W
and
X
buttons simultaneously to go into the ionizer setup mode.
J
J
J
J
W
T
S
X
S P d 5
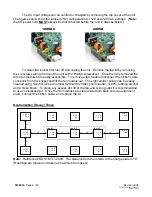
The unit will display “
Prog
” momentarily and go to the “fan speed” menu. Press
J
J
J
J
the
W
button to go back to the “address” menu.
W
T
S
X
1 2
4
A
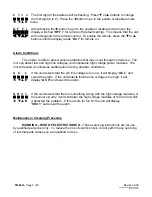
The last digit of the address will be flashing. Press
T
or
S
buttons to change
J
J
J
J
the last digit (0 to 9). Press the
W
button to go to the second digit of the
W
T
S
X
address.
1
5
4 A
The second digit of the address should now be flashing. Press
T
or
S
buttons
J
J
J
J
to change the second digit (0 to 9). Press the
W
button to change the first
W
T
S
X
digit of the address.


