MAINTENANCE
5-6
15 Jun 12
HyperPoolShaker
Installation (Cont’d)
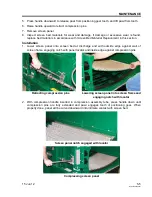
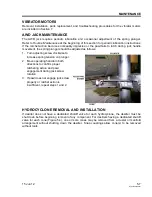
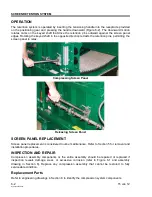
Fully installed panel. Note downward curve into intimate contact with screen bed
3. Repeat procedure for three remaining screen panels.
SCREEN BED MATERIAL REPLACEMENT
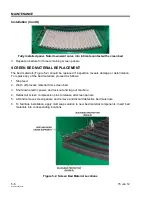
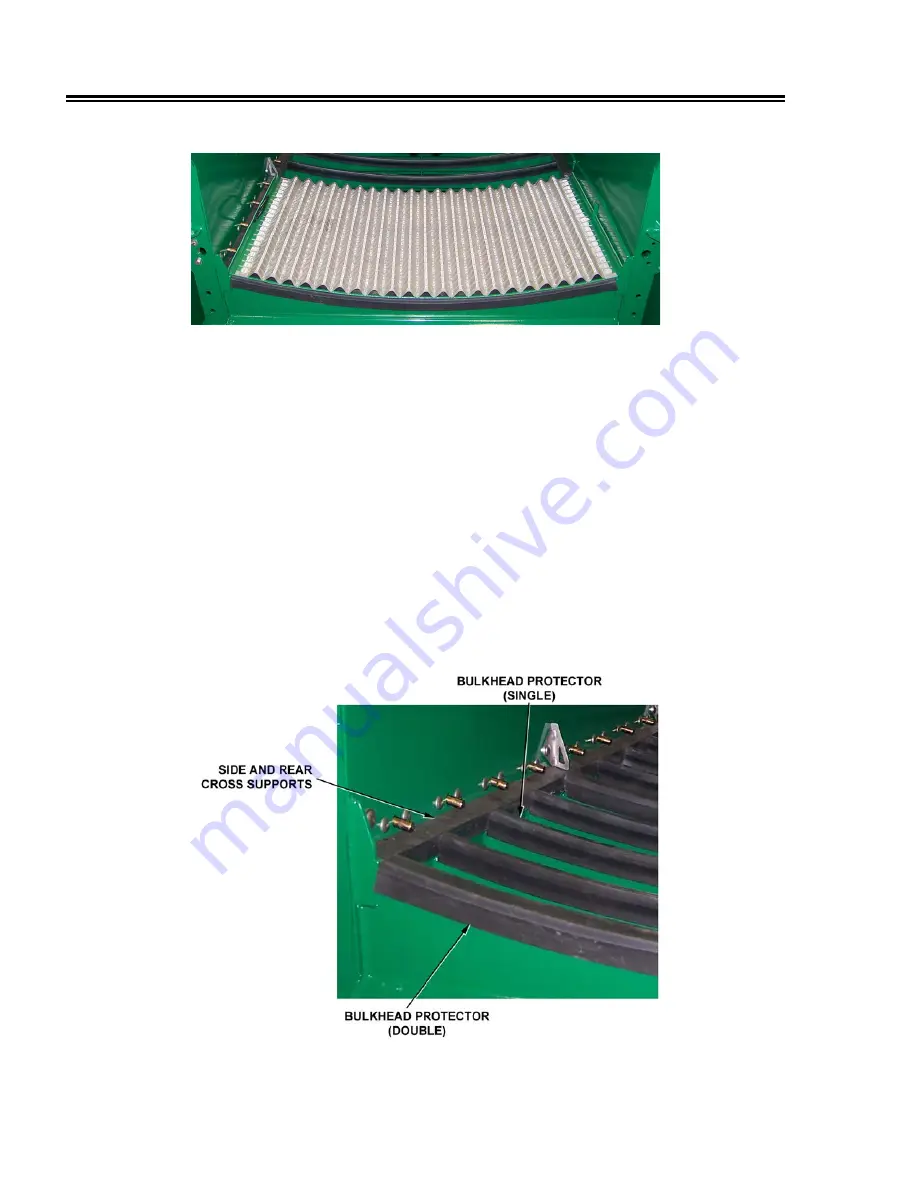
The bed materials (Figure 5-2) should be replaced if inspection reveals damage or deterioration.
To replace any of the bed materials, proceed as follows:
1. Stop feed.
2. Wash off process material from screen bed.
3. Shut down electric power, and lock out and tag out machine.
4. Retract all screen compression pins to release all screen panels.
5. Lift and remove screen panels, and remove and discard defective bed materials.
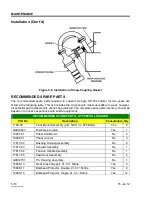
6. To facilitate installation, apply mild soap solution to new bed material components. Insert bed
materials into corresponding locations.
Figure 5-2. Screen Bed Material Locations
Summary of Contents for HYPERPOOL SHAKER
Page 2: ......
Page 8: ......
Page 16: ......
Page 20: ......
Page 34: ......
Page 44: ......
Page 56: ......
Page 84: ......
Page 86: ......
Page 87: ......
Page 88: ......
Page 90: ......
Page 91: ...DERRICK ...
Page 92: ......
Page 93: ......
Page 94: ......
Page 95: ......
Page 96: ......
Page 97: ......
Page 98: ......
Page 99: ......
Page 100: ......
Page 101: ......
Page 102: ......
Page 103: ......
Page 104: ......
Page 105: ......
Page 106: ......
Page 107: ......
Page 108: ......
Page 109: ......
Page 110: ......
Page 112: ......
Page 114: ...INSTALLATION MAINTENANCE LOG 9 2 15 Jun 12 HyperPoolShaker ...
Page 115: ...INSTALLATION AND MAINTENANCE LOG 15 Jun 12 9 3 HyperPoolShaker ...
Page 116: ...INSTALLATION MAINTENANCE LOG 9 4 15 Jun 12 HyperPoolShaker ...
Page 117: ...INSTALLATION AND MAINTENANCE LOG 15 Jun 12 9 5 HyperPoolShaker ...
Page 118: ...INSTALLATION MAINTENANCE LOG 9 6 15 Jun 12 HyperPoolShaker ...

