INSTALLATION
3-2
15 Jun 12
HyperPoolShaker
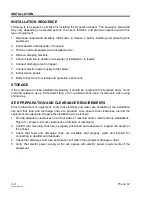
INSTALLATION SEQUENCE
Following is the sequence of steps for installing the HyperPool shaker. The sequence presented
may vary depending on selected options, the user’s facilities, and previous experience with this
type of equipment.
1. Read and understand all safety information in Section 2 before installing and operating this
equipment.
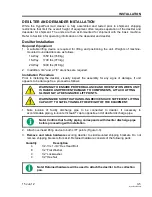
2. Install desilter and desander, if required.
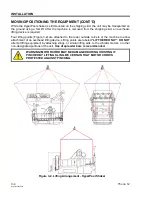
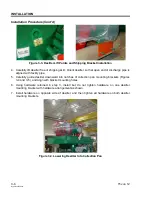
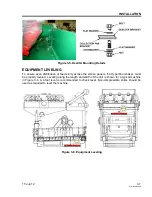
3. Position and level equipment at installation site.
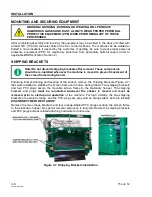
4. Remove shipping brackets.
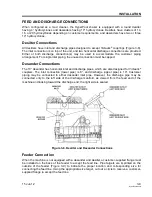
5. Connect feed line to desilter or desander (if installed) or to feeder.
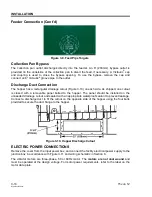
6. Connect discharge duct to hopper.
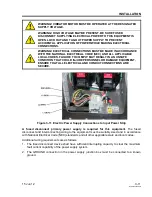
7. Connect electric power supply to the shaker.
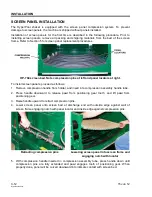
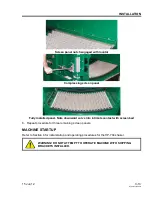
8. Install screen panels.
9. Refer to Section 4 for startup and operating instructions.
STORAGE
If the machine will not be installed immediately, it should be covered with a tarpaulin (tarp). If unit
is stored outdoors, use a UV-resistant tarp, or UV-resistant shrink-wrap. Install vents when using
shrink-wrap.
SITE PREPARATION AND CLEARANCE REQUIREMENTS
Prior to placement of equipment, verify that electricity and water are available at the installation
site and that feed and discharge lines are provided. Also ensure that clearances around the
equipment are adequate. Prepare the installation site as follows:
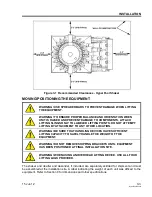
1. Provide adequate clearances on all four sides of machine and/or multi-machine installations.
Figure 3-1 shows minimum clearances on all sides of machine(s).
2. Confirm that mounting structure is properly positioned and adequate to support the weight of
the shaker.
3. Check that feed and discharge lines are available and properly sized and located for
connecting to desiliter and desander.
4. Check that discharge duct size and location will match the equipment drainage cutout.
5. Verify that electric power supply at the site agrees with electric power requirements of the
equipment.
Summary of Contents for HYPERPOOL SHAKER
Page 2: ......
Page 8: ......
Page 16: ......
Page 20: ......
Page 34: ......
Page 44: ......
Page 56: ......
Page 84: ......
Page 86: ......
Page 87: ......
Page 88: ......
Page 90: ......
Page 91: ...DERRICK ...
Page 92: ......
Page 93: ......
Page 94: ......
Page 95: ......
Page 96: ......
Page 97: ......
Page 98: ......
Page 99: ......
Page 100: ......
Page 101: ......
Page 102: ......
Page 103: ......
Page 104: ......
Page 105: ......
Page 106: ......
Page 107: ......
Page 108: ......
Page 109: ......
Page 110: ......
Page 112: ......
Page 114: ...INSTALLATION MAINTENANCE LOG 9 2 15 Jun 12 HyperPoolShaker ...
Page 115: ...INSTALLATION AND MAINTENANCE LOG 15 Jun 12 9 3 HyperPoolShaker ...
Page 116: ...INSTALLATION MAINTENANCE LOG 9 4 15 Jun 12 HyperPoolShaker ...
Page 117: ...INSTALLATION AND MAINTENANCE LOG 15 Jun 12 9 5 HyperPoolShaker ...
Page 118: ...INSTALLATION MAINTENANCE LOG 9 6 15 Jun 12 HyperPoolShaker ...


