Denon PRIME 4 Quick Start Manual Download Page 8

8

Beat Jump

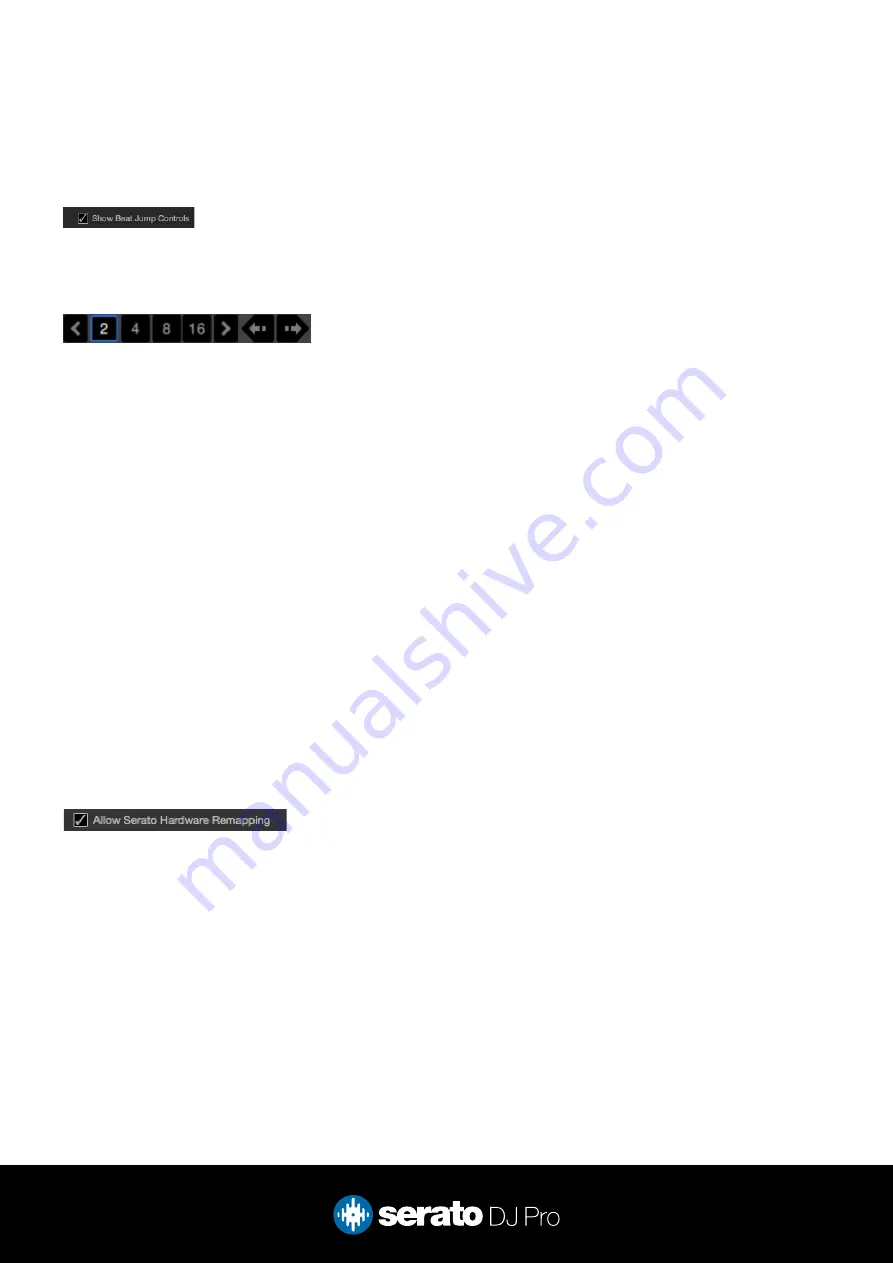
To activate Beat Jump, open the Setup screen and under the DJ preferences tab turn on “Show Beat Jump 
Controls”. 

When you close the Setup screen you will see Beat Jump controls underneath the existing Auto Loop values on 
each deck. Checking this box will turn on Beat Jump features in the deck area and let you control Beat Jump 
from on your supported Serato DJ Pro hardware.

 
When the Beat Jump option is enabled, the LOOP ROLL perfomance pad mode will use the bottom row of 4 
pads (pads 5-8) as Beat Jump controls. This is designed to mirror the change in deck Auto Loop area (from 8 
Auto Loop sizes to 4 Auto Loop sizes + Beat Jump controls).

MIDI

The MIDI feature in Serato DJ Pro provides the ability to remap Serato DJ Pro software functions to your 

primary Serato controller, interface or mixer. You can also assign controls to a secondary MIDI controller to 

further enhance your performance.

For more information on MIDI mapping with Serato DJ Pro click here


To remap your supported Serato device, open the SETUP screen and click the MIDI tab. If your Serato 

device supports hardware remapping, it will show up in the MIDI Devices list at the top. 


Select your connected device from the MIDI Devices list and make sure the “Allow Serato Hardware 

Remapping” option is checked. 


Once checked, the MIDI assign button at the top of the screen will become available for you to start 

remapping. 


You can save, edit or delete MIDI presets in the MIDI tab of the SETUP screen. Clicking ‘Restore Defaults’ 

will erase any custom mappings for all connected devices and revert their functions back to default.

Summary of Contents for PRIME 4

Page 1: ...1 Quick Start Guide Denon DJ Prime 4...

Page 2: ...to your comptuer via the USB ports and then tap the computer icon that appears on the Prime 4 display 4 5 6 7 8 9 1011 12 13 14 3 2 1 Overview PRIME 4 CONTROL FUNCTION 1 POWER BUTTON Turn device on 2...

Page 3: ...FF Adjust headphone level mix 8 CHANNEL TRIM EQ Channel Trim EQ controls 9 LOOP CONTROLS SEE LOOP CONTROLS SECTION FOR MORE INFORMATION 10 FX 2 SECTION SEE FX SECTION FOR MORE INFORMATION 11 MASTER ZO...

Page 4: ...Crossfade audio between channel A B 28 SWEEP FX SELECT Select Filter Echo Wash Noise FX 29 CROSSFADER ASSIGN Assign crossfader to channel A THRU B 30 CHANNEL CUE Press to cue channel for monitoring i...

Page 5: ...s a dedicated loop section for each deck Trigger an auto loop by pressing the scroll knob Lengthen an auto loop by turning the scroll knob clockwise shorten an auto loop by turning the scroll knob ant...

Page 6: ...double loop size Hold SHIFT left right PARAMETER buttons to shift the loop in either direction ROLL mode Holding pads 1 8 will activate a Loop Roll of different sizes Release the pad to disengage the...

Page 7: ...When Pitch Play mode is first enabled the middle range is selected If a new track is loaded key mode will default to middle range PITCH PLAY can only pitch one Cue point at a time To change the select...

Page 8: ...he ability to remap Serato DJ Pro software functions to your primary Serato controller interface or mixer You can also assign controls to a secondary MIDI controller to further enhance your performanc...

Page 9: ...right hand corner of Serato DJ Pro then to launch your default internet browser and navigate to the Serato DJ Pro knowledge base where you can find helpful articles and guides on Serato DJ Pro Alterna...

Reviews: