


6
•
Connect thermometer to computer using USB cable and turn on. Click
“Connect”.
•
If the connection is successful, “Success” will appear in green. (“Fail” will
change to “Success”)
•
When this step is completed the connection is active and the temperature
data can be captured in real time.
Note:
1) Once the software is opened it will automatically find the appropriate COM
port. If the COM port displayed by the software is different from the computer
resource manager, it will not work properly. Manually set the serial port to the
corresponding serial port of the resource manager.
2) After the thermometer is turned off and then on again, click “Disconnect”
and “Connect”, or close software and open again. This step is necessary to
refresh the connected serial port so the data will display properly.
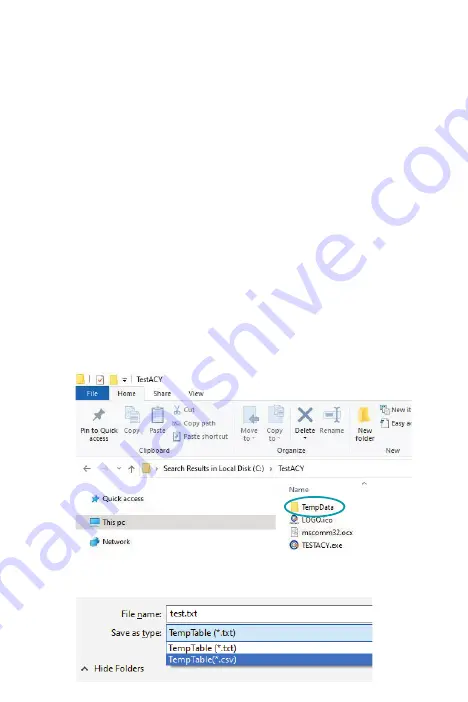
2. Data Viewing and Export
•
TXT Data View:
The subfolder, “TempData\\year\\month\\”, is
automatically generated within the TestACY folder. The format is Year/
Month/Day. The file type is TXT. If you cannot find the folder, use your
computer’s search function to locate it. The following data will be saved
for each measurement: Quantity (measurement number); Test Time;
Test Value (Temperature Reading); Environmental Temperature (Ambient
temperature at time of measurement).
•
Excel Data View:
Click “Save As” and select “CSV” format to export file
to Excel.


