21
/
85
Refer to 4.3 recording search.
4.1.5.
MANAUAL RECORDING
Remark: manual user must have "RECORD" right
In live view screen, click on
【
Manual Record
】
, or press the
【
video
】
key on remote control into
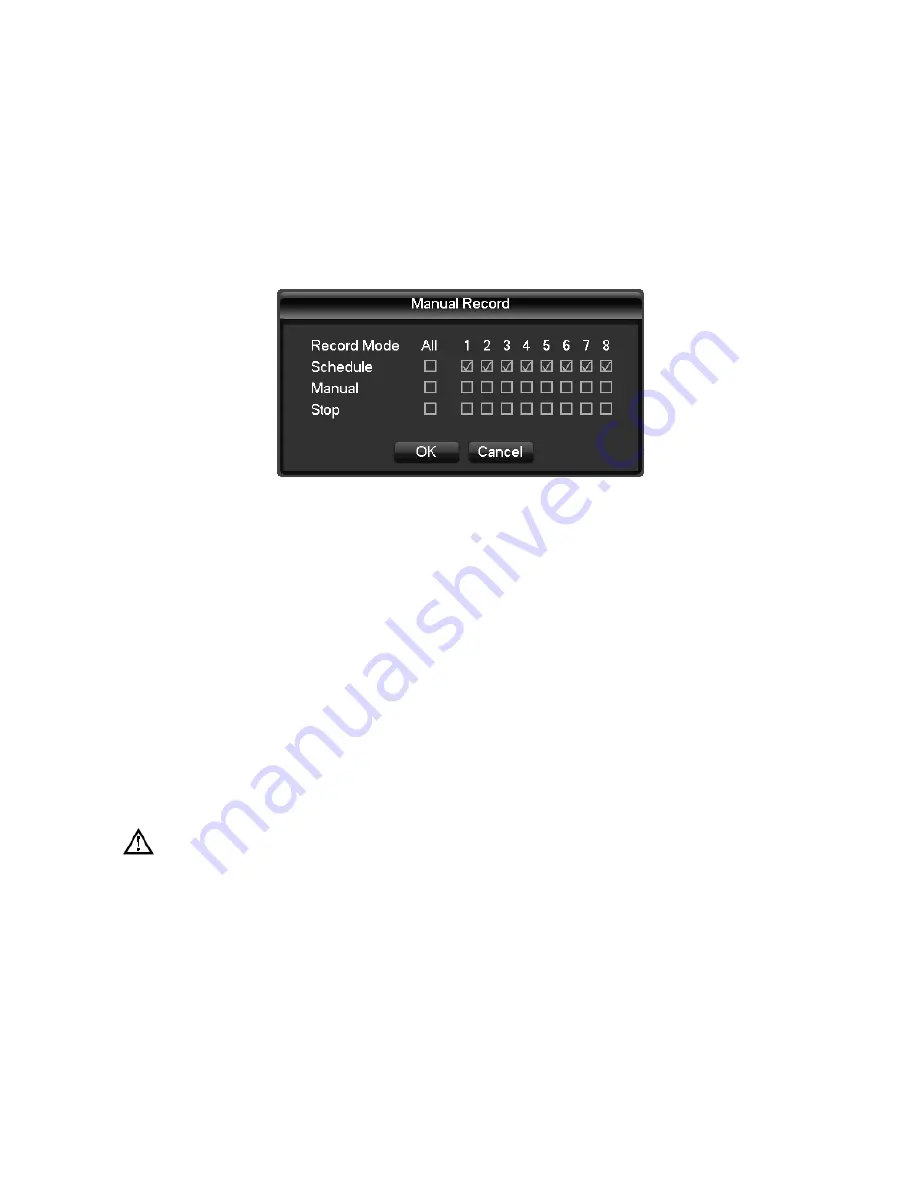
manual recording interface, as shown in Diagram 4‐3 Recoding Control.
DIAGRAM 4‐3 RECODING CONTROL
【
Manual
】
The highest priority, no matter what the current status of each channel, the corresponding
channels will make common recording when press "Manual" button;
【
Schedule
】
Record according to recording type in recoding set. (Common motion Detection and
alarm);
【
Stop
】
Stop all channel recording.
To change record status of one channel, firstly check the recording status of the channel is selected
non‐selected (non‐selected indicates that the channel is not recording; selected indicates the channel
in recording mode).Then use mouse to click, or use
【
W
】
or
【
X
】
arrow keys move the active box to the
channel, then use
【
S
】
or
【
T
】
arrow keys or corresponding number key to switch the channel
recording status.
Note: All selected can change record status for all channels
4.1.6.
ALARM OUTPUT
Refer to chapter 4.6.2 alarm output
4.1.7.
MAIN MENU
Click the
【
Main Menu
】
, input user name and password, click
【
OK
】
to enter the system menu. As shown
in Diagram 4‐4 system


