background image

Assembly Manual 

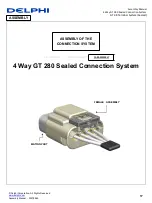
4 Way GT 280 Sealed Connection System 

GT 2.8 Terminal System (Sealed) 

© Delphi Corporation. All Rights Reserved 

www.delphi.com


Assembly Manual  - 33278895 

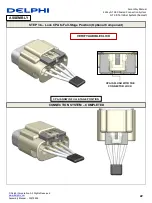
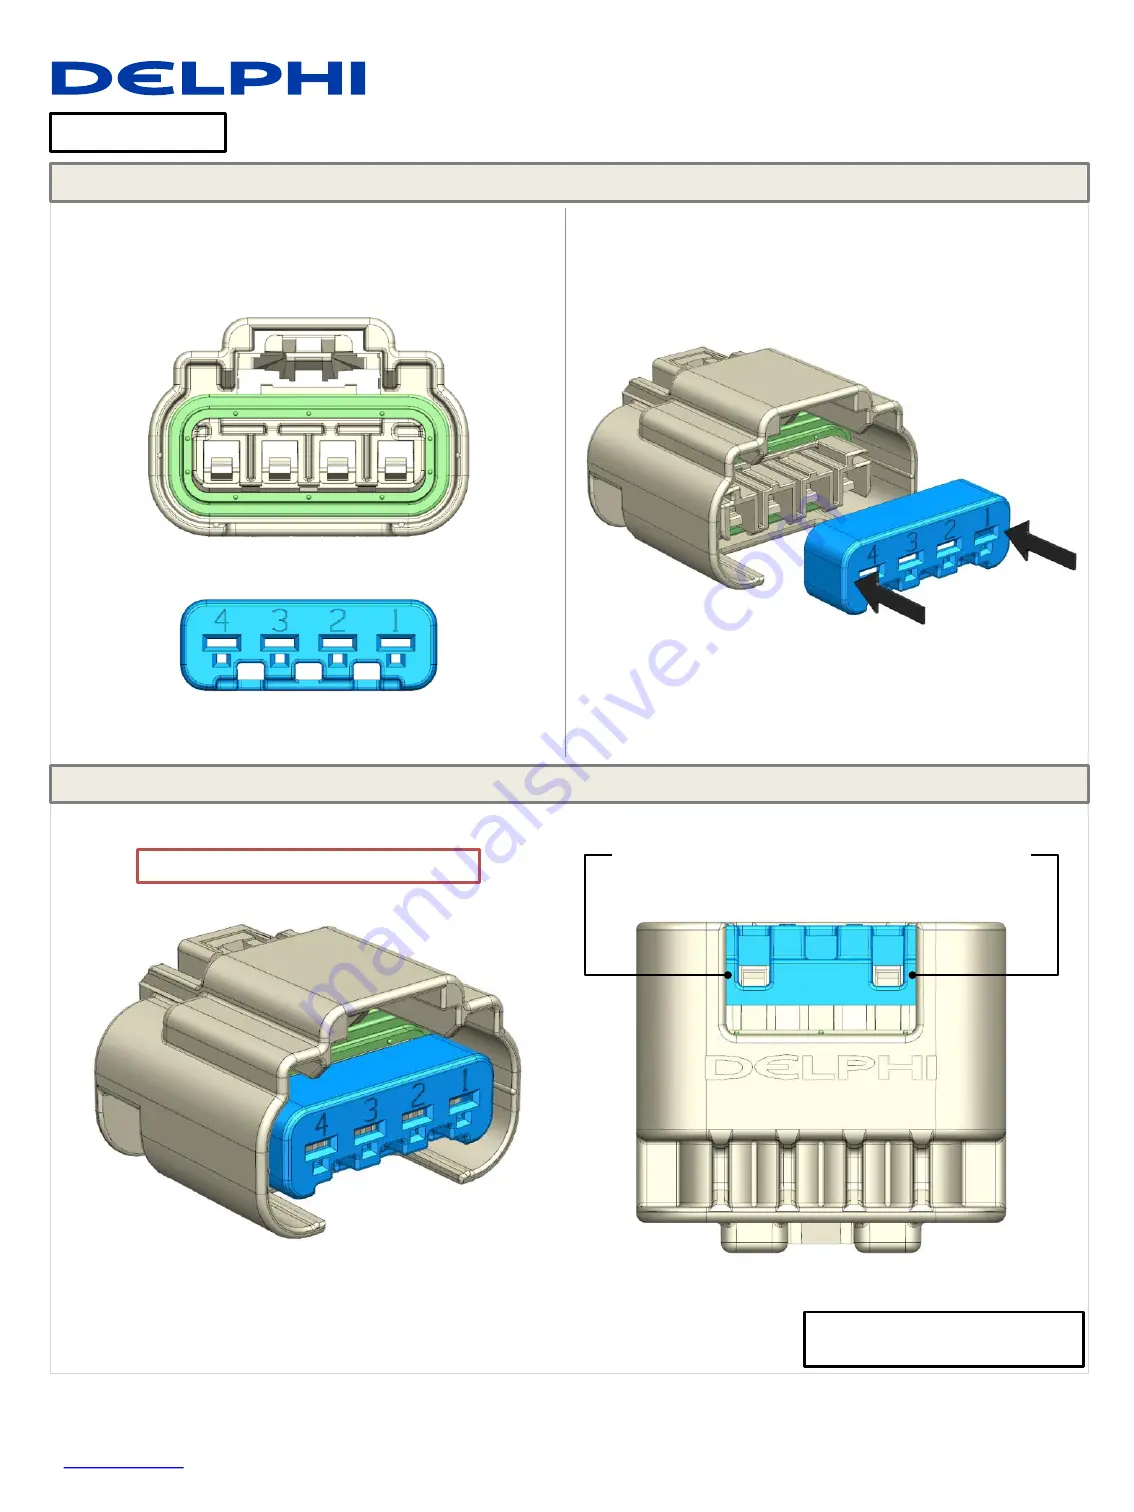
STEP 2a 

– Install PLR to Pre-Stage Position 

STEP 2b 

– Install PLR to Pre-Stage Position 

ASSEMBLY 

IDENTIFY THE CORRECT ORIENTATION 

OF THE PLR 

PLR IS NOW  

IN PRE-STAGE POSITION 

INSERT PLR ONTO THE CONNECTOR  

VERIFY AUDIBLE CLICK 

VERIFY THAT THE LOCKS ON CONNECTOR 

ARE FASTENED ON THE PLR SLOTS 

Summary of Contents for GT 280

Page 1: ...by CTC Warren Ohio STC Saltillo Mex February 2017 4 Way GT 280 Sealed Connection System GT 2 8 Female Terminal System Sealed ASSEMBLY MANUALS PRE ASSEMBLY HARNESS ASSEMBLY CAR ASSEMBLY ASSEMBLY MANUAL 33278895 ...

Page 2: ...igation on the part of DELPHI All the information is correct at time of releasing Reprinting or translation is not permitted without written permission from DELPHI Copyright 2017 DELPHI All rights reserved Developed by Deniss Guerrero 52 844 438 90 60 Assembly Manual 4 Way GT 280 Sealed Connection System GT 2 8 Terminal System Sealed ...

Page 3: ... Step 2 Install PLR to Pre Stage Position 8 Step 3 Assemble CPA to Pre Stage Position Optional Component 9 Connector Assembly Completed 9 HARNESS ASSEMBLY SECTION ASSEMBLY OF THE FEMALE HARNESS ASSEMBLY CONNECTOR 10 List of Components Exploded View 11 Step 1 Identify Cavities 12 Step 2 Assemble Cavity Plug If Required 12 Step 3 Align Terminals Female 2 8 and Female Assembly 13 Step 4 Insert Termin...

Page 4: ...le Assembly and Mating Part Together 20 Step 3 Lock CPA to Full Stage Position Optional Component 21 Connection System Completed Assembly 22 DISASSEMBLY SECTION DISASSEMBLY OF THE CONNECTION SYSTEM 23 Step 1 Move CPA to Pre Stage Position Optional Component 24 Step 2 Disconnect 25 Connection System Completed Disassembly 25 REPAIR REPLACEMENT SECTION FEMALE CONNECTOR SUB COMPONENTS 26 PLR Replaceme...

Page 5: ...m GT 2 8 Terminal System Sealed Delphi Corporation All Rights Reserved www delphi com Assembly Manual 33278895 4 Way GT 280 Sealed Connection System ASSEMBLY OF THE FEMALE CONNECTOR 5 CONNECTOR ASSEMBLY PRE ASSEMBLY HARNESS ASSEMBLY CAR ASSEMBLY ASSEMBLY ...

Page 6: ...Assembly Manual 33278895 6 Pictures used in this Assembly Manual and original parts may differ in some details These differences have no influence on the assembly process ASSEMBLY FEMALE CONNECTOR QUANTITY COMPONENTS 1 PLR 1 CONNECTOR SEAL 1 FEMALE CONNECTOR 1 CPA LIST OF COMPONENTS EXPLODED VIEW CONNECTOR SEAL CPA PLR OPTIONAL COMPONENT ...

Page 7: ...ll Rights Reserved www delphi com Assembly Manual 33278895 7 STEP 1a Insert Connector Seal STEP 1b Insert Connector Seal ASSEMBLY CONNECTOR SEAL ASSEMBLED VERIFY THE ORIENTATION OF THE SEAL AND INSERT IT INTO THE CONNECTOR IMPORTANT VERIFY THAT CONNECTOR SEAL IS NOT BUNCHED OR ROLLED DURING THE INSERTION ...

Page 8: ...ww delphi com Assembly Manual 33278895 8 STEP 2a Install PLR to Pre Stage Position STEP 2b Install PLR to Pre Stage Position ASSEMBLY IDENTIFY THE CORRECT ORIENTATION OF THE PLR PLR IS NOW IN PRE STAGE POSITION INSERT PLR ONTO THE CONNECTOR VERIFY AUDIBLE CLICK VERIFY THAT THE LOCKS ON CONNECTOR ARE FASTENED ON THE PLR SLOTS ...

Page 9: ...ation All Rights Reserved www delphi com Assembly Manual 33278895 9 STEP 3 Assemble CPA to Pre Stage Position Optional Component FEMALE CONNECTOR ASSEMBLY COMPLETED ASSEMBLY VERIFY AUDIBLE CLICK CPA IS NOW IN PRE STAGE POSITION IDENTIFY THE CORRECT ORIENTATION OF CPA AND PUSH IT ONTO THE CONNECTOR ...

Page 10: ...T 2 8 Terminal System Sealed Delphi Corporation All Rights Reserved www delphi com Assembly Manual 33278895 4 Way GT 280 Sealed Connection System 10 FEMALE ASSEMBLY PRE ASSEMBLY HARNESS ASSEMBLY CAR ASSEMBLY ASSEMBLY ASSEMBLY OF THE FEMALE HARNESS ASSEMBLY ...

Page 11: ... Pictures used in this Assembly Manual and original parts may differ in some details these differences have no influence on the assembly process ASSEMBLY FEMALE CONNECTOR ASSEMBLY QUANTITY COMPONENTS 1 FEMALE CONNECTOR ASSEMBLY 4 MAX SEALED TERMINAL GT 2 8 AS REQUIRED CAVITY PLUG LIST OF COMPONENTS EXPLODED VIEW SEALED TERMINAL GT 2 8 OPTIONAL COMPONENT CAVITY PLUG ...

Page 12: ...com Assembly Manual 33278895 12 STEP 1 Identify Cavities STEP 2a Assemble Cavity Plug If Required ASSEMBLY CAVITY ID NUMBERS LOCATED AT THE BACK OF THE CONNECTOR BACK VIEW PUSH THE PLUG INTO ITS RESPECTIVE CAVITY UNTIL THE PLUG IS EVEN WITH THE EDGE OF THE CAVITY PLUG CAN BE INSERTED WITH THE FINGERS OR WITH TOOL 10914973 IF NECESSARY ...

Page 13: ...hi com Assembly Manual 33278895 13 STEP 2b Assemble Cavity Plug If Required STEP 3 Align Terminals Female GT 2 8 Or Equivalent and Female Assembly ASSEMBLY INSERT FEMALE TERMINALS INTO RECEPTACLE HOUSING ACCORDING TO INSERTION PLAN PROPER ORIENTATION OF TERMINAL REQUIRED INDEX FEATURES TERMINAL FRONT VIEW CAVITY PLUG INSTALLED 0 mm ...

Page 14: ...l 33278895 14 STEP 4a Insert Terminals Female GT 2 8 Or Equivalent STEP 4b Insert Terminals Female GT 2 8 Or Equivalent ASSEMBLY GENTLY PULL ON THE CABLE TO VERIFY THE LOCK SYSTEM 3 USE THE SAME PROCESS TO INSERT THE REMAINING TERMINALS NEEDED TERMINAL FULLY ENGAGED UNDER THE FLEX LOCK VERIFY AUDIBLE CLICK 2 PUSH THE TERMINAL STRAIGHT INTO THE CAVITY 1 ...

Page 15: ... Assembly Manual 33278895 15 STEP 5a Lock PLR to Full Stage Position STEP 5b Lock PLR to Full Stage Position ASSEMBLY PLR IS NOW IN FULL STAGE POSITION PUSH THE PLR FORWARD DO NOT FORCE THE PLR IF IT CAN T BE LOCKED REVISE IF TERMINALS ARE PROPERLY SEATED VERIFY AUDIBLE CLICK VERIFY THAT THE LOCK ON CONNECTOR IS FASTENED ON THE PLR SLOT ...

Page 16: ... Connection System GT 2 8 Terminal System Sealed Delphi Corporation All Rights Reserved www delphi com Assembly Manual 33278895 16 FEMALE HARNESS ASSEMBLY COMPLETED ASSEMBLY PERFORM TESTS APPLY COVERINGS AS REQUIRED INSPECT THE ASSEMBLY ...

Page 17: ... 8 Terminal System Sealed Delphi Corporation All Rights Reserved www delphi com Assembly Manual 33278895 4 Way GT 280 Sealed Connection System ASSEMBLY OF THE CONNECTION SYSTEM 17 FEMALE ASSEMBLY MATING PART PRE ASSEMBLY HARNESS ASSEMBLY CAR ASSEMBLY ASSEMBLY ...

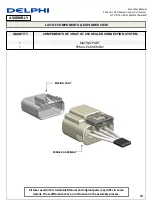
Page 18: ...om Assembly Manual 33278895 18 LIST OF COMPONENTS EXPLODED VIEW ASSEMBLY MATING PART QUANTITY COMPONENTS OF 4 WAY GT 280 SEALED CONNECTION SYSTEM 1 MATING PART 1 FEMALE ASSEMBLY Pictures used in this Assembly Manual and original parts may differ in some details These differences have no influence on the assembly process FEMALE ASSEMBLY ...

Page 19: ...ual 4 Way GT 280 Sealed Connection System GT 2 8 Terminal System Sealed Delphi Corporation All Rights Reserved www delphi com Assembly Manual 33278895 19 3D MODEL VIEW CLICK IMAGE TO START 3D VISUALIZATION ASSEMBLY ...

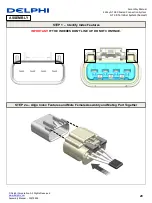
Page 20: ... System Sealed Delphi Corporation All Rights Reserved www delphi com Assembly Manual 33278895 20 STEP 1 Identify Index Features STEP 2a Align Index Features and Mate Female Assembly and Mating Part Together ASSEMBLY IMPORTANT IF THE INDEXES DON T LINE UP DO NOT CONTINUE ...

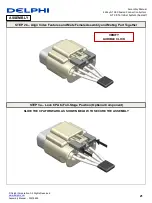
Page 21: ...ration All Rights Reserved www delphi com Assembly Manual 33278895 21 STEP 2b Align Index Features and Mate Female Assembly and Mating Part Together STEP 3a Lock CPA to Full Stage Position Optional Component ASSEMBLY SLIDE THE CPA FORWARD AS SHOWN BELOW TO SECURE THE ASSEMBLY VERIFY AUDIBLE CLICK ...

Page 22: ... Sealed Delphi Corporation All Rights Reserved www delphi com Assembly Manual 33278895 22 STEP 3b Lock CPA to Full Stage Position Optional Component CONNECTION SYSTEM COMPLETED ASSEMBLY CPA IS NOW IN FULL STAGE POSITION VERIFY AUDIBLE CLICK CPA IS FLUSH WITH THE CONNECTOR LOCK ...

Page 23: ...Terminal System Sealed Delphi Corporation All Rights Reserved www delphi com Assembly Manual 33278895 4 Way GT 280 Sealed Connection System DISASSEMBLY OF THE CONNECTION SYSTEM 23 FEMALE ASSEMBLY MATING PART DISASSEMBLY PRE ASSEMBLY HARNESS ASSEMBLY CAR ASSEMBLY ...

Page 24: ... delphi com Assembly Manual 33278895 24 STEP 1a Move CPA to Pre Stage Position Optional Component STEP 1b Move CPA to Pre Stage Position Optional Component DISASSEMBLY SLIDE THE CPA BACK TO PLACE IT IN PRE STAGE CPA IS NOW IN PRE STAGE POSITION VERIFY AUDIBLE CLICK IF NECESSARY TOOL 12122647 COULD BE USED TO PULL THE CPA BACK ...

Page 25: ...nal System Sealed Delphi Corporation All Rights Reserved www delphi com Assembly Manual 33278895 25 STEP 2 Disconnect CONNECTION SYSTEM COMPLETED DISASSEMBLY DISASSEMBLY LOCATE AND PRESS DOWN THE CONNECTOR LOCK 1 WITH THE LOCK DEFLECTED DISENGAGE THE CONNECTORS 2 1 2 ...

Page 26: ...nection System GT 2 8 Terminal System Sealed Delphi Corporation All Rights Reserved www delphi com Assembly Manual 33278895 4 Way GT 280 Sealed Connection System REPAIR REPLACEMENT OF THE FEMALE ASSEMBLY 26 REPAIR REPLACEMENT FEMALE ASSEMBLY ...

Page 27: ...ed www delphi com Assembly Manual 33278895 27 PLR REPLACEMENT Remove PLR STEP 1a PLR REPLACEMENT Remove PLR STEP 1b REPAIR REPLACEMENT PLACE TOOL 12122647 BETWEEN THE PLR AND CONNECTOR ROTATE THE TOOL AND PULL THE PLR UNTIL IT S PLACED IN PRE STAGE POSITION USE THE SAME PROCEDURE TO REMOVE THE PLR COMPLETELY PLR RELEASED ...

Page 28: ...elphi Corporation All Rights Reserved www delphi com Assembly Manual 33278895 28 PLR REPLACEMENT Install PLR STEP 2 FEMALE TERMINAL GT 2 8 REPLACEMENT Remove Terminal STEP 1a REPAIR REPLACEMENT REFER TO PRE ASSEMBLY SECTION TERMINAL FLEX LOCK PLR MUST BE RELEASED BEFORE TERMINAL REMOVAL ...

Page 29: ... represents how this kind of terminals are removed Flex Lock IDENTIFY Terminal Flex Lock Terminal Mating End Cable End REMOVE TERMINALS Locate Flex Lock at the front of the cavity Insert Operation 1 tool 15315247 with the angular side facing the lock or tool 12094429 between Flex Lock and Terminal deflect the Flex Lock to unseat the Terminal and gently pull on the cable to remove Operation 2 the F...

Page 30: ...onnection System GT 2 8 Terminal System Sealed Delphi Corporation All Rights Reserved www delphi com Assembly Manual 33278895 30 FEMALE TERMINAL GT 2 8 REPLACEMENT Insert Terminal STEP 2 REPAIR REPLACEMENT REFER TO HARNESS ASSEMBLY SECTION ...

Page 31: ...inal System Sealed Delphi Corporation All Rights Reserved www delphi com Assembly Manual 33278895 31 RECOMMENDED REPAIR TOOLS 1 2 3 ITEM DELPHI PART NUMBER J 38125 H NUMBER 1 10914973 2 12122647 3 15315247 J 38125 553 Alternative Tool for Item 3 12094429 J 38125 12A ...

Page 32: ... 4 Way GT 280 Sealed Connection System GT 2 8 Terminal System Sealed Delphi Corporation All Rights Reserved www delphi com Assembly Manual 33278895 DATE REV REVISION HISTORY AUTH 10FE17 01 RELEASED 430448 32 REVISIONS ...

Reviews: