


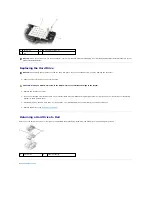


1.
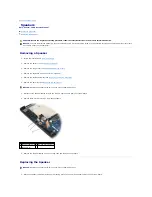
Disconnect the cables from the card.
2.
Remove the screws.
3.
Slide the card at a 45-degree angle out of its connector.
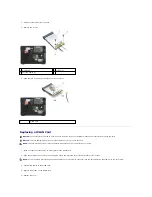
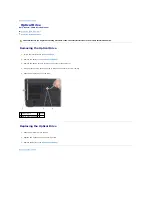
Replacing a WLAN Card
1.
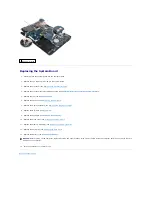
Move any cables out of the way to make space for the WLAN card.
2.
Align the card with the connector at a 45-degree angle, and press the card into the connector until it clicks.
3.
Connect the cables to the WLAN card.
4.
Replace the screws on the WLAN card.
5.
Replace the cover.
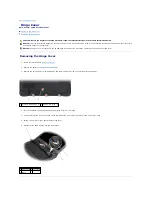
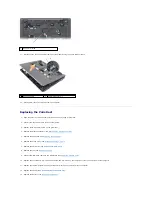
1
WLAN card
2 screws (2)
3
antenna cables (2)
1
WLAN card
NOTICE:
The connectors are keyed to ensure correct insertion. If you feel resistance, check the connectors and realign the card.
NOTICE:
To avoid damaging a card, never place cables on top of or under the card.
NOTE:
The card may have two or three connectors, depending on the type of card you ordered.
NOTE:
For more specific information about which cable to connect to which connector, see the documentation that came with your Mini Card.
Summary of Contents for Vostro 1200
Page 24: ...Back to Contents Page ...
Page 35: ...Back to Contents Page ...