Matchprint Professional Server IIx for Xerox: Hardware Installation and Startup
2003 Kodak Polychrome Graphics. All rights reserved.
Page 31 of 36
7.
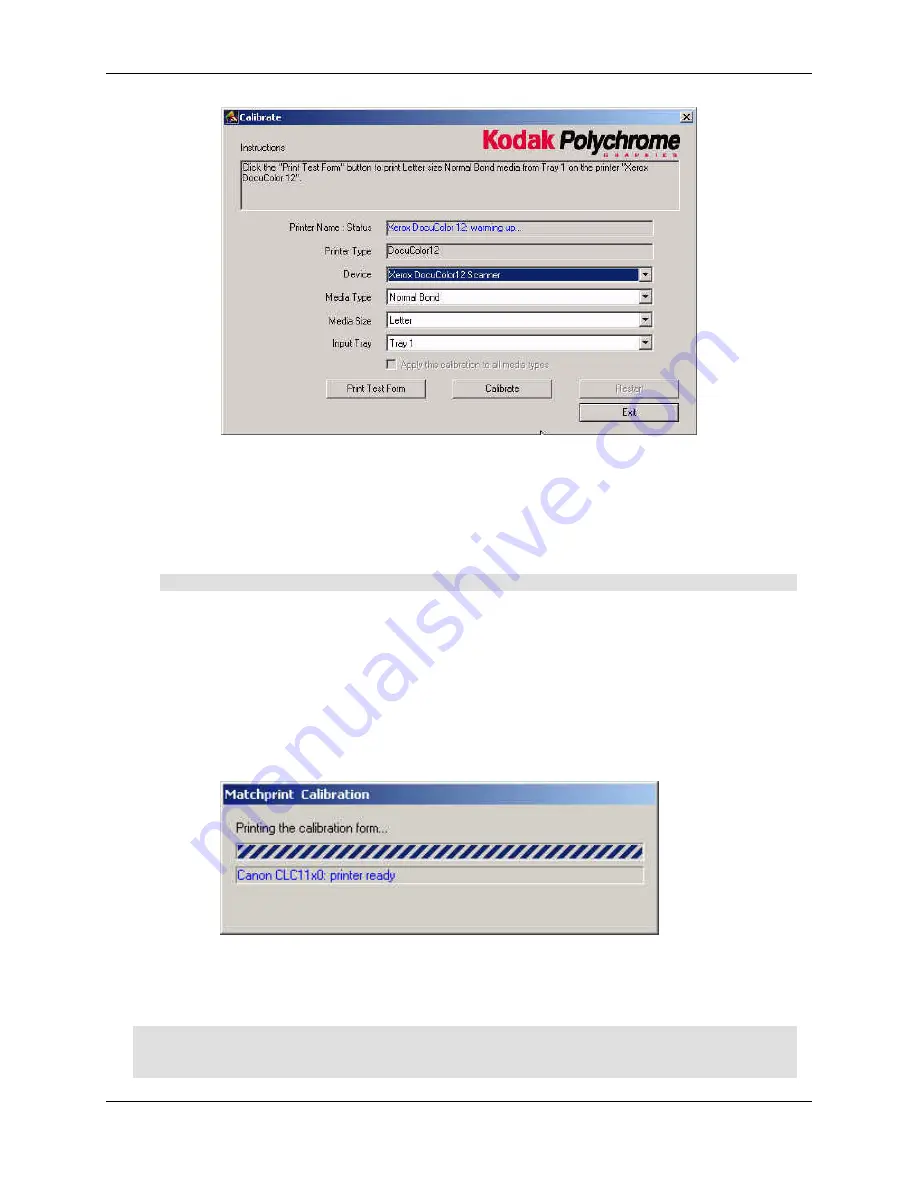
From the
Device
drop-down list box, choose either the
DocuColor 12 Scanner
or the
Spectrocam Device
.
8.
From the
Media Type
drop-down list box, select the media to be calibrated.
9.
From the
Media Size
drop-down list box, select the media size on which to print the calibration
form.
Note:
Transparency media cannot be calibrated.
10.
From the
Tray
drop-down list box, select the input tray containing the specified media
The input tray can be specified if the user wants to calibrate the media contained in a specific tray
of the DocuColor 12. An
Automatic
selection chooses the input tray if no input tray is specified. If
Extra Heavyweight or a KODAK POLYCHROME GRAPHICS/Xerox co-branded media, such as
Commercial, is selected, the input tray defaults to Manual Feed. In this case, the user is not able
to change the input tray.
11.
Click on
Print Test Form
button. A progress bar appears as the form prints:
12.
When the form printing is complete:
•
Go to
Calibrating with Scanner
for scanner calibration.
•
Go to
Calibrating with Spectrocam
for Spectrocam calibration.
Note:
If the calibration process fails, check to make sure the test page is properly positioned on
the platen. The scanable area is 11"x 17". If the calibration test form is outside this area, calibration
will fail.


