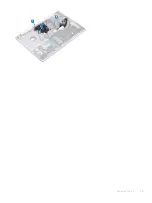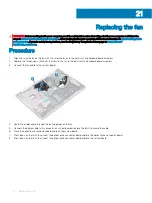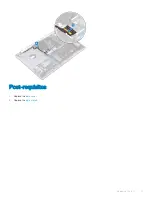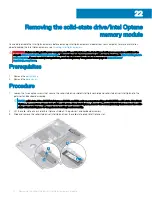
Removing the optical-drive connector board
WARNING:
Before working inside your computer, read the safety information that shipped with your computer and follow the
steps in
Before working inside your computer
. After working inside your computer, follow the instructions in
. For more safety best practices, see the Regulatory Compliance home page at
Prerequisites
1
Remove the
.
2
Remove the
Procedure
NOTE:
Applicable only for computers that are shipped with optical drive.
1
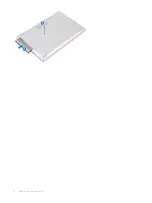
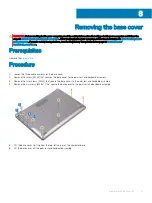
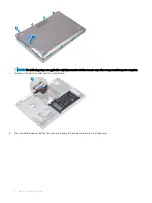
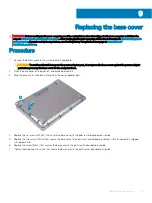
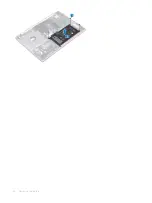
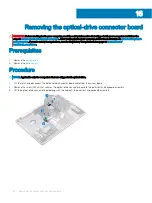
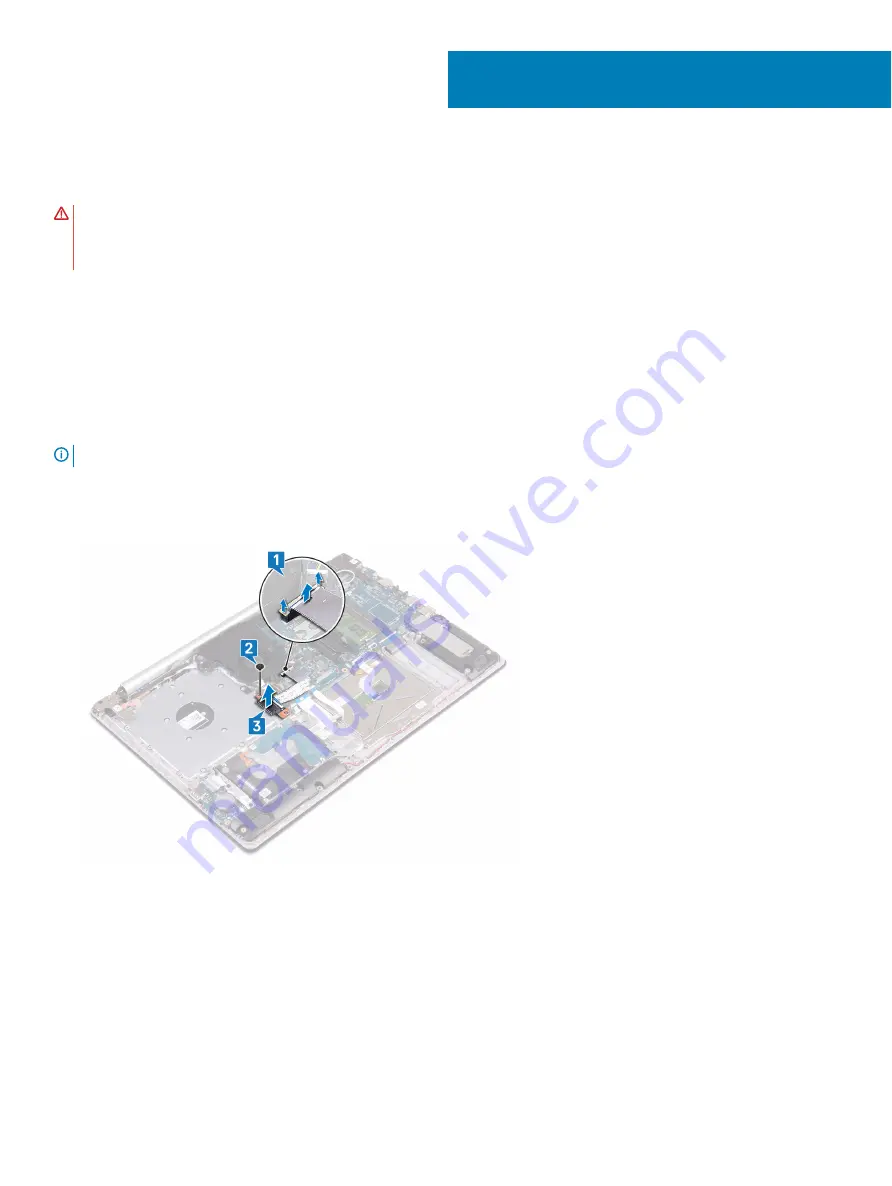
Lift the latch and disconnect the optical-drive connector-board cable from the system board.
2
Remove the screw (M2x2) that secures the optical-drive connector board to the palm rest and keyboard assembly.
3
Lift the optical-drive connector board along with the cable off the palm rest and keyboard assembly.
16
34
Removing the optical-drive connector board
Summary of Contents for Inspiron 3580
Page 1: ...Inspiron 3580 Service Manual Regulatory Model P75F Regulatory Type P75F106 ...
Page 18: ...18 Removing the optical drive ...
Page 20: ...20 Replacing the optical drive ...
Page 24: ...Post requisites Replace the optical drive 24 Replacing the base cover ...
Page 26: ...26 Removing the battery ...
Page 28: ...Post requisites 1 Replace the base cover 2 Replace the optical drive 28 Replacing the battery ...
Page 32: ...32 Removing the wireless card ...
Page 39: ...Removing the fan 39 ...
Page 41: ...Post requisites 1 Replace the base cover 2 Replace the optical drive Replacing the fan 41 ...
Page 49: ...Removing the touchpad 49 ...
Page 60: ...60 Removing the display assembly ...
Page 66: ...66 Removing the power button board ...
Page 71: ...Removing the system board 71 ...
Page 76: ...76 Removing the power button with fingerprint reader ...
Page 78: ...9 Replace the optical drive 78 Replacing the power button with fingerprint reader ...
Page 80: ...80 Removing the palm rest and keyboard assembly ...
Page 88: ...88 Removing the display panel ...

