


Scanning
18
2
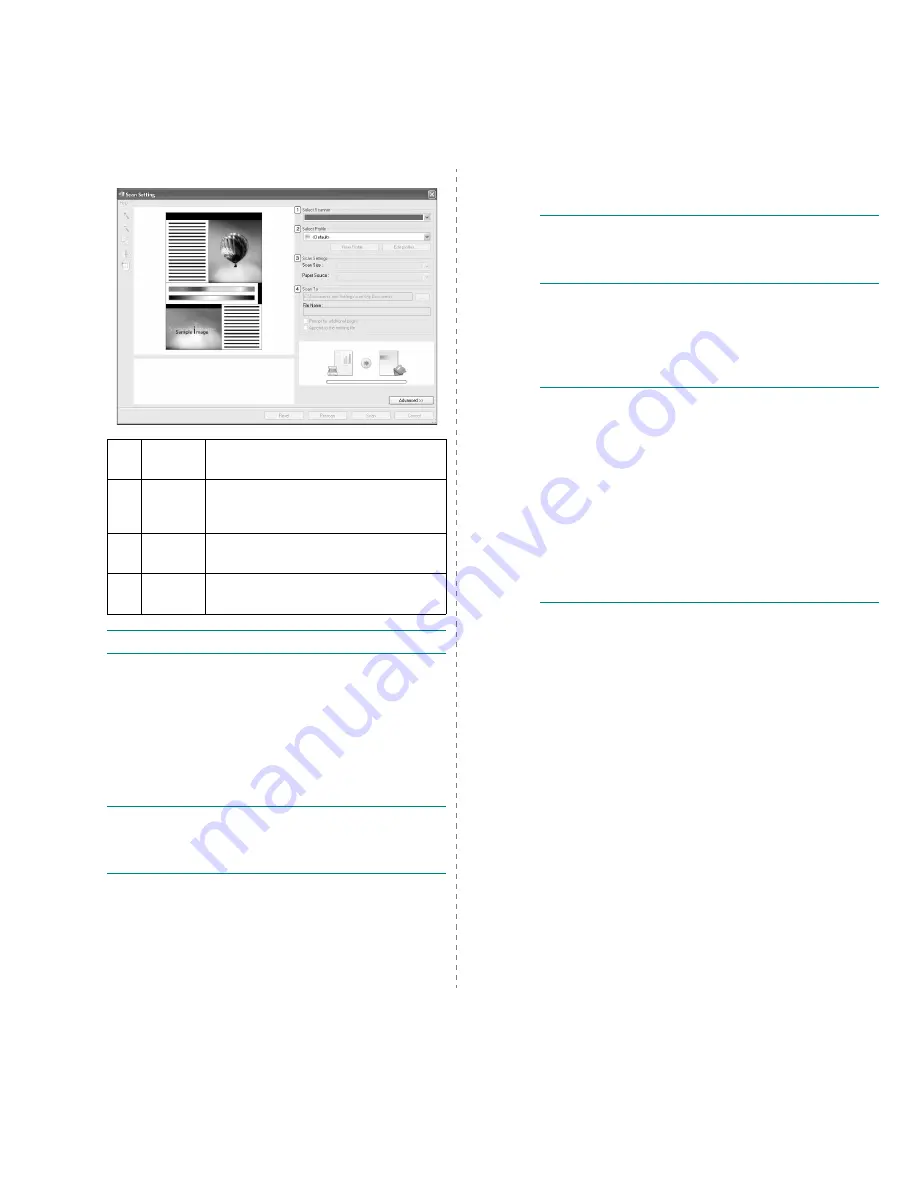
Scan Setting
window opens.
N
OTE
: Click
Advanced
button to set more scan options.
3
Set scan settings and click
Scan
. For more information,
click
Help
→
SmarThru Office help
.
Send to
You can send email while working on
SmarThru Office
.
N
OTE
: You need an email client program, such as Outlook
Express, to send email in
SmarThru Office
. Procedure for
sending email may differ depending on email client program
you are using.
1
Select
File
→
Send to
→
Send By E-mail
.
2
An email client opens.
3
Type in necessary information and send your email.
1
Select
Scanner
Allows you to select between the Local or
Network scanner.
2
Select
Profile
Allows you to save settings frequently used
for future use. Click New Profile to save the
setting.
3
Scan
Settings
Allows you to customize settings for Scan
Size and Paper Source.
4
Scan To
Allows you to customize settings for File
Name and location to send scanned data.
Fax
You can send emails while working on
SmarThru Office
.
N
OTE
: You need an email client program, such as Outlook
Express, to send email in
SmarThru Office
. Procedure for
sending email may differ depending on email client program
you are using.
1
Select
File
→
Send to
→
Send By Fax
.
2
Send Fax window opens.
3
Type in necessary information and click
Send Fax
.
N
OTE
: For more information about
SmarThru Office
, click
Help
→
SmarThru Office help
. The
SmarThru Office Help
window appears; you can view on screen help supplied on the
SmarThru program.
Follow the steps below to uninstall
SmarThru Office
. Before
you begin the uninstall, ensure that all applications are closed
on your computer.
a) From the
Start
menu, select
Programs
or
All
Programs
.
b) Select
SmarThru Office
, and then select
Uninstall
SmarThru Office
.
c) When your computer asks you to confirm your selection,
read the statement and click
OK
.
d) Click
Finish
.


