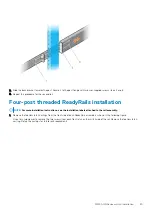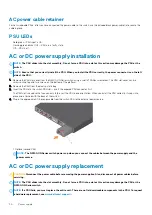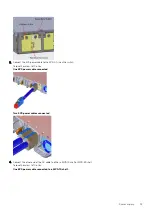
1. Disconnect the power cable from the PSU.
2. Use the grab handle to slide the PSU out of the power supply bay.
3. Use the grab handle on the replacement PSU to slide it into the power supply bay.
4. Attach the power cable to the replacement PSU.
NOTE:
The switch powers up when the cables are connected between the power supply and the power source.
DC power connections
Each DC PSU comes with a connector cable. One cable is provided for each DC PSU.
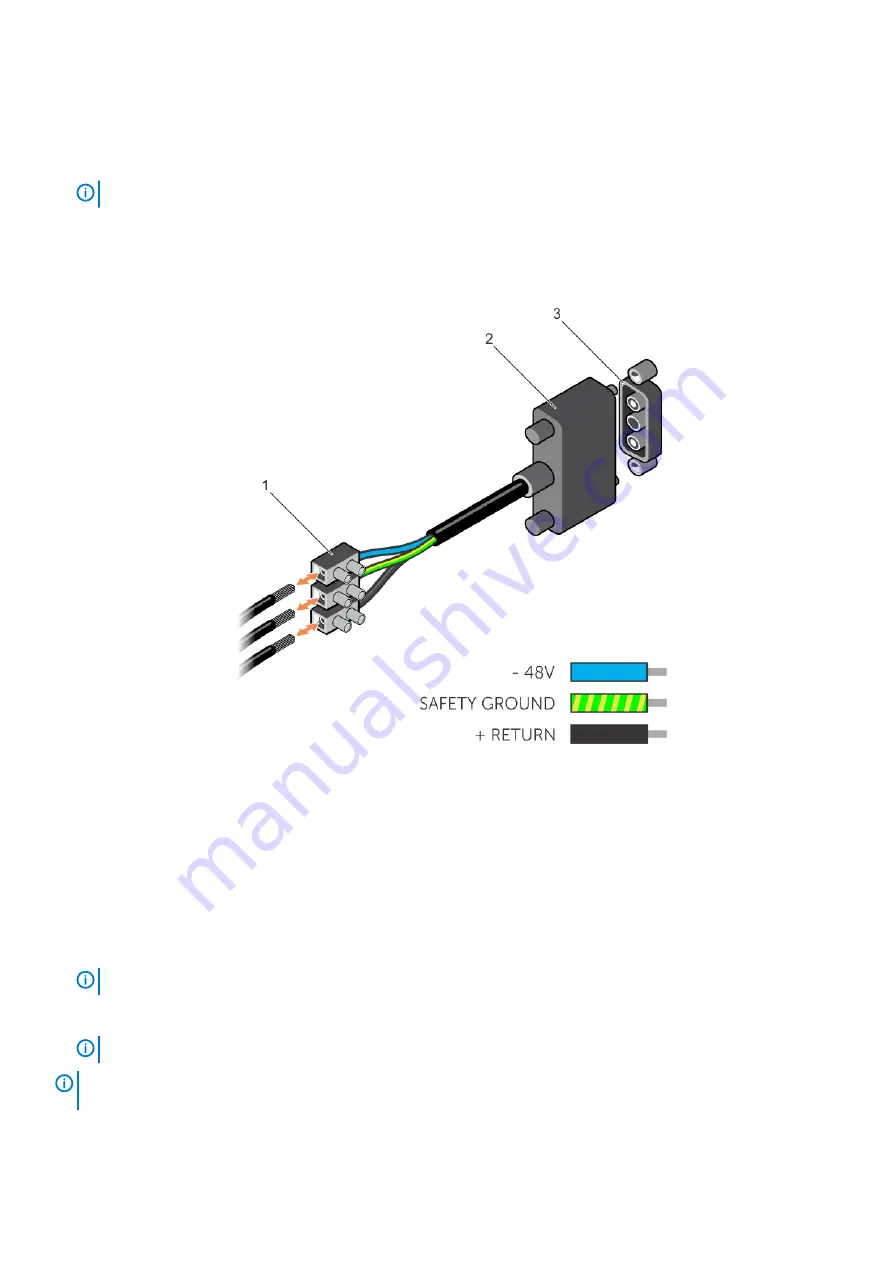
Figure 4. DC power connector and wiring block
1. Wiring block
2. Power connector
3. PSU connector
1. Strip a 1/2 inch section of insulation from each of the power connector’s wires, as shown.
2. Insert each of the power connector’s bare wire lengths into the wiring block. The blue wire is -48V, the black wire is the positive
return, and the yellow/green wire is the ground wire, as shown.
3. Use a flat-blade screwdriver to tighten the screws that secures the bare wires into the wiring block.
4. Secure the site’s DC power source wires to the other side of the wiring block, see steps 1 and 3.
NOTE:
Do not cross the wires.
5. Insert the DC power connector into the power socket of the DC PSU. Ensure that the connector pins firmly seat and you hear the
click of the power connector’s left and right levered clamps lock into place.
NOTE:
Never try to force the power connector into or out of the DC PSU power socket.
NOTE:
To remove the power connector from a DC PSU, unscrew the thumb screws and pull the power connector from
the DC PSU socket.
Power supply
31

