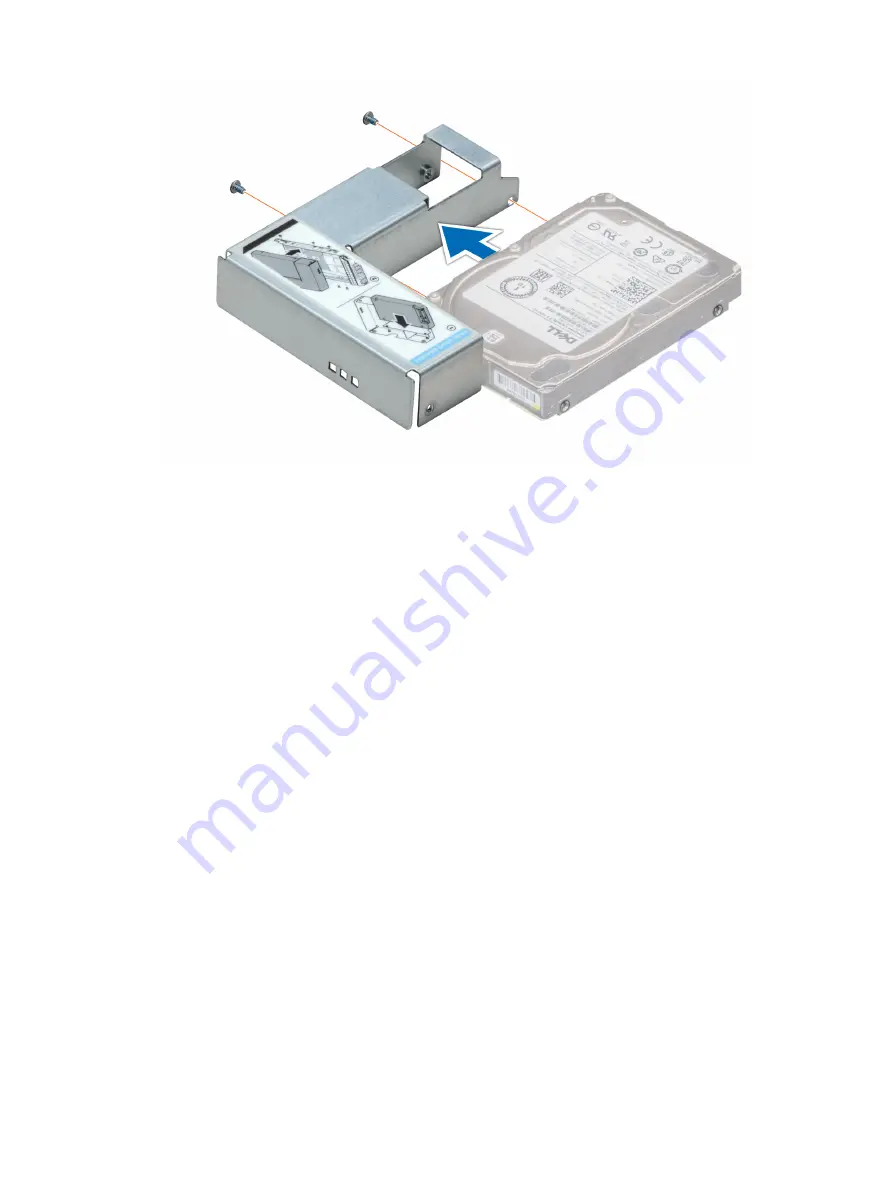
Figure 51. Installing a 2.5 inch drive into the 3.5 inch drive adapter
Next steps
1
Install a 3.5 inch adapter into the 3.5 inch drive carrier
2
Follow the procedure listed in
After working inside your system
.
Removing a 3.5 inch adapter from a 3.5 inch drive carrier
Prerequisites
1
Follow the safety guidelines listed in
2
Follow the procedure listed in
Before working inside your system
.
3
Remove the 3.5 inch drive carrier from the system
Steps
1
Remove the screws from the rails on the drive carrier.
2
Lift the 3.5 inch drive adapter out of the drive carrier.
Installing and removing system components
97
Summary of Contents for PowerEdge R740
Page 9: ...Figure 1 Supported configurations PowerEdge R740 system overview 9 ...
Page 28: ...Figure 22 NVDIMM battery and mid tray hard drives 28 PowerEdge R740 system overview ...
Page 141: ...Figure 94 Securing GPU 1 Installing and removing system components 141 ...
Page 142: ...Figure 95 Installing GPU 2 and 3 142 Installing and removing system components ...


