Manual / Manuel
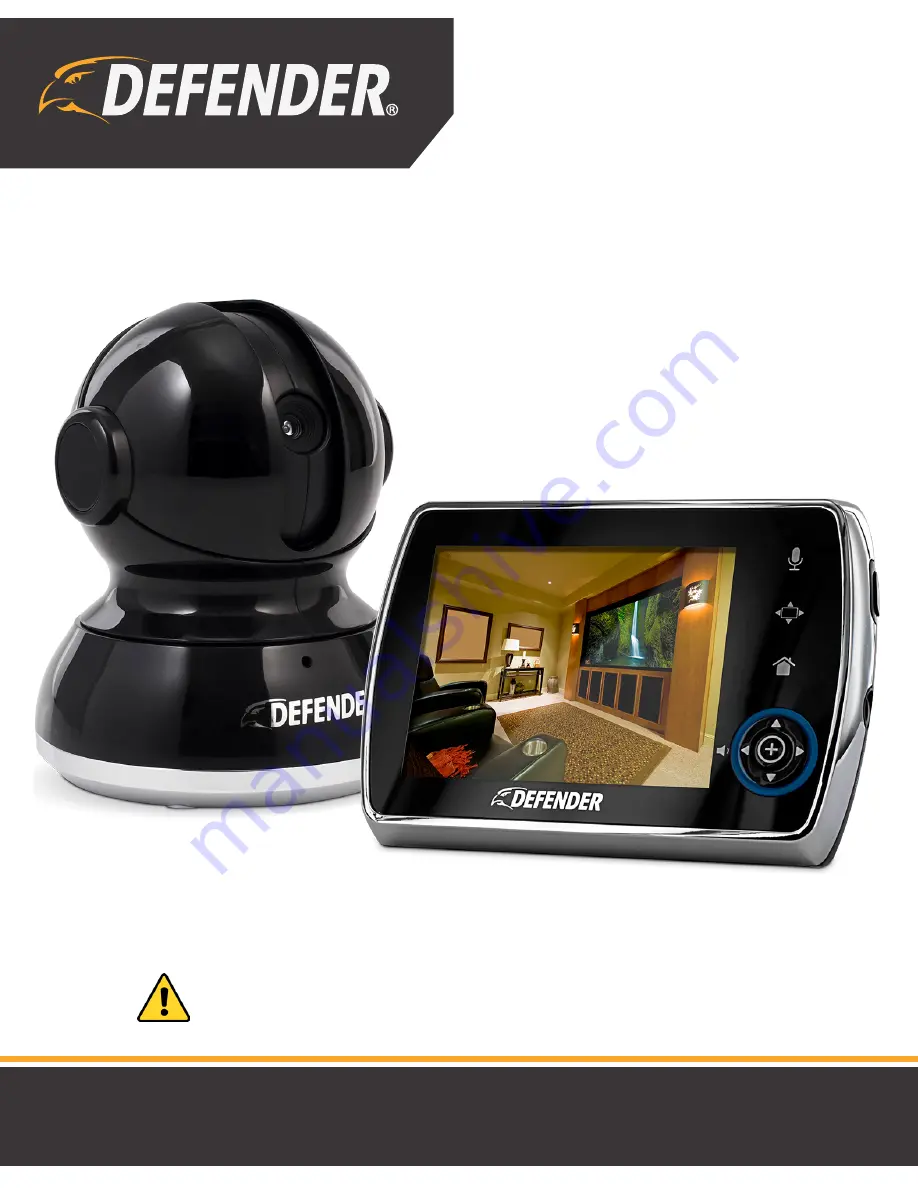
Phoenix™ 3.5
"
Digital Wireless Security Video Monitor
CAUTION: Keep small parts away from children.
ATTENTION: Gardez les petites pièces hors de la portée des enfants.
Phoenix™ 3,5po Moniteur vidéo sécurité
sans fil numérique
Page 1: ...hoenix 3 5 Digital Wireless Security Video Monitor CAUTION Keep small parts away from children ATTENTION Gardez les petites pièces hors de la portée des enfants Phoenix 3 5po Moniteur vidéo sécurité sans fil numérique ...
Page 2: ... not be used near water Non Use Periods Always unplug the AC adapters from the wall outlets during long periods of non use Ventilation This monitor should not be used on a bed sofa rug or similar surface that may block the ventilation openings or be placed in an enclosed area such as a bookcase or drawer that may impede air flow Keep Away from Sources of Heat This unit should not be exposed to dir...
Page 3: ...Reorient or relocate the receiving antenna Increase the separation between the equipment and the receiver Connect the equipment into an outlet different from that to which the receiver is connected Consult the dealer or an experienced radio TV technician for help IC STATEMENT DÉCLARATION IC This Class B digital apparatus complies with ICES 003 Cet appareil numérique de la classe B est conforme à l...
Page 4: ...l 3 Routine cleaning normal cosmetic and mechanical wear and tear are not covered under the terms of this warranty 4 The warranty expressly provided for herein is the sole warranty provided in connection with the product itself and no other warranty expressed or implied is provided DEFENDER assumes no responsibilities for any other claims not specifically mentioned in this warranty 5 This warranty...
Page 5: ...OFF 15 Pairing the Camera s and Monitor 15 Placement of the Monitor 16 Placement of the Camera 16 Mounting the Camera on a Tabletop Safely 16 Mounting the Camera on a Wall Safely 16 Night Vision 17 Adjusting the Camera Angle PTZ 17 Volume 18 Using the 2 Way Talk Intercom 18 Using the Zoom function 19 Changing the camera view 19 Setting an Alarm Alert Part 1 20 Setting an Alarm Alert Part 2 20 Usin...
Page 6: ...os Computer 26 Settings 26 SD Card formatting 27 Firmware update unused 27 Factory reset 28 Setting the date time 29 Sound Sensitivity LED ring 30 180 Image Flip 31 Contacting Customer Support 31 TROUBLESHOOTING 32 MAINTENANCE 32 SPECIFICATIONS 33 ...
Page 7: ...ny DEFENDER products for illegal activities DEFENDER is not responsible or liable in any way for any damage vandalism theft or any other action that may occur while a DEFENDER product is in use by the purchaser We reserve the right to change models configuration or specifications without notice or liability Product may not be exactly as shown 2013 DEFENDER All rights reserved DEFENDER the DEFENDER...
Page 8: ... position 2 LCD SCREEN 3 2 WAY TALK Press and hold to talk release to listen 4 PAN TILT BUTTON 5 MENU 6 MICROPHONE 7 COLOR CHANGING LED RING Changes color with sound intensity battery charge 8 SELECTION ZOOM BUTTON 9 DIRECTIONAL ARROWS VOLUME CONTROL 3 4 5 8 7 9 2 6 1 MONITOR ...
Page 9: ...9 MONITOR BACK SIDE 1 POWER SCREEN ON OFF 2 POWER INPUT 3 ANTENNA Extend to improve signal 4 TABLE STAND 5 SPEAKER 6 BATTERY COMPARTMENT 3 1 2 4 6 5 ...
Page 10: ...10 CAMERA 1 PTZ CAMERA 2 MICROPHONE 3 POWER LED 4 NIGHT VISION LIGHT SENSOR 5 ANTENNA 6 POWER INPUT 7 POWER ON OFF 8 SPEAKER 1 2 3 5 4 6 7 8 ...
Page 11: ...shown slide the silver bracket to the left to lock the MicroSD card into place Battery Installation 1 Gently remove the BATTERY COMPARTMENT COVER on the back of the monitor by sliding down 2 Insert the battery the battery connectors on the battery should line up with the connectors inside the battery compartment 3 Slide the BATTERY COMPARTMENT COVER back into place 4 For extended periods of non us...
Page 12: ...reen will show you the battery power status 4 The LED Ring on the front of the monitor also indicates the battery power status SOLID BLUE BATTERY FULLY CHARGED SLOW FLASHING BLUE BATTERY CHARGING QUICK FLASHING BLUE BATTERY LOW FLASHING PINK PAIRING UNSUCCESSFUL EMPTY CHARGING FULL Connecting Power to the Camera 1 Connect the small end of the power adapter marked CAMERA into the DC input on the ba...
Page 13: ...ffect the life of the battery Turn LCD screen OFF press POWER button on the side of the monitor ONCE Set Power Save Mode After 45 seconds of inactivity monitor enters standby sleep mode Set Adjustable Brightness Decreasing screen brightness will extend battery life Battery life of 24 hours based on 10 audio activations while in power save mode Battery lasts an average of 6 hours with continuous au...
Page 14: ...ONG SIGNAL SIGNAL BATTERY STRENGTH EMPTY CHARGING FULL VOLUME OFF LOUD 2 Way Talk SCREEN ICONS POWER SAVE MODE OFF LOW MED HIGH ALERT PICTURE VIDEO PLAY POWER SAVE ZOOM CAMERA 180 IMAGE FLIP BRIGHTNESS PAIRING SUPPORT SETTINGS ...
Page 15: ...onnected to each other automatically However if upon opening this package the devices do not automatically connect and transmit you may do so manually To pair additional cameras repeat steps 1 to 4 and be sure to assign a different camera number to each additional camera Note Before you begin pairing be sure to have the monitor and the camera s side by side OPERATION 1 2 CAMERA BOTTOM Successfully...
Page 16: ... reach it 3 Plug in the power cord check the monitor to ensure that you are getting a clear view of the area you are monitoring and there are no obstructions Mounting the Camera on a Wall Safely Before drilling the holes it is important to check the reception and camera positioning in the intended location on the wall 1 Pre drill two holes in the wall using a 3 16 4 8mm drill bit 2 Insert wall anc...
Page 17: ... activate automatically when the Light Sensor on the camera detects that the light levels are too low Adjusting the Camera Angle PTZ The camera is equipped with Pan Tilt Zoom PTZ You can adjust the angle 300 degrees horizontal and 110 degrees vertical from the center facing position Press HOME to return to exit PTZ mode and return to LIVE view OPERATION INVISIBLE LEDs Night vision range up to 15ft...
Page 18: ...o talk press and hold the button on the front of the monitor and release to listen 2 To talk when using multiple cameras select the camera in the MENU and press the button release to listen MUTE Decrease Increase Note Placing the monitor and camera too close together will create feedback DECREASE or MUTE the volume and move the camera away from the monitor OPERATION ...
Page 19: ... functions default to camera 1 Press SELECT once desired camera view is selected Press HOME to return to return to LIVE view Select to cycle through cameras 1 through 4 and press the HOME button once Each camera view will appear for 6 seconds per camera 1 2 Cameras 1 4 Quad view Cycle cams 1 4 OPERATION ...
Page 20: ...rn to return to LIVE view 1 2 Setting an Alarm Alert Part 2 Choose 1 or up to 4 cameras that can be triggered by movement and provide an Alarm Alert once movement is detected Press SELECT once your camera s is are selected Press HOME to return to return to LIVE view 1 2 Note Having the unit record only when motion is detected will conserve micro SD card memory OPERATION ...
Page 21: ...ss live view manually when the screen is off press the POWER button ONCE Power Save Mode extends the battery life over 24 hours Press HOME to return to return to LIVE view Setting the Brightness Brightness Mode sets the brightness of the the screen Selecting lower Brightness Modes also extends the battery life Press SELECT once to make your selection Press HOME to return to return to LIVE view 1 2...
Page 22: ...cramble for a camera Taking a picture Select to snap a picture only when motion is triggered or Select to manually snap a picture Press SELECT once to make your selection Press HOME to return to return to LIVE view Press SELECT to snap picture manually 1 2 1 2 3 4 1 2 3 4 Select Icon Take picture manually Appears when picture is snapped Appears when motion is triggered picture is snapped ...
Page 23: ...e your selection Press HOME to return to return to LIVE view Press SELECT to start stop video manually 1 2 Select Icon Start Stop video manually Appears when motion is triggered video is recording Appears when video is recording manually Appears when motion is triggered video is recording 1 Please Note Alarm Alerts must also be set to be sure alarm is heard when motion is triggered See Setting an ...
Page 24: ...from the monitor or on your computer using the included SD Card Adapter Viewing Deleting PICTURES Monitor Press SELECT once to make your selections and view JPEG Use to navigate through files to SELECT Press HOME to return to return to previous screen or LIVE view 1 2 Press to delete press to Select Delete press to Deselect ...
Page 25: ...O Monitor Press SELECT once to make your selections and view video file Use to navigate through files to SELECT Press HOME to return to return to previous screen or LIVE view 1 2 Press to delete press to Select Delete press to Deselect ...
Page 26: ...eleasing the bracket and remove the Micro SD card 3 Place the Micro SD card in the SD Card Adapter provided and insert the SD Card Adapter in your computer or SD Card Reader Settings Allows you to view remaining space on your SD Card format the SD card restore your monitor to factory default settings set the time change the LED Ring color on the front of the monitor and update firmware Authorized ...
Page 27: ...nce to make your selections DELETE PCTURES VIDEO CANCEL EXIT FORMATTING OR PRESS Note ONCE YOU HAVE FORMATTED YOUR SD CARD ALL OF YOUR SAVED PICTURES VIDEO WILL BE ERASED 1 2 Firmware update unused Only to be used by Authorized Service Representatives ...
Page 28: ...28 OPERATION SD Card formatting Press SELECT once to make your selections 1 2 Note ONCE YOU HAVE RESET TO FACTORY SETTINGS ALL OF YOUR CUSTOMIZED SETTINGS WILL BE ERASED ...
Page 29: ...once to make your selections Press HOME to return to return to previous screen or LIVE view 1 2 2013 01 30 13 05 35 Use move left right use to increase decrease numbers Set YYYY MM DD Select 12 or 24 hour clock display Set TIME 1 YEAR 3 TIME 2 12 24H ...
Page 30: ...g on the front of the monitor indicates how loud the sound in the room is with colors You can also set it to remain blue or turn it off completely Press SELECT once to make your selection Press HOME to return to return to LIVE view 1 2 Multicolor LED Blue LED LED Off SOUND SENSITIVITY COLORS DISCONNECTED WHISPER MURMUR LOW CHATTER YELLING OPERATION ...
Page 31: ...tor Press SELECT once to make your camera selection Press HOME to return to return to LIVE view 1 2 OPERATION Contacting Customer Support Customer Support is just a click away whenever you need it Our customer support team can be reached by online live web chat or on our website at www defender usa com support Our experts will be happy to assist you in English French and Spanish 1 2 ...
Page 32: ... The volume on the monitor may be set too high Noise static beeping Battery power may be too low The buttons are not working LOCK UNLOCK Button is in LOCKED position move to UNLOCK position Picture works but there is no sound Volume setting may be too low Picture is black and white Night vision LEDs may be ON increase the amount of light in the room being monitored Remove any objects within 2 feet...
Page 33: ... hopping channels 19 Battery Low Visual Warning Yes Channel bandwidth 3 375 MHz Battery Low AudibleWarning Yes Data Rate 3 Mbps Power Save Mode Yes Max Transmission Range 750ft Key Lock Yes Optimum Transmission Range 200ft Touch Panel Keys Yes Expandable Up to 4 Cameras Housing Material ABS Plastic Chrome Plating Micro SD Recording Capacity Yes up to 32GB Power Adapter Input 100 240VAC Record Phot...
Page 34: ...0 C PTZ Yes Dimensions 3 5 x 4 x 4 5 8 9cm x 10 16cm x 11 4cm Range of Motion Horizontal 300 Weight 0 55 lbs Range of Motion Vertical 110 Frequency 2 4GHz FCC Private Signal Yes FCC ID SMH 30018BU Technology Digital FHSS FCC ID SMH 30018PU Max Transmission Range 750ft 228 6m Optimum Transmission Range 200ft 60 96m IC Number of IR LEDs 8 IC 4593A 30018BU IR Wavelength 940nm IC 4593A 30018PU Night V...