Configuring the DriveRack™
®
16
Section 3
DriveRack
™
the
DATA
wheel will move you to the Linked module selection. When effect modules are linked, any
changes that you make to any parameter, will be made to the same effect in the other linked channels. For
example, if a change is made to the delay time in the linked post crossover delay module, the change will
take place in all other linked(up to four) output channel delay modules.
• Once you are satisfied with your selections on this page, press the
NEXT PAGE
button which will move
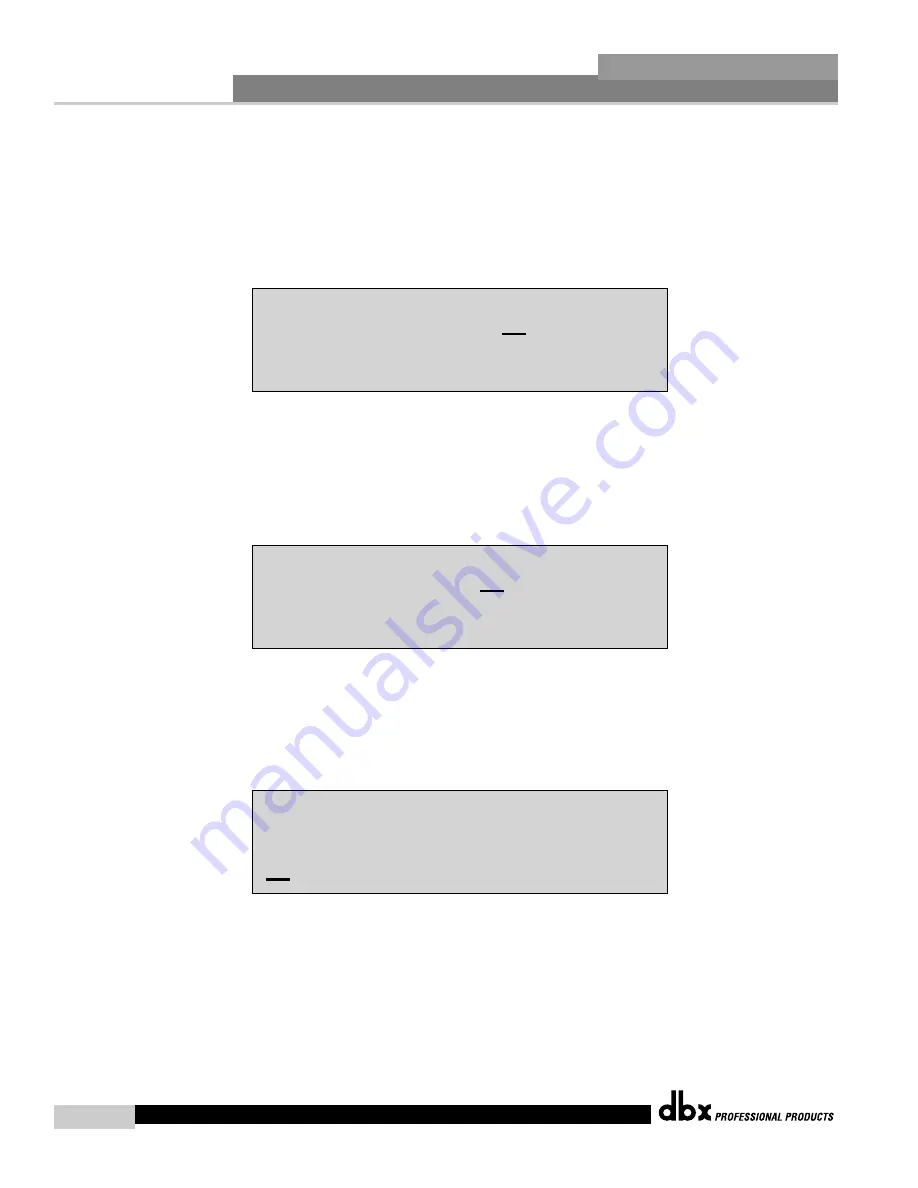
you to the next page, which will appears as follows:
• Leaving the setting at Linked will apply the same Delay parameter values to both delay modules that are
used in in the pre-crossover position. Switching to Unlinked (rotate Data wheel) will keep DELAY inputs
separate.
• Once you are satisfied with your selections on this page, press the
NEXT PAGE
button which will move
you to the next page, which will appears as follows:
• Rotate the
DATA
wheel to select the appropriate crossover module. Note that only valid crossover combi-
nations will be made available.
• If you have selected a crossover with effects, press the
NEXT PAGE
button which will move you to the
next page, which will appear as follows:
Note: If you have however, selected a crossover which has no effects, the 240/241 will automatically
move to the output routing section.
• At this point, you can use the
DATA
wheel to select either: Unlink ALL, Link ALL, or Custom. Selecting
“Custom” will allow you to custom edit the post-Crossover effects links including: PEQ, DYN
(compressor/limiter), or Post crossover Delay.
These modules can be accessed and edited by pressing the
NEXT PG
button, and then pressing (to select)
Post effects:
Unlink All
Xover1 No FX
Xover2 No FX
In1 DLY Linked
DriveRack™ User Manual
Summary of Contents for DriveRack 240
Page 1: ...User Manual CompleteEqualization LoudspeakerManagementSystem 240 241...
Page 5: ...INTRO CUSTOMER SERVICE INFO Defining the DriveRack WARRANTY INFO INTRODUCTION DriveRack...
Page 11: ...Getting Started Section 1 DriveRack...
Page 15: ...EDITING FUNCTIONS Editing Functions Section 2 DriveRack...
Page 21: ...CONFIGURATION FUNCTIONS SOFTWARE Section 3 DriveRack...
Page 29: ...DETAILED PARAMETERS PARAMETERS Section 4 DriveRack...
Page 39: ...UTILITIES SECTION Utilities Section 6 DriveRack...
Page 47: ...DriveWare GUI Section 6 DriveRack...
Page 51: ...APPLICATION GUIDE Section 7 DriveRack...
Page 59: ...Appendix DriveRack...
Page 68: ...DriveRack User Manual 58 Appendix A DriveRack USER NOTES...


