23
3)Use the master volume knob to change the metronome volume.
CLICK
Note: during playing the songs, the metronome is closed.
Press [CLICK] button to start metronome function.
6. Record and replay
Record quickly
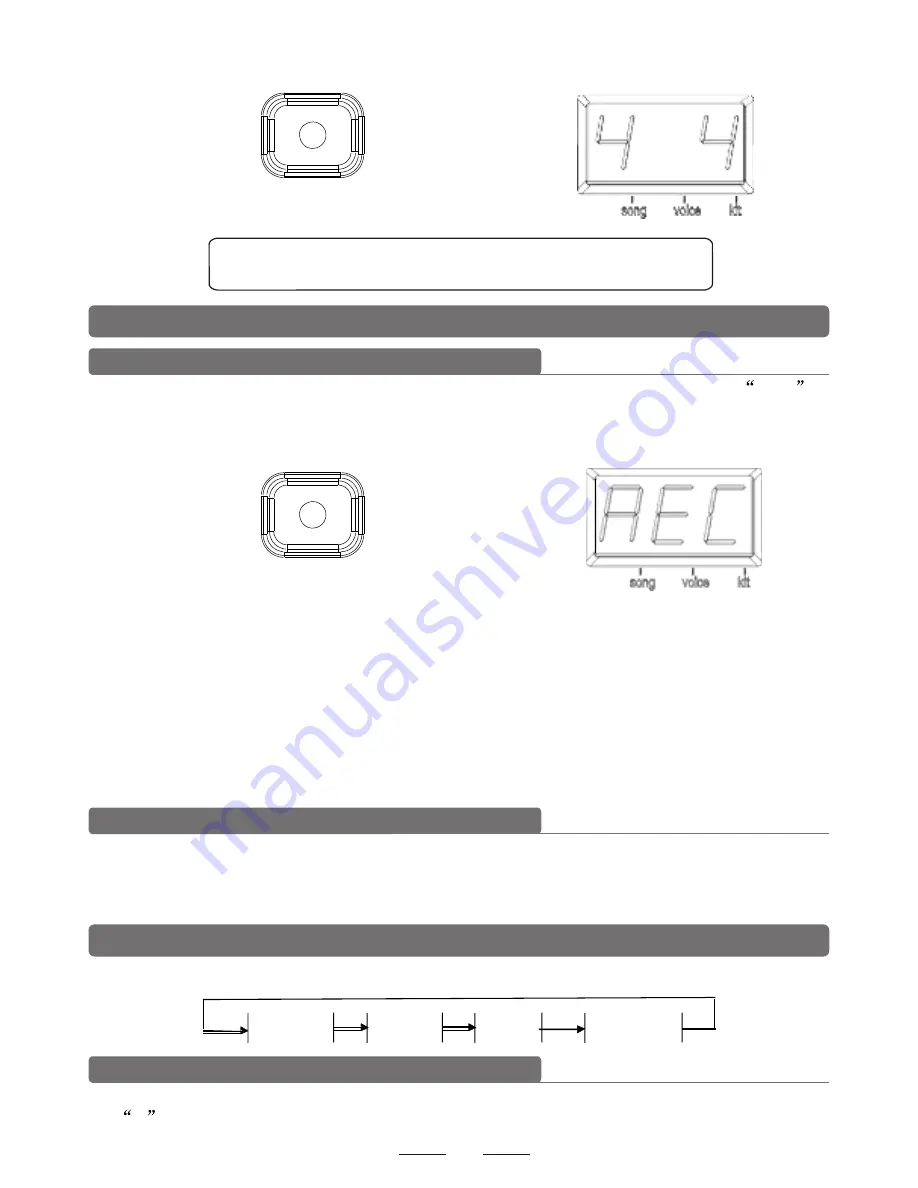
1). Press [RECORD] button, and [RECORD] LED lights up and flashes. It shows
REC .
2). Strike the pads to start recording or record only the drum sound of the song being played.
3). Press [RECORD] button to stop recording. [RECORD] LED lights off. The song or the user's
performance has been recorded.
Note:
RECORD
1). During recording, the metronome function will not automatically start. If user needs to start
the metronome function, user can press [CLICK] button before recording instead of pressing
it after recording.
2). The metronome sound can not be recorded.
3). If user is not satisfied with the recorded result, press [RECORD] to restart recording.
(Note: this module supports the recording function, but not saving function. The recorded data
will cover the former data, and all the data will not be saved after the module is powered off).
Play the recorded song
1). Press [START/STOP] button twice to replay the recorded song, and meanwhile
[START/STOP] button and [RECORD] LED lights up.
2). After replaying, [UTILITY] button and [RECORD] LED lights off.
7. Practical setting
Press [UTILITY] button to enter into practical setting, then into the following menu gradually.
Sensitivity
Crosstalk
Curve
Local On/off
Trigger sensitivity
1). Press [UTILITY] button to enter into the trigger sensitivity setting. The display shows letter
E
first, and the sensitivity level next.2). Strike the pads to select proper sensitivity.


