


Page 12
Weather Echo
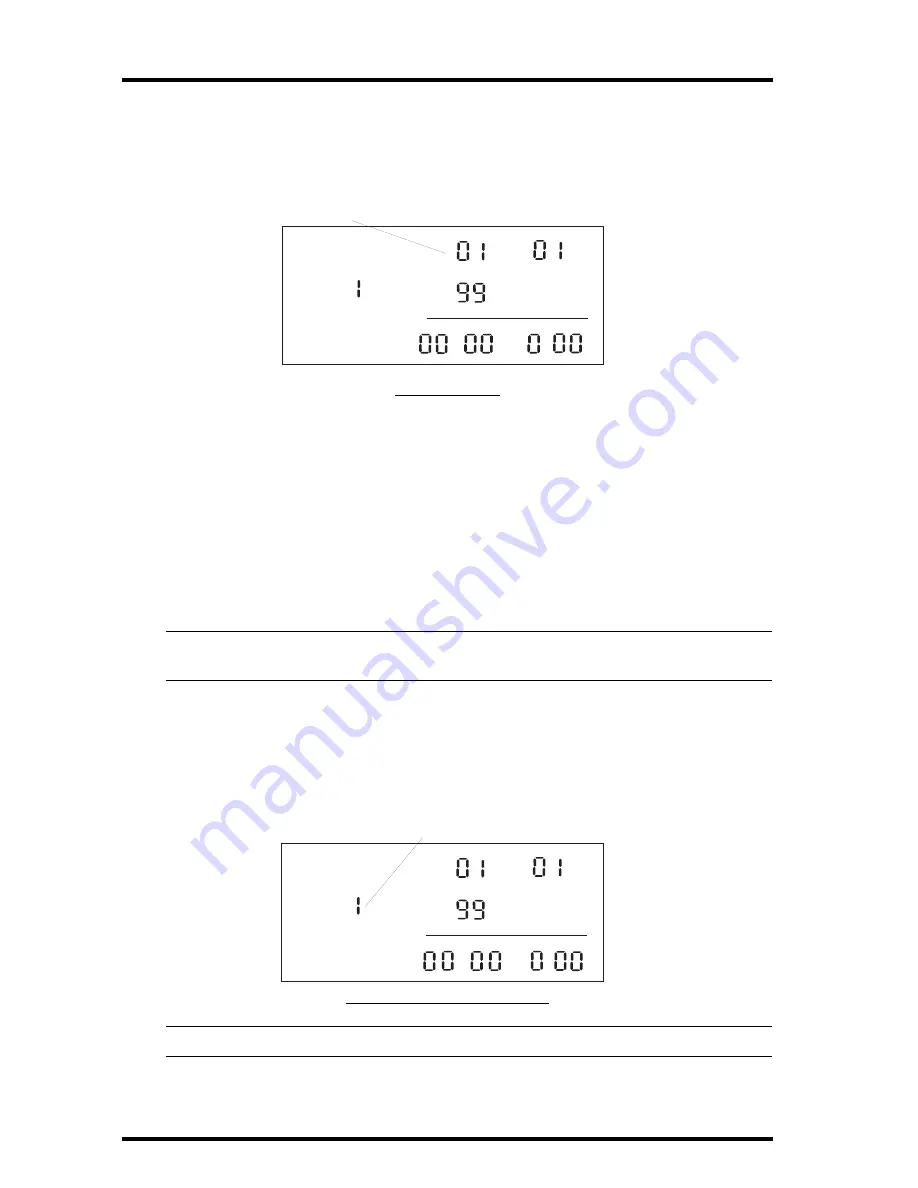
To set the date:
1. Press the MODE key to change from Time to Day.
The first of the day digits flashes.
S
ETTING
THE
D
ATE
2. Input the correct digit value using the + or - key.
3. Press the SET key to accept the value and move on to the next digit.
4. Repeat steps 2 and 3 to input the remaining day digit.
5. Press the MODE key to change from Day to Month.
6. Repeat steps 2 and 3 to input the remaining month digit.
7. Press the MODE key to change from Month to Year.
8. Repeat steps 2 and 3 to input the year digits.
Note:
After the year 1999, the year digits revert to 00, thus the year 2000 displays as 00, and the
year 2001 displays as 01.
To set the transmitter ID Code:
1. Press the MODE key to change from Year to ID Code.
2. Input a digit value from 1 to 8 using the + or - key.
S
ETTING
THE
T
RANSMITTER
ID C
ODE
Note:
You need to set the ID Code to the same ID code as your host station.
RAIN
in
.
.
.
TOTAL
TIME
ID CODE
DAY
YEAR
MONTH
Flashing digit
RAIN
in
.
.
.
TOTAL
TIME
ID CODE
DAY
YEAR
MONTH
Flashing digit


