DI–710 Series and DI-715B Series Hardware Manual
Installation
17
4.
In the “Installing Software” window, select “Install Software for DI-148, DI-158, DI-710, and DI-715B instru-
ments” and click OK.
5.
Select the “Install Software” option and click OK to continue. If you wish to view the hardware documentation
you may do so now
6.
In the Welcome! box, click OK to continue.
7.
Read the License Agreement. If you accept the terms, click “Accept and Continue.” If you choose not to accept,
this will end the installation.
8.
When prompted, enter your registration information (name and company) in the appropriate text boxes and click
OK. Confirm your registration information before continuing.
9.
When prompted, specify the directory where you want to install your W
IN
D
AQ
software. It is recommended that
you accept the default. If you have already successfully installed a DI-148, DI-158, DI-710, or DI-715B instru-
ment be sure to install to the same folder.
10. Make sure each instrument is connected to your PC or Network and all device drivers are installed. You
must install two device drivers for each USB instrument.
Click OK to continue.
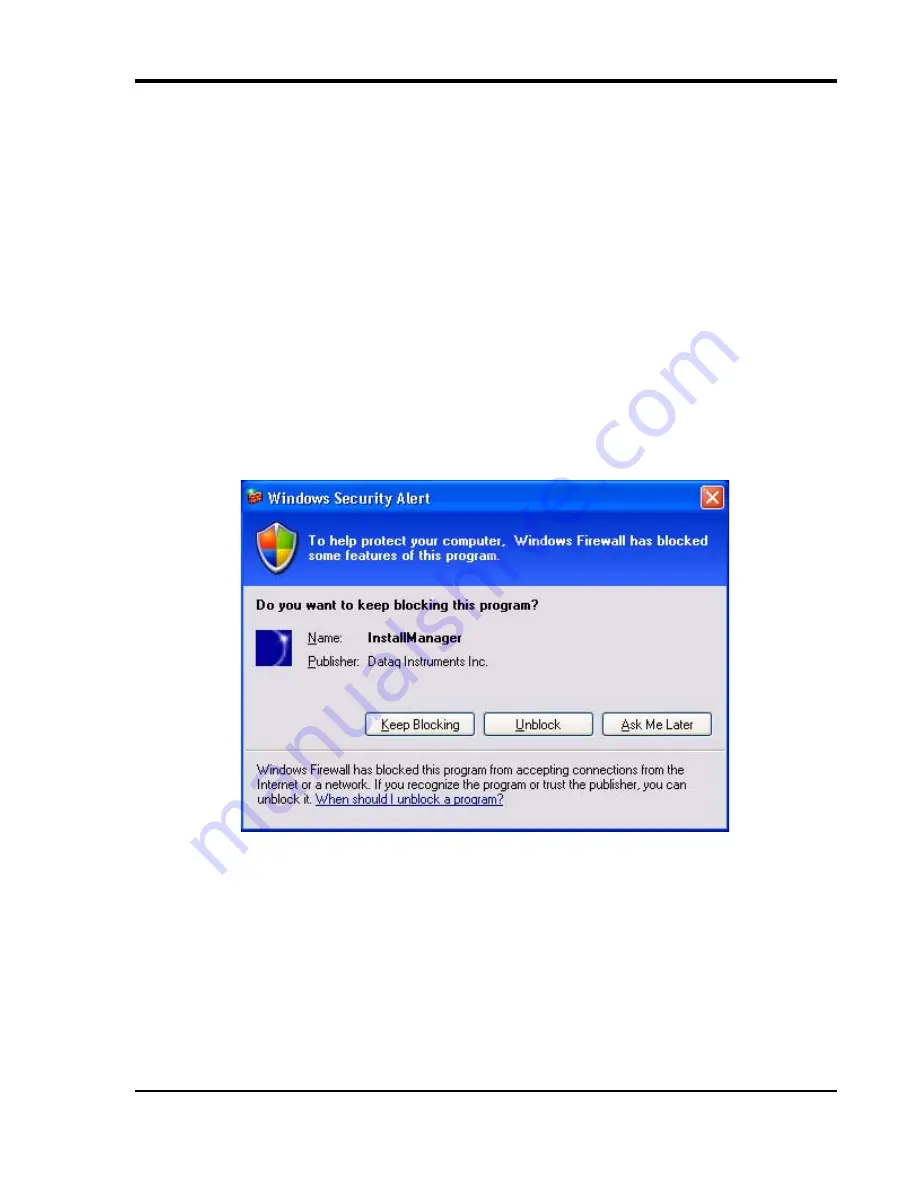
11. The DATAQ Installation Manager runs. A Windows Security Alert may pop up asking if you would like to Block
the software from installation.
Click the
Unblock
button to continue with installation.
12. The DATAQ Installation Manager shows all DI-148, DI-158, DI-710, and DI-715B devices currently connected
via USB or Ethernet to your PC. Remote Ethernet models (not connected to your PC or Network) may require a


