Product Reference Guide
5
Chapter 2
Setup
Unpacking
Check carefully to ensure the scanner and any cables or accessories ordered are
present and undamaged. If any damage occurred during shipment, contact
Technical Support on page 3.
KEEP THE PACKAGING. Should the unit ever require service, it should be
returned in its original shipping container.
Setting Up the Scanner
Follow the steps provided in this section to connect and get your scanner up
and communicating with its host:
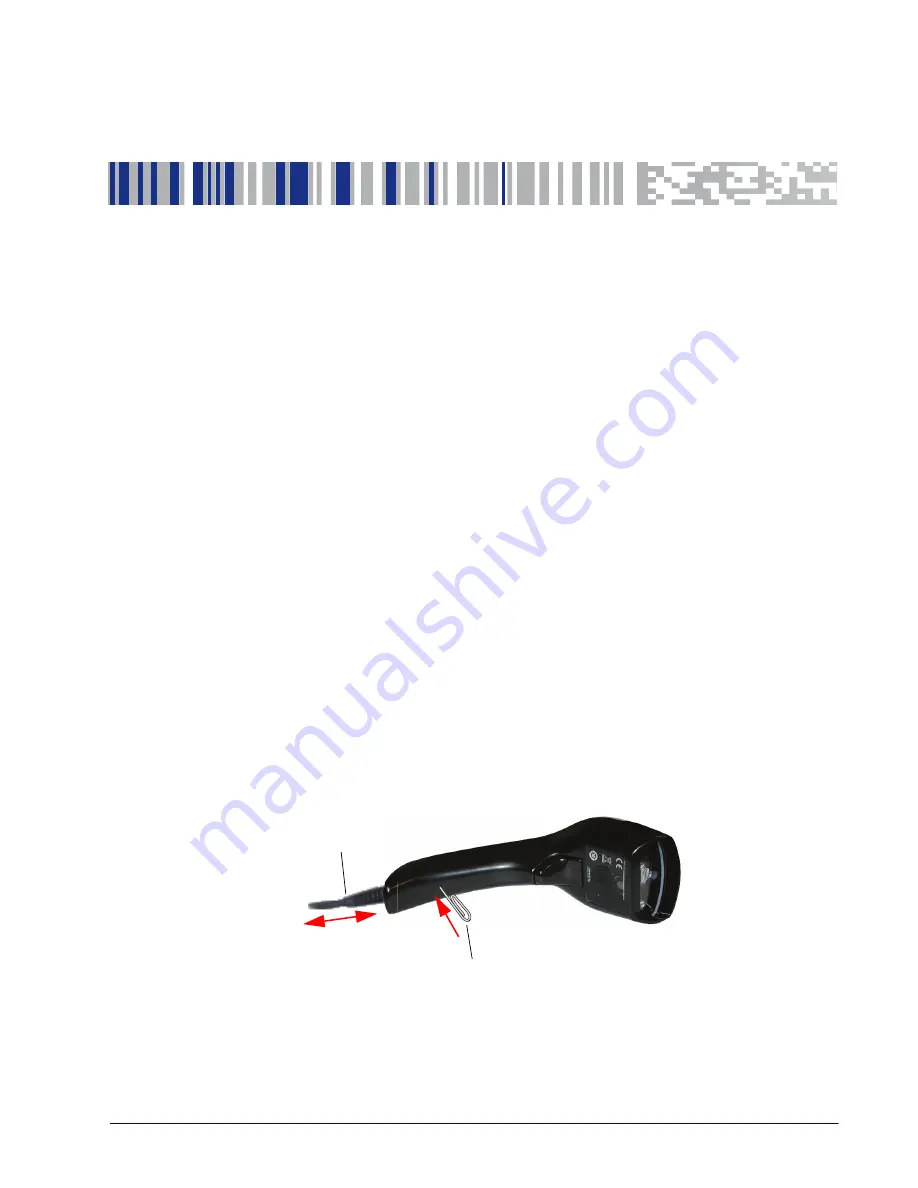
1. Connect the Interface Cable at the scanner as shown in Figure 2. To dis-
connect the cable, insert a paper clip or similar object into the opening
shown (item #3).
2. Connect the other end to the Host (see the next section,
3. Modify "
Customizing Configuration Settings" on page 16
(only if modifications
are needed from factory settings).
Figure 2. Cable Connection/Disconnection at the Scanner
Cable Connector
Paper clip
r
Summary of Contents for Heron HD3430
Page 1: ...Heron HD3430 2D Area Imager Product Reference Guide ...
Page 12: ...Introduction 4 Heron HD3430 NOTES ...
Page 34: ...Enter Exit Programming Mode Parity 26 Heron HD3430 CR2PA01 Parity Even CR2PA02 Parity Odd ...
Page 36: ...RS 232 ONLY Interface 28 Heron HD3430 NOTES ...
Page 78: ...Keyboard Interface 70 Heron HD3430 ...
Page 122: ...Reading Parameters 114 Heron HD3430 NOTES ...
Page 210: ...Enter Exit Programming Mode BC412 200 Heron HD3430 NOTES ...
Page 242: ...Symbology Selection 232 Heron HD3430 NOTES ...
Page 280: ...Technical Specifications 270 Heron HD3430 Stand Dimensions ...
Page 282: ...Technical Specifications 272 Heron HD3430 NOTES ...
Page 294: ...Standard Defaults 284 Heron HD3430 NOTES ...


