background image


6 / 10 

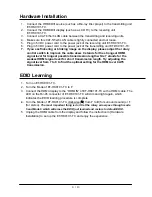
Panel Descriptions 

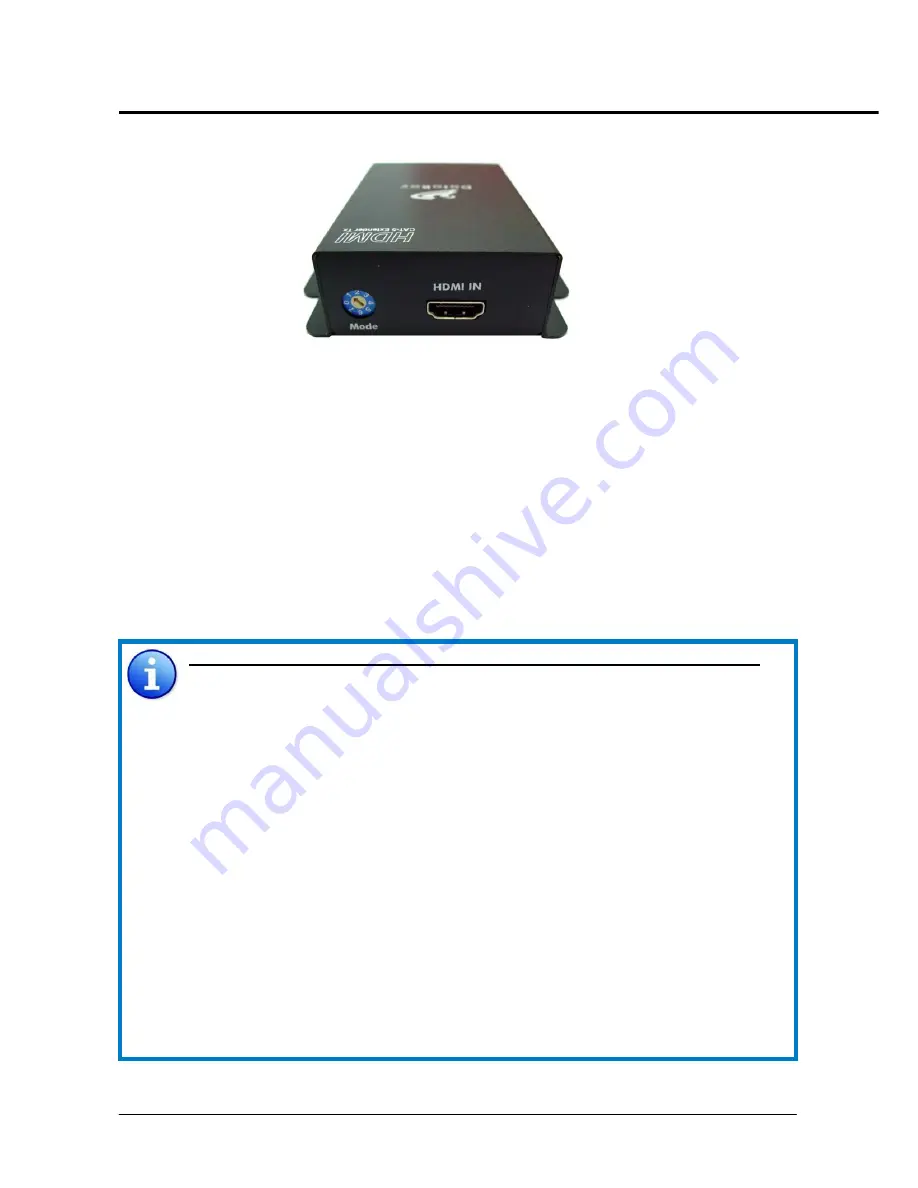
ET-HK0101-TC Front View   


HDMI IN:   

Connects to a HDMI source with a HDMI Male-Male cable here 
 

MODE:  

0 = [Video] – supports up to HDMI 1.3 output. [Audio] – supports up to 7.1ch output 
1 = [Video] – supports up to HDMI 1.3 output. [Audio] – locks to stereo audio output 
2 = [Video] – locks to HDMI 1.2 output. [Audio] – supports up to 7.1ch output 
3 = [Video] – locks to HDMI 1.2 output. [Audio] – locks to stereo audio output   
4 = [Video] – DVI display mode. [Audio] – no audio output 
5 = [Safe Mode] – uses default EDID

1

 with video supported up to 720p/1080i 

6 = [Default Mode] – uses default EDID

2

 with video supported up to 1080p 

7 = [EDID Learning Mode] – learns EDID

3

 from the display 


Note for EDID (Extended Display Identification Data) learning


1.  If you cannot get the audio/video output from the connected display from the 

first time setup. Please follow the instructions below to check if the extender 
is OK: 

Step 1 – Please set the rotary arrow on TX at “

Mode 5

” for Safe Mode, and wait 

for the LED of the RJ-45 connector blinks for a couple seconds. 

Step 2 – Please turn the rotary arrow counterclockwise

 [ ] 

from 

Mode 5

 to 

Mode 3

. If you can get audio/video from the display, you can stay tune 

at this setting for 720p or 1080i and stereo audio. If you need to get 
720p/1080i with 7.1ch audio output, please turn the rotary arrow 
counterclockwise

 [ ] 

from 

Mode 3

 to 

Mode 2

. For better audio/video 

output, please check Note#2. If you still cannot get the audio/video 
out normally, please go on the next step. 

Step 3 – Please turn the rotary arrow counterclockwise

 [ ] 

from 

Mode 3

 to 

Mode 7

. Wait a few seconds until the LED of the RJ-45 connector 

dims and then lights again. 

Step 4 – Please turn the rotary arrow clockwise

 [

from 

Mode 7

 to 

Mode 1

You should have normal audio/video output. If not, please contact 
technical support. 


Summary of Contents for ET-HK0101-RC

Page 1: ...ET HK0101 TC ET HK0101 RC User Manual V1 0 www databay com tw www green box com tw HDMI over Single CAT 5 Extender Kit with IR ...

Page 2: ...nimize the risk of damage to the unit z Follow all instructions and warnings marked on this unit z Do not attempt to service this unit yourself except where explained in this manual z Provide proper ventilation and air circulation and do not use near water z Keep objects that might damage the device and assure that the placement of this unit is on a stable surface z Use only the power adapter and ...

Page 3: ...DVD players or PS3 transmit utmost high quality video and audio with a greater distance at the minimal cost when integrating several components apart The ET HK0101 MC includes two units transmitting ET HK0101 TC and receiving ET HK0101 TC units The transmitting unit is used to capture the input HDMI DVI signals and carry the signals through one RJ 45 connector into one cost effective CAT 5 5e 6 LA...

Page 4: ...ces under Full HD resolution 1080p at 36 bit color depth z HDCP 1 1 compliant z Minimize the cable skew by adjustable 8 level equalization control z Pure unaltered uncompressed 7 1ch digital HDMI over LAN cable transmission z DTS HD and Dolby True HD high bit rate audio support z Allows cascading z Wall mounting housing design for easy and robust installation z Perfectly integrated with other HDMI...

Page 5: ... discharge 2 Core chipset 8kV PCB stack up 4 layer board impedance control differential 100Ω single 50Ω Input 1x HDMI 1x RJ 45 Output 1x RJ 45 1x HDMI HDMI source control No IR remote control N A HDMI connector Type A 19 pin female RJ 45 connector WE SS 8P8C with 2 LED indicators 3 5mm connector None None Rotary control switch Mode Signal level Mechanical ET HK0101 MC Housing Metal case Model TX R...

Page 6: ...the first time setup Please follow the instructions below to check if the extender is OK Step 1 Please set the rotary arrow on TX at Mode 5 for Safe Mode and wait for the LED of the RJ 45 connector blinks for a couple seconds Step 2 Please turn the rotary arrow counterclockwise from Mode 5 to Mode 3 If you can get audio video from the display you can stay tune at this setting for 720p or 1080i and...

Page 7: ...ise from Mode 7 to Mode 0 1 You should have your desirable audio video output If not please follow the instruction in Note 1 3 To learn EDID from the HDMI display please follow the instruction below Step 1 Please connect the display which you want to read EDID with a HDMI cable to the transmitter s HDMI IN and set the rotary arrow at Mode 7 so the TX can learn the EDID information from the connect...

Page 8: ...ion rotary control switch to the received HDMI signals 0 7 strongest weakest It is recommended to switch from 7 to 0 to find the optimal visual experience ET HK0101 TC Rear View HDMI Signal IN Plug in a CAT 5 5e 6 cable that needs to be linked to the RJ 45 connector of the transmitting unit ET HK0101 TC 5V DC Connect to 5V DC power supply ...

Page 9: ...for longest possible transmission length while 7 stands for the weakest HDMI signal level for short transmission length Try adjusting the signal level from 7 to 0 to find the optimal setting for the HDMI over CAT5 transmission EDID Learning 1 Turn on ET HK0101 TC 2 Turn the Mode of ET HK0101 TC to 7 3 Connect the HDMI display to the HDMI IN of ET HK0101 TC with a HDMI cable The LED on the RJ 45 co...

Page 10: ...IA 568 B termination T568B for LAN cables is recommended for better performance 5 To reduce the interference among the unshielded twisted pairs of wires in LAN cable one can use shielded LAN cables to improve EMI problems which is worsen in long transmission 6 Because the quality of the LAN cables has the major effect on how long the transmission limit can achieve and how good is the received pict...

Reviews: