background image


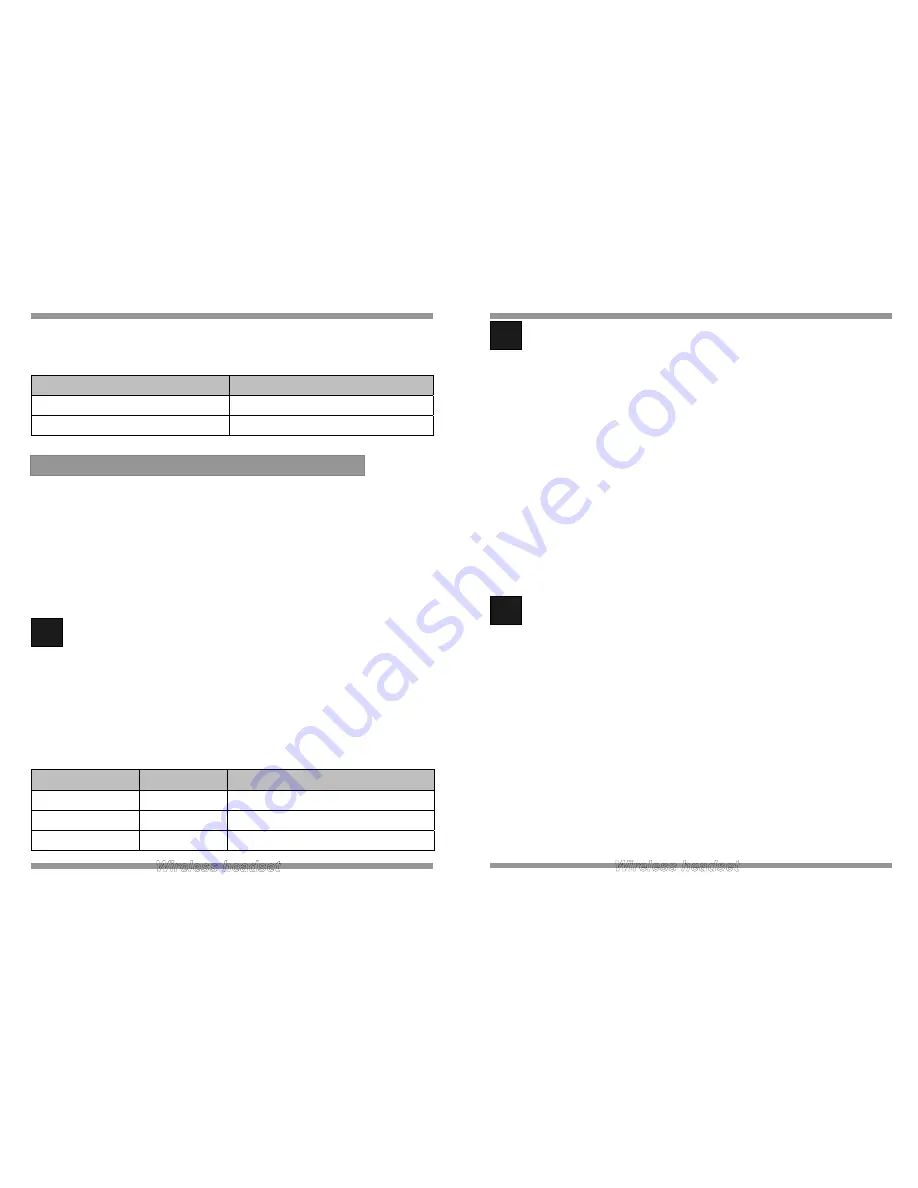
When charging the LEDs on the front of the base unit will illuminate in RED. The following 

are the status and colors expected during the charging process. 

Charging Status 

LED Colour 

Fully charged 

GREEN 

Charging RED 


Before operation your headset must be paired with your base unit, this can be confirmed 

by the following check: 

  After power on the Base and Headset unit, it takes 15 seconds to be paired 

automatically. If your base unit LED is constantly blinking BLUE, you need to pair 

your headset with your base unit. 


1


Pairing your Headset and Base Unit


1.  Make sure BLUE LED is blinking after your Base unit is turned on. Press and 

hold the pairing button on right side of Base unit about 5 seconds. Release 

the button.(BLUE LED is blinking faster) 

2.  Press and hold the mute button on the headset until RED LED is blinking. 

Release the button. 

Check the LED status when you push the ON/OFF button of headset. 


BASE LED 

HEADSET LED 

IN USE Mode 

BLUE 

BLINKING every 3 seconds 

Stand-by Mode 

OFF 

OFF 

Not paired 

BLINKING 

OFF 


6. Operation 


2


Checking for compatibility


As telephone manufactures can vary their configuration, it is necessary to have 

compatibility selections on the base unit to ensure that the unit is compatible with 

virtually any telephone. 


To check and adjust for compatibility between the Base unit and the telephone 

perform the following: 

 While 

wearing 

the 

headset – push the ON/OFF button 

  If you cannot hear a dial tone with the factory setting, adjust the 

COMPATIBILITY switch on the base unit bottom until you hear a clear dial 

tone. 

  When making a call, if your voice cannot be heard or is very low, adjust the 

MICROPHONE SELECTION switch to the “C” position. 


3


Making and ending call using a telephone with LIFTER attached


While wearing the headset, press the ON/OFF button 


Check the lifter function activates (telephone connection opens) 


You can hear a dial tone 

  GREEN LED on the headset unit will be turned off (in-use status) and BLUE 

LED on the Base unit turns on 


Dial desired number 


To end the call press the ON/OFF button on the headset 


Check the lifter function de-activates (telephone connection closes) 

  GREEN LED on the headset will be blinking every 3 seconds (standard 

paired status) and BLUE LED on the Base unit turns off. 


Summary of Contents for DW-770

Page 1: ...Checking for compatibility Making and ending a call using a telephone with Lifter attached Answering a call using a telephone with Lifter attached Adjusting the TX transmit volume Adjusting the RX rec...

Page 2: ...so in the unlikely event that the unit needs to be returned for service or repair IMPORTANT Ensure that all electrical connections including extension leads and interconnections between pieces of equi...

Page 3: ...it CALL On Off TX Mute Button Microphone Charging LEDs Over Head Fitting Additional Battery Docking optional Ear Hook Fitting Neckband Fitting Pairing Button Power LED In use LED PC TEL Button Mute Pa...

Page 4: ...Use the supplied telephone cord and connect on end to the HANDSET port on your telephone base unit The other end should be connected to the TELEPHONE port located on the back of the unit 4 Setting up...

Page 5: ...peration 2 Checking for compatibility As telephone manufactures can vary their configuration it is necessary to have compatibility selections on the base unit to ensure that the unit is compatible wit...

Page 6: ...switch located on the bottom of the base unit to C 6 Adjusting the RX receive volume To adjust follow these steps Make a telephone call and ask the person you are calling for their assistance Adjust t...

Page 7: ...the battery is placed onto the battery charging point an indicator LED will illuminate in RED When fully charged this will change to GREEN 7 Replacing the Battery Pack Compatibility Compatible with mo...

Page 8: ...matically lifts and replaces handset Compatible with most standard telephones Easy installation 9 Optional Accessories 2 Extra Battery Pack A second battery pack is available which can be charged on i...

Page 9: ...or altered Warranty and service In compliance with the essential requirements and other relevant provisions of the following EC directives Reference No Tile EN 301 406 Digital Enhanced Cordless Telec...

Page 10: ...es Operation is subject to the following two conditions 1 This device may not cause harmful interference and 2 This device must accept any interference received including interference that may cause u...

Page 11: ......

Reviews: