12
4. Stop Playback
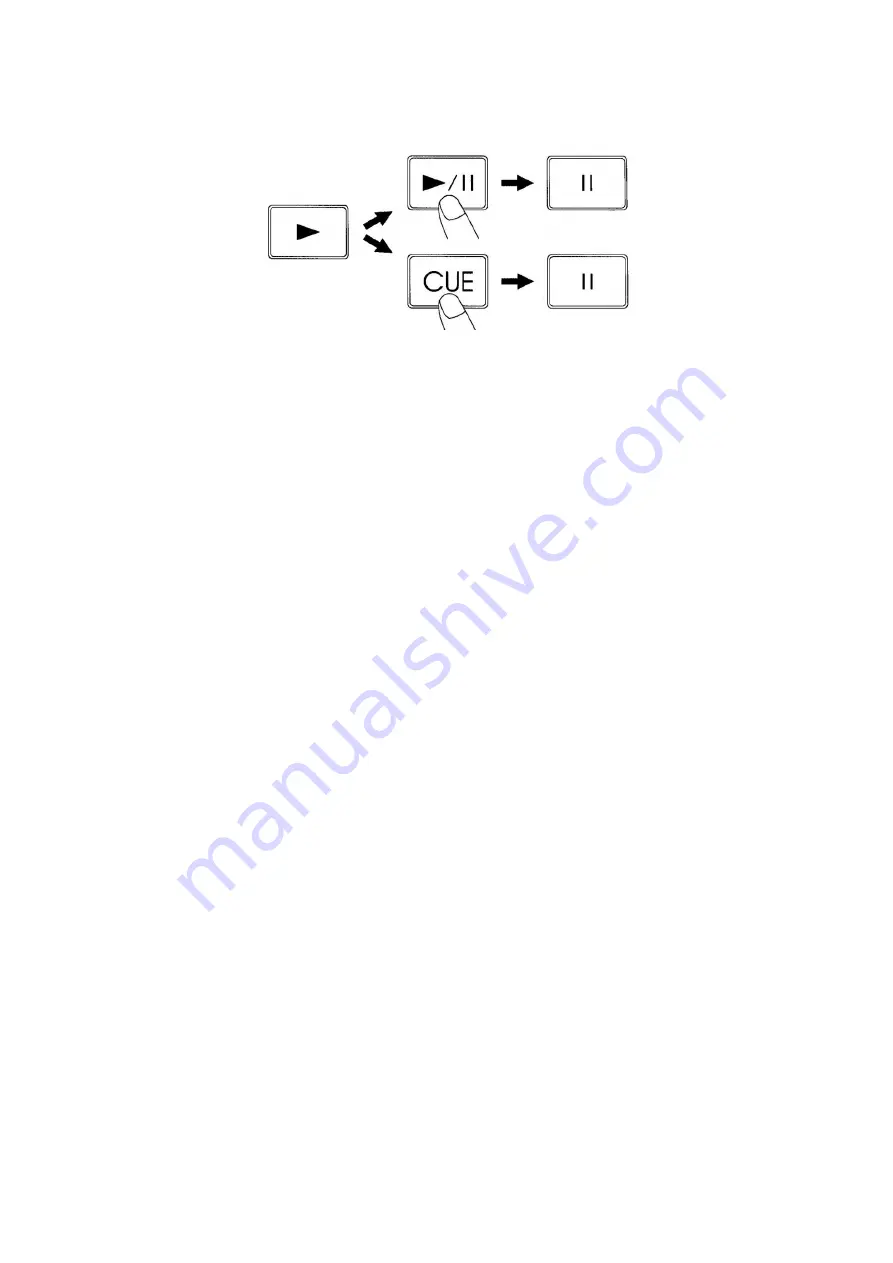
There are two ways to stop playback:
1. Press the
Play/Pause
button during playback to pause at that point.
2. Press the
Cue
button during playback to return to the cue point and enter pause condition.
Fig. 10
5. Pausing
• Press the
Play/Pause
button to switch between play and pause.
• The
play
indicator flashes when the pause mode is set.
• Playback resumes when the
Play/Pause
button is pressed again.
6. Setting a Cue Point
• Press the
Play/Pause
button to switch between play and pause.
• The play indicator flashes when the pause mode is set.
• Use the
Folder/ Track encoder
to go to your desired Cue point.
• Press the
Play/Pause
button again and your Cue point has been stored and the CD will continu.
7. Cueing
• "Cueing" is the action of preparing for playback.
• Press the
Cue
button, the player will enter Cue-Mode, the playback returns to cue point and enter
pause condition, the Cue indicator lights up and the
Play
indicator flashes. When
Play/Pause
button is
pressed, play starts from the cue point.
• When the track search operation is completed after using the
Folder/ Track encoder
, the player
automatically finds the position at which the sound starts and cues there (Auto Cue).
• If the
Cue
button is pressed after the search operation or the scanning operation, the playback returns
to the cue point and enters pause condition.
NOTE
: During cue mode, if the
Cue
button is pressed and hold, playback will start from the cue point,
when the button is released, the player will return to the cue mode automatically, it allows you to check
the cue point.
8. Scanning (Fast forward/Fast backward)
• Scanning is a function for moving quickly forward or backward while pressing the
Fast Forward
or
Fast
Backwards
buttons.
• Press the
Fast Forward
or
Fast Backwards
button to start scanning. The disc moves rapidly forward or
backward and the sound is audible. The current scan point is indicated on the LCD.
9. Time Display
Press the
Time
button to select time display mode:
1. Elapsed time of a track.
2. Remaining time of a track.
10. Changing Pitch of the song
There are three tools available for matching the BPM of the track:
1. Use the
Pitch slider
to adjust the BPM.
2. Use the
Pitch Bend
buttons to change the BPM temporarily.
1) Pitch-Slider
• To adjust the BPM by sliding the pitch slider up or down, tap the
Pitch
button to select the desired
pitch bend (8%, 16% or 24%).
the
Pitch
adjustment function.
• Slide the
Pitch slider
up to decrease BPM, or down to increase BPM. The adjustment range is +-24%.


