75
MG.10.J8.02 – VLT is a registered Danfoss trade mark
Programmable SyncPos motion controller
PC Software Interface
■
■
■
■
■
Index Cards "CURVE DATA", "CURVE INFO" and
Parameter
Before you edit a curve, you should always first load
the parameters of your control into the CAM-Editor.
You can save the user parameters including the
arrays into a file with the extension „cnf“ with
"PARAMETERS"
→
"SAVE TO FILE".
→
"LOAD" this
file into the CAM-Editor.
If you do not load any parameters, you will find
that the VLT factory settings have been entered.
If you change the parameters in the course of crea-
ting the curve, they will also be saved in the cnf file
and loaded into the control with Parameter
→
"RESTORE FROM FILE" and entered in the corres-
ponding dialog fields of the axis parameters.
■
■
■
■
■
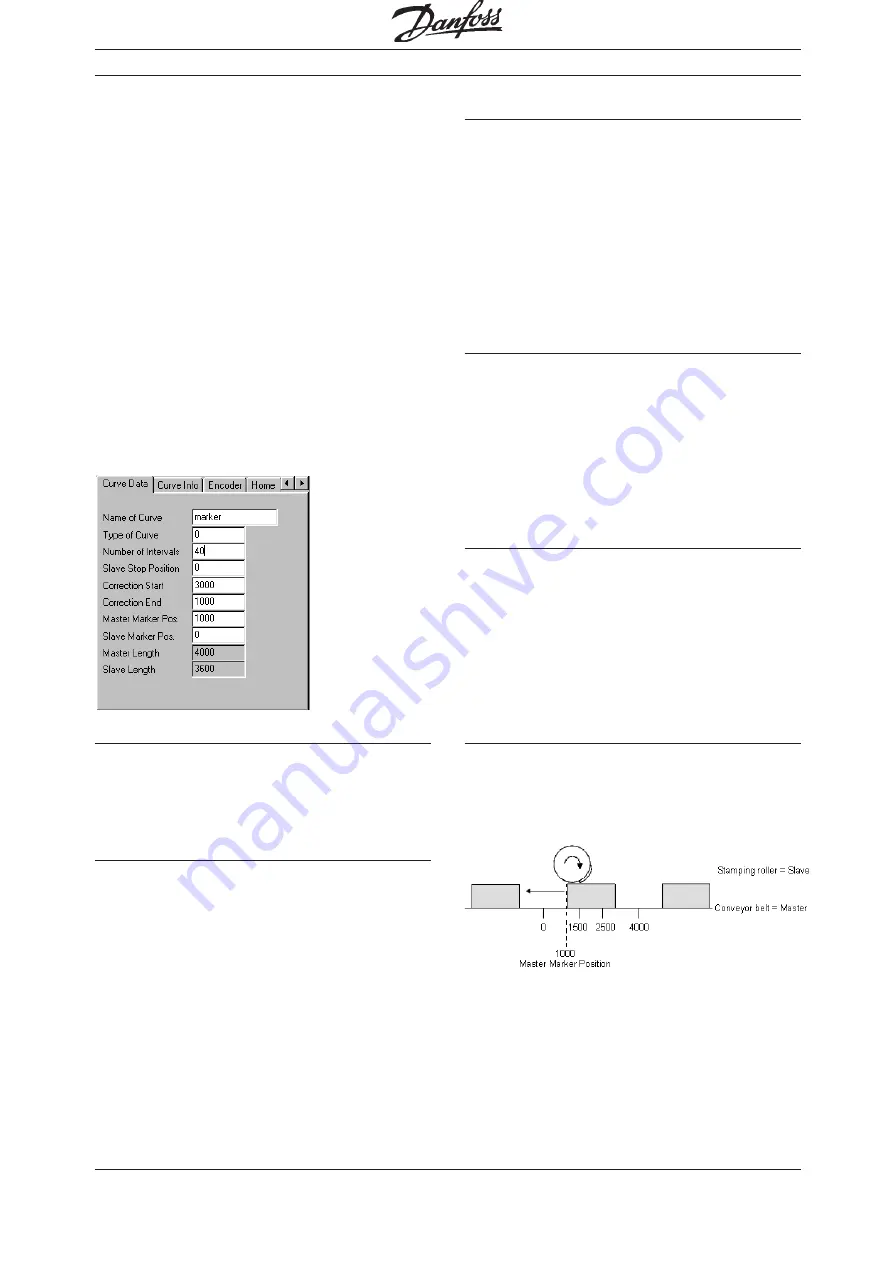
Index Card "CURVE DATA"
You can determine important key data of your curve
in the index card
→
"CURVE DATA":
Name of Curve
If you edit several curves, you can give meaningful
names to the curves for your own information here. If
a cnf file contains several curves, these names are
offered for selection in "FILE"
→
"LOAD CNF".
Type of Curve
In order to prevent velocity leaps in the case of re-
peated curve cycles, you can choose between two
curve types. In either case, the interpolation takes
account of the gradient of the curve at the beginning
and end.
Select the curve type:
0 = The gradient of the curve at the beginning and
end is averaged.
1 = The gradient at the beginning of the curve is
also used for the end of the curve.
Number of Intervals
You can define the number of straight sections that
are used for the entire curve with the number of
intervals.
Do not select intervals that are too small (this
would only lead to an unnecessary overhead), and
use a whole number factor of the master length, if
possible. For example, use an interval of 30 or 60
in the case of a master length of 3000. You can
then put on the fixpoints without error when
→
"SNAP ON GRID" is turned on.
Slave Stop Position
Determine the position where the slave should run
to and stop if no SYNCCSTOP command with the
variable
slavepos
was set in the program. This posi-
tion will also be used if SYNCC starts with a specific
number of cycles and does not use a SYNCCSTOP
command.
A grey line indicates this position in the curve pro-
file. Activate
→
"SLAVE STOP" for this purpose.
Correction Start / Correction End
Enter the master positions where the master cor-
rection is supposed to begin and where it is sup-
posed to end. Be careful to leave enough time to
correct the synchronization before the processing
point is reached.
The correction area is shown in blue in the curve
profile. Activate
→
"CORRECTION" for this
purpose.
Master Marker Position / Slave Marker Position
Enter the master position (or the slave position in the
case of a slave synchronization with marker) for
which the marker has been set, here for example
the beginning of a cardboard box.
The position of the curve where the marker is detected
is calculated from the master marker position and the
marker distance. This position is shown as a green line
in the curve profile and allows you to fix the correction
area. Activate
→
"MASTER MARKER" or "SLAVE
MARKER" for this purpose.


