Display Maintenance
21
6�
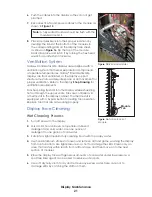
Push the cables into the display so they do not get
pinched.
7�
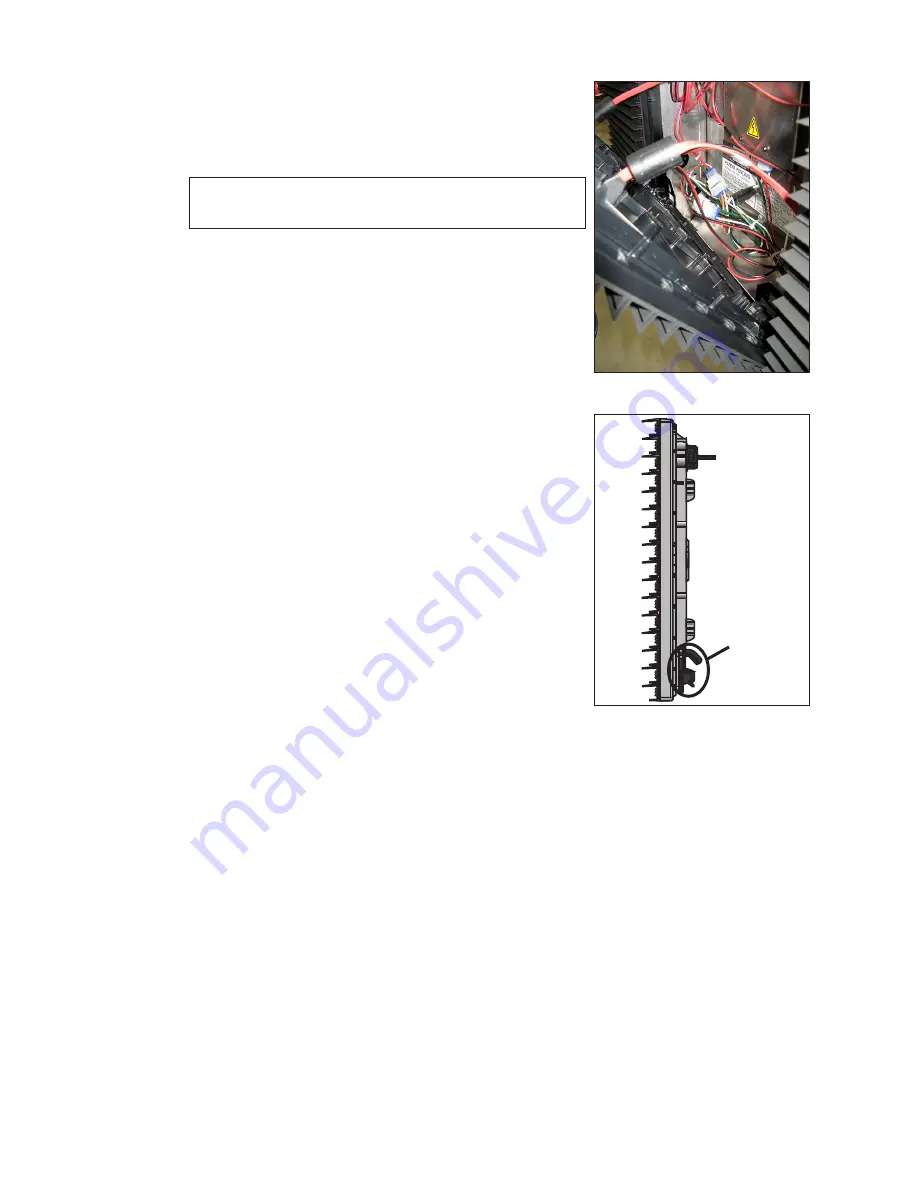
Reconnect SATA and power cables to the module, as
shown in
Note:
A fully seated module should be flush with the
modules around it.
8�
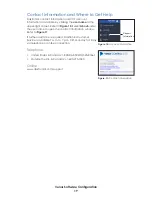
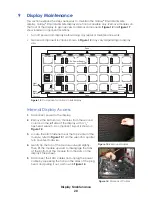
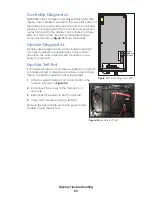
Place modules back into their proper locations by
inserting the tabs at the bottom of the modules in
the corresponding slots on the display face sheet,
. Tip the top of the module
back into place and latch it by turning the hex head
wrench a quarter-turn clockwise.
Ventilation System
Galaxy
®
Small Matrix GS6 displays are equipped with a
ventilation system that helps keep internal components
at operable temperatures. Galaxy
®
Small Matrix GS6
displays are front ventilated, so the display support
structure must allow adequate space or air movement for
proper ventilation. Refer to the display
Shop Drawing
for
ventilation requirements.
Fans help bring fresh air into the display while exhausting
hot air through the upper vents. Fans are controlled via
a thermostat in the display cabinet. The thermostat is
equipped with a bypass button for testing fan operation.
Replace fans that are not working properly.
Display Face Cleaning
Wet Cleaning Process
1�
Turn off power to the display.
2�
Mix a mild, non-abrasive, non-petroleum-based
detergent and cold water. Use one ounce of
detergent to one gallon of cold water.
3�
Saturate a light/medium duty cleaning brush with the soapy water.
4�
Use horizontal brush strokes to loosen and remove dirt and grime, washing the display
from top to bottom. Use light pressure so as not to damage the LEDs. Clean only an
area that is safely within reach from a lift or stage, and then move on to the next
section of modules.
5�
Rinse the display face with generous amounts of cold water under low pressure. A
spot-free rinse agent can be used to reduce water spots.
6�
Use soft, dry terry cloth to dry and remove any excess water. Take care not to
damage LEDs by catching the cloth on them.
Figure 15:
Reinstall Modules
Module
Tab
Figure 16:
Tab on Back of
Module


