Dakota Ultrasonics
20
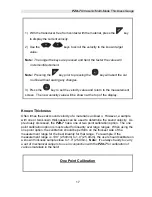
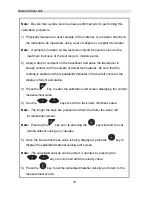
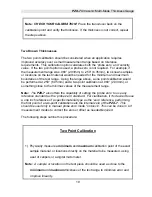
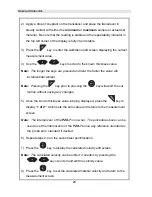
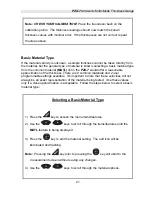
2) Apply a drop of couplant on the transducer and place the transducer in
steady contact with either the
minimum
or
maximum
sample or actual test
material. Be sure that the reading is stable and the repeatability indicator in
the top left corner of the display is fully lit and stable.
3) Press the
key to enter the calibration edit screen displaying the current
measurement value.
4) Use the
keys to scroll to the known thickness value.
Note:
The longer the keys are pressed and held, the faster the value will
increment/decrement.
Note:
Pressing the
key prior to pressing the
key will abort the cal
routine without saving any changes.
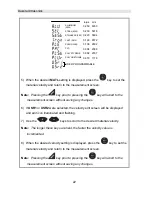
5) Once the known thickness value is being displayed, press the
key to
display “
1 of 2”
, which sets the zero value and returns to the measurement
screen.
Note:
The internal zero of the PZX-7 is now set. The procedure above can be
used to set the internal zero of the PZX-7 to use any reference standard as
the ‘probe zero’ standard if desired.
6) Repeat steps 2-4 on the second test point/location.
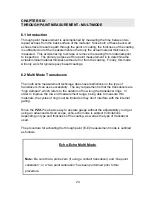
7) Press the
key to display the calculated velocity edit screen.
Note:
The calculated velocity can be edited, if needed, by pressing the
keys to scroll and edit the velocity value.
8) Press the
key to set the calculated material velocity and return to the
measurement screen.
Summary of Contents for PZX-7
Page 2: ......


