


9
[This
feature
will
first
have
to
be
enabled
through
the
“Hidden
Menu”.
Please
refer
to
the
“Hidden
Menu”
section
on
page
11
for
instructions.]
1.
To
access
the
Digital
Tuner
Menu
a.
Press
the
A/V
button
on
the
monitor
until
you
are
in
Tuner
mode,
then
press
the
MENU
button
b.
OR
you
can
press
the
MENU2
button
on
the
remote,
regardless
of
the
menu
selection
on
the
monitor.
2.
Use
CH
‐
/CH+
on
the
monitor
(up
and
down
arrows
on
remote)
to
select
an
item.
The
selected
item
turns
green.
3.
Use
‐
/+
on
the
monitor
(left
and
right
arrows
on
remote)
to
select
the
highlighted
item.
4.
To
exit
the
menu
a.
press
the
MENU
key
on
the
monitor,
EXIT
or
MENU2
on
the
remote
or
b.
let
it
time
out
on
its
own
by
doing
nothing
(approximately
25
seconds).
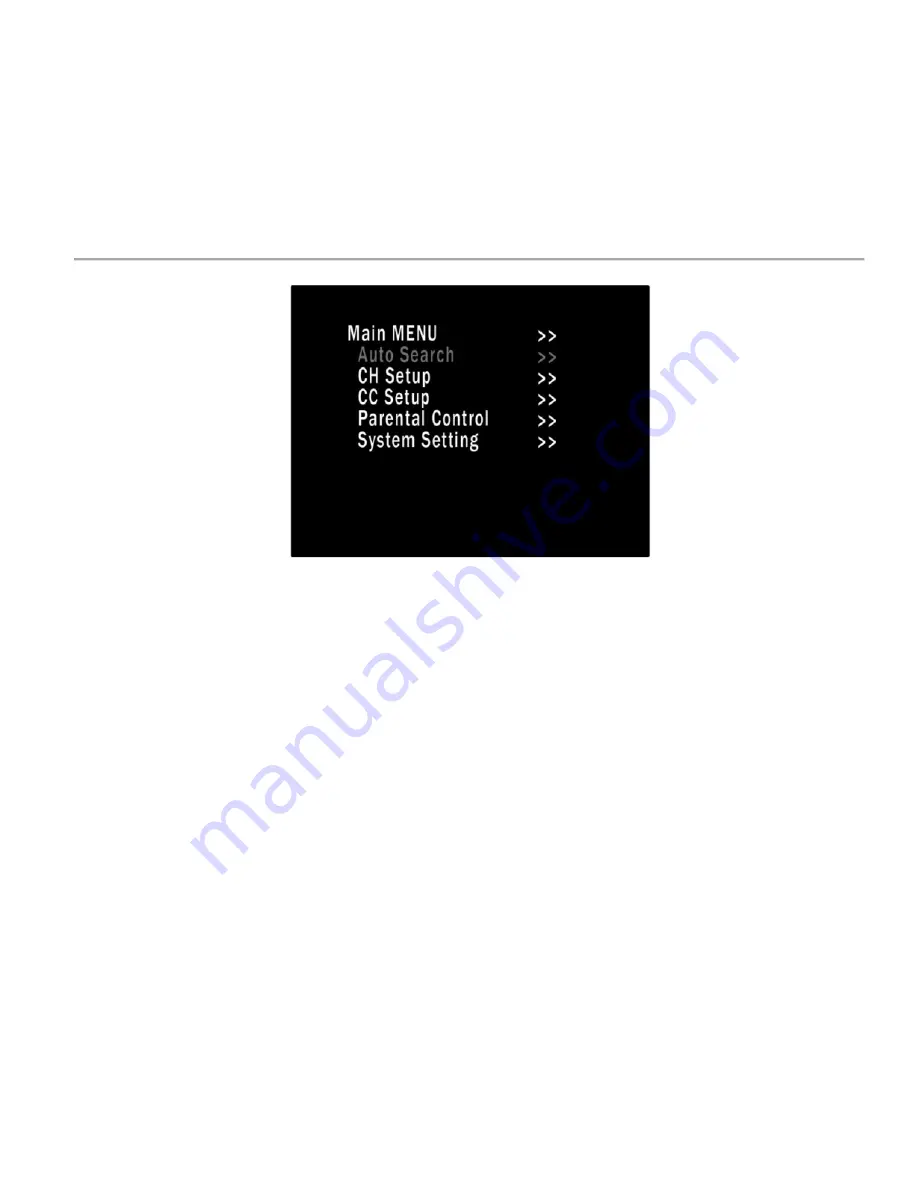
AUTO
SEARCH
–
Automatically
finds
and
stores
all
the
digital
channels
available
in
the
area
(Included
antenna
must
be
attached
to
monitor)
•
Source
Type
–
How
the
tuner
receives
it’s
signal
(Antenna
or
cable)
•
Start
Search
–
Searches
for
all
available
channels
and
stores
them
in
memory
CH
SETUP
–
Add
or
remove
channels
in
memory
•
Channel
–
Select
the
channel
you
want
to
add
or
remove
•
Skip
–
Selecting
ON
will
remove
the
channel
from
memory
Selecting
OFF
will
allow
the
channel
to
be
viewed.
CC
SETUP
–
Settings
for
Closed
Captioning
(CC)
•
CC
Display
–
Turn
CC
on
or
off
•
608CC
Type
–
Select
the
type
of
608CC
(C1,
C2,
C3,
C4,
T1,
T2,
T3,
or
T4)
•
708CC
Type
–
Select
the
type
of
708CC
(Service
1,
2,
3,
4,
5,
or
6)
•
CC
Mode
–
Use
the
broadcasted
CC
format
or
set
your
own
style
(Broadcast
or
Customer)
•
Customer
–
Becomes
selectable
ONLY
if
“CC
Mode”
is
set
to
“Customer”
o
CC
Size
–
Select
the
size
of
the
lettering
(Standard,
Large,
or
Small)
o
CC
Font
–
Select
the
font
type
of
the
lettering
(Font
0,
1,
2,
3,
4,
5,
6,
or
7)
o
CC
Opacity
–
Select
the
font
Opacity
(Solid,
Flashing,
Trnsl,
or
Trnsp)
o
CC
Color
–
Color
of
the
CC
letters
(White,
Red,
Green,
Blue,
Yellow,
Magenta,
Cyan,
or
Black)
o
Edge
Color
–
Outline
color
of
the
CC
letters
(Black,
Gray,
Red,
Green,
Blue,
Yellow,
Navy,
or
Dark
Gray)
o
Edge
Type
–
Edge
style
for
the
CC
letters
(None,
Raised,
Depressed,
Outline,
L.Shadow,
or
R.Shadow)
o
Bkgrd.
Color
–
Background
color
of
the
CC
(Black,
Gray,
Red,
Green,
Blue,
Yellow,
Navy,
or
Dark
Gray)
o
Bkgrd.
Opacity
–
Intensity
of
the
background
color
(Solid,
or
Trnsl)
Parental
Control
–
Set
a
password
for
the
monitor
System
Settings
–
Language,
time,
and
screen
size
settings
•
Reset
–
Resets
ONLY
the
digital
tuner
to
factory
defaults


