REMOVAL
PROCEDURE
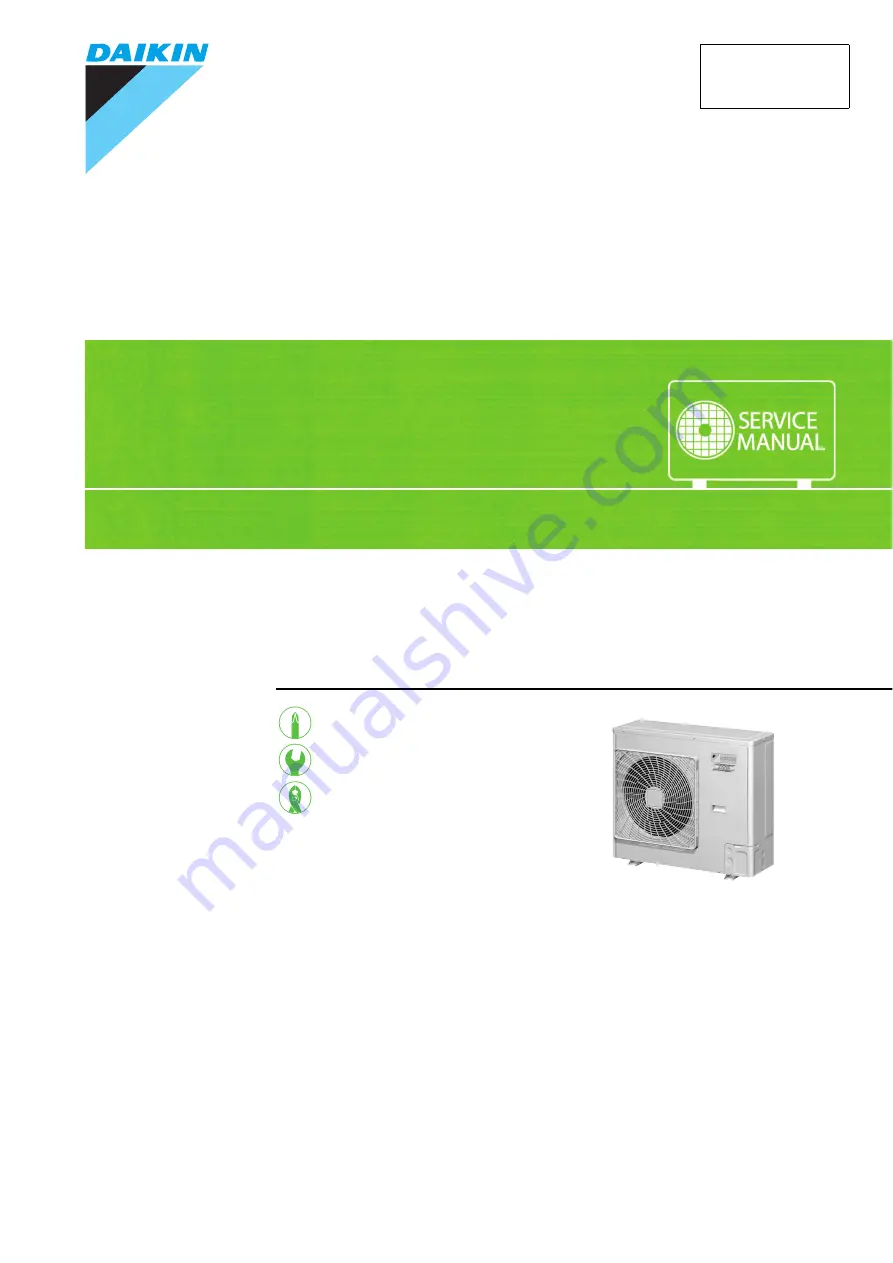
S E R V I C E M A N U A L
Outdoor Unit
Inverter
Pair Type
3 HP Class
Si281314E
Page 1: ...REMOVAL PROCEDURE S E R V I C E M A N U A L Outdoor Unit Inverter Pair Type 3 HP Class Si281314E...
Page 2: ...Service Manual Removal Procedure Outdoor Unit Applicable Models zHeat Pump RZQ71KAVLT...
Page 3: ...d Fan Motor 3 3 Procedure to Remove Switch Box 4 4 Procedure to Remove PCB Assy 1 5 5 Procedure to Remove Assy 2 6 6 Procedure to Remove Assy 3 7 7 Procedure to Remove Low Pressure Thermistor Electron...
Page 4: ...Remove the top panel after removing the 8 screws 3 Remove the front panel 1 after removing the 7 screws 4 Remove the right side panel after removing the 5 screws 5 Remove the front panel of the pipin...
Page 5: ...ve the top panel following the procedure indicated at Removal of Outside Panels and Related Parts 2 Remove the fan motor In case of removing the connector do not pull the lead wire Hold the connector...
Page 6: ...he switch box and the related parts Remove the connectors below Fan motor X106A Pressure thermistor X17A Coil of four way valve X25A Compressor relay X502A Remove the parts below Coil of motor operate...
Page 7: ...ing the procedure indicated at Removing Outside Panels and Related Parts Remove the switch box following the procedure indicated at Removing switch box 1 Remove the PCB for the display A2P 1 Remove th...
Page 8: ...electric component 1 Remove the mounting plate for the terminal block after removing the 1 screw 2 Remove the 2 connectors on the reactor 3 Cut 3 clamps that fix the wiring 4 Remove the mounting plate...
Page 9: ...ts 3 Remove the assembly of the PCB AIP Assembly of the PCB Retrieved 1 Remove the connectors on the PCB 2 Remove the 1 screw that fixes the electric component to the mounting plate 3 Pull out the ass...
Page 10: ...ated valve Precaution for the mounting of the coil of the motor operated valve 1 Remove the pressure thermistor 1 Remove the connector for the pressure thermistor X17A 2 Remove the pressure thermistor...
Page 11: ...have to replace all 4 thermistors at once 1 Remove the outdoor air thermistor pulling forward and then sliding it to the right 2 Pull out the discharge pipe thermistor 1 by picking and pulling out the...
Page 12: ...s and RelatedParts and other instructions Be sure to confirm that the refrigerant is completely collected before starting the work Protect other pipings using a protective sheet for the welding or ste...
Page 13: ...erminal One of the fixing nuts of the compressor is located at the outer side of the partition plate 1 Remove the fixing plate for the stop valve after removing the 5 screws 2 Remove the sound insulat...
Page 14: ...Revision History Month Year Version Revised contents 06 2013 Si281314E First edition...
Page 15: ...oduct The User s Manual provides important safety instructions and warnings Be sure to follow these instructions and warnings If you have any enquiries please contact your local importer distributor a...