IM 796
Page 1
Installation and Maintenance Manual
IM796
Group:
Unitary
Part Number:
IM796
Date:
March 2005
© 2005
Daikin
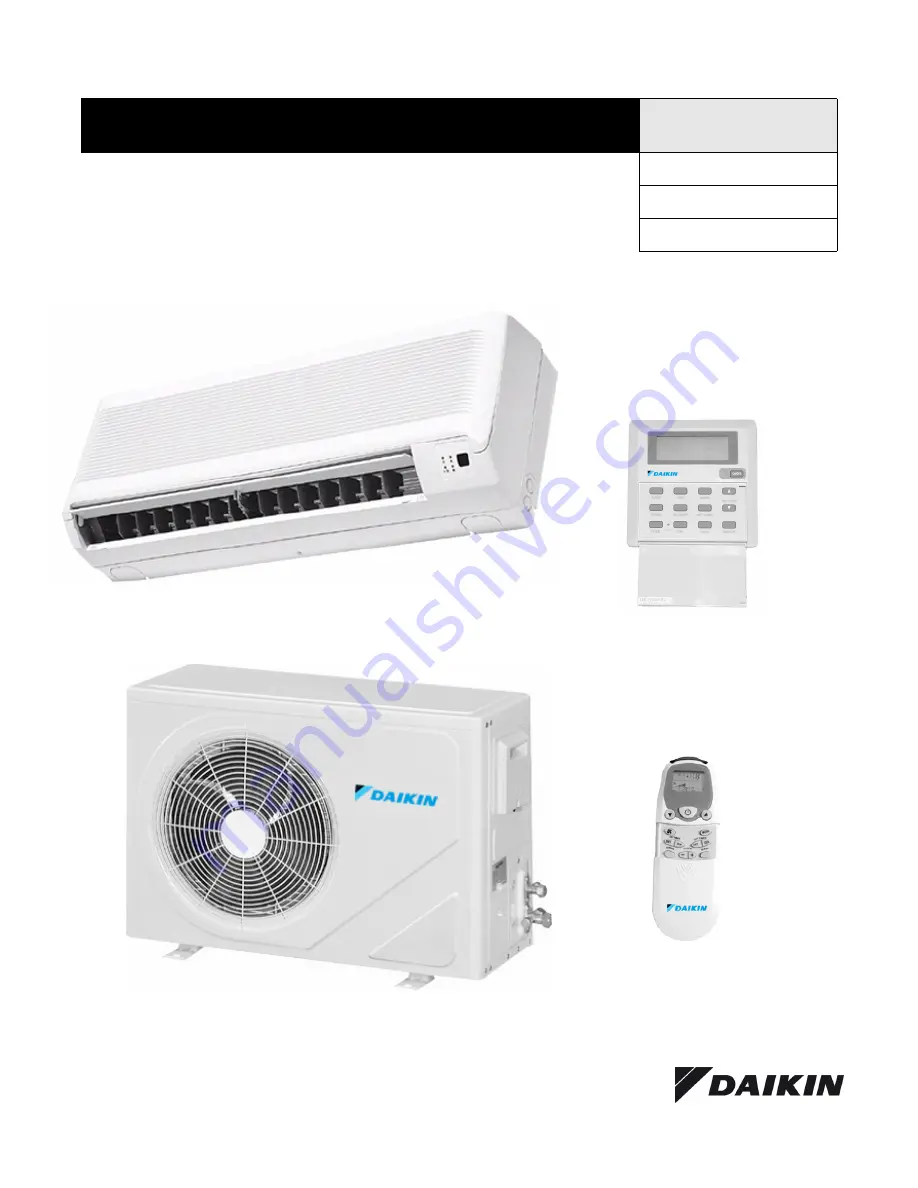
MWM Wall Mounted Split Type Air Conditioner
Indoor Unit
Wired Wall
Control (Optional)
Wireless Remote
Control (Standard)
Outdoor Unit


