background image

27

Replace or Clean Filter

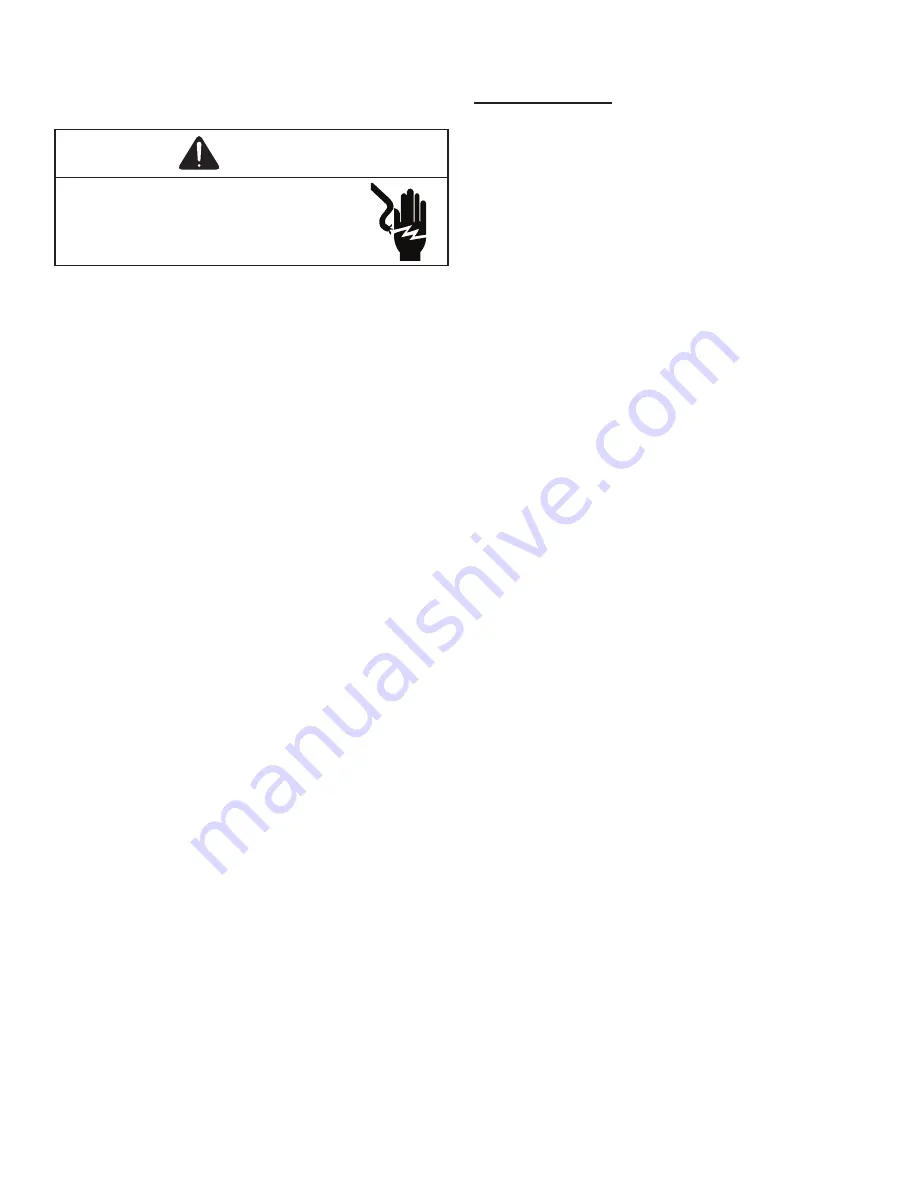
WARNING

HIGH VOLTAGE!

Disconnect all power before servicing or 

installing this unit.  Multiple power sources 

may be present.  Failure to do so may cause 

property damage, personal injury or death.

IMPORTANT NOTE: 

Never operate unit without a filter installed 

as dust and lint will build up on internal parts resulting in loss of 

efficiency, equipment damage and possible fire. 

A return air filter is not supplied with this unit; however, there must 

be a means of filtering the return air. An indoor air filter must be 

used with your comfort system. A properly maintained filter will 

keep the indoor coil of your comfort system clean. A dirty coil 

could cause poor operation and/or severe equipment damage.

The installer of your unit can tell you where your filter(s) are and 

how to clean or replace them.

Check your return filter(s) at least once every two months. When 

they are dirty, replace or clean as required. Disposable type filters 

should be replaced. Reusable type filters may be cleaned.

NOTE: 

 Reusable type filters should be washed with warm water, 

dried completely and sprayed with an adhesive according to the 

manufacturers recommendations.      


You may want to ask your dealer about high efficiency filters. High 

efficiency filters are available in both electronic and non-electronic 

types. These filters can do a better job of catching small airborne 

particles.

Improper filter maintenance is the most common cause of inade

-

quate heating or cooling performance. Filters should be cleaned 

(permanent) or replaced (disposable) every two months or as 

required.  When replacing a filter, it must be replaced with a filter 

of the same type and size and always make certain the air flow 

arrows on the filter point in the proper direction.

Condenser, Evaporator and Induced Draft Motors

The bearings on the air circulating blower motor, condenser motor 

and the combustion fan motor are permanently lubricated and  

require no further lubrication.

Compressor

The compressor motor is hermetically sealed and does not re-

quire additional oiling.

Aluminum Indoor Coil Cleaning (Qualified Servicer Only)

This unit is equipped with an aluminum tube evaporator coil. The 

safest way to clean the evaporator coil is to simply flush the coil 

with water. This cleaning practice remains as the recommended 

cleaning method for both copper tube and aluminum tube residen-

tial cooling coils. An alternate cleaning method is to use one of the 

products listed in the technical publication TP-109 (shipped in the 

literature bag with the unit) to clean the coils. The cleaners listed 

are the only agents deemed safe and approved for use to clean 

round tube aluminum coils. TP-109 is available on the web site in 

Partner Link > Service Toolkit.

NOTE:

 Ensure coils are rinsed well after use of any chemical 

cleaners.

Annual Inspection (Qualified Servicer Only)

Your package unit should be inspected by a qualified installer, or 

service agency at least twice every year. This check should be 

performed before the heating and cooling seasons begin. This will 

ensure that adequate combustion air is being drawn and the vent 

system is working properly. Particular attention should be paid to 

the following items. Repair as necessary.

•  Check physical support of the unit. Ensure it is sound with-

out any sagging, cracks, or gaps, around the base.

•  Check for obvious signs of deterioration of the unit.

•  Flue Hood and Combustion Air Inlet. Check for blockage 

(wasp nest, etc.) and corrosion.

Flue Hood (Qualified Servicer Only)

•  Return Air Connection. Check for physical soundness and 

ensure that the connection is firmly sealed to the package 

unit casing.

•  Heat exchanger. Check for corrosion and/or obstructions 

within the heat exchanger passageways.

• 

Burners. Check for proper ignition, burner flame, and flame 

sense.

•  Wiring. Check wires for damage. Check electrical connec-

tions for tightness and/or corrosion.

• 

Filters. Check that filters are clean and in the proper place

-

ment in the unit or duct system.

•  Louvers. Inspect air inlet louvers inside the heat exchanger 

compartments. Ensure the area is clean and free of dirt and 

debris.

Clean Outside Coil (Qualified Servicer Only)

The outdoor coil should be inspected annually. It is important to 

keep the outdoor coil clean. Dirt, leaves, or debris could restrict 

the airflow. If cleaning of the outdoor coil becomes necessary, hire 

a qualified servicer. Inexperienced people could easily puncture 

the tubing in the coil. 


Before Calling Your Servicer

• 

Check the thermostat to confirm that it is properly set.

• 

Check the disconnect switch near the unit to confirm that it 

is closed.

•  Check the electrical panel  for tripped circuit breakers or 

failed fuses. Reset the circuit breakers or replace fuses as 

necessary. 

•  Check for blockage of the indoor air inlets and outlets. 

Confirm that they are open and have not been blocked by 

objects (rugs, curtains or furniture).

• 

Check for obstructions on the unit. Confirm that it has not 

been covered on the sides or the top. Remove any obstruc-

tion that can be safely  removed. If the unit is covered with 

dirt or debris, call a qualified servicer to clean it. 

• 

Check the filter. If it is dirty, clean or replace it.

PACKAGE UNITS


- DUAL FUEL  & GAS   


HOMEOWNER’S ROUTINE MAINTENANCE RECOMMENDATIONS

We strongly recommend a bi-annual maintenance checkup be performed by a 

qualified service agency

 before the heating and cooling seasons begin.

Summary of Contents for GPGM5

Page 1: ...iency and shorten equipment life NOTE Please contact your distributor or our website for the applicable Specification Sheets referred to in this manual This Forced Air Central Unit Design Complies With Re quirements Embodied In The American National Standard National Standard of Canada Shown Below ANSI Z21 47 CSA 2 3 Central Furnaces Daikin Comfort Technologies Manufacturing L P 19001 Kermier Rd W...

Page 2: ... 20 Pressure Switch Stuck Closed 20 Primary Limit 20 Flame Detected with Gas Valve Closed 20 Low Flame Signal 20 Abnormal Operation Cooling 20 Short Cycle Compressor Delay 20 High Pressure Switch Loss of Charge Switch 20 MAINTENANCE 21 Filter Replacement or Cleaning 21 Cabinet Finish Maintenance 21 Clean Outside Coil Qualified Servicer Only 21 Condenser Evaporator and Induced Draft Motors 21 Flame...

Page 3: ...without reasonable routine inspection maintenance and supervision If the building in which any such device is located will be vacant care should be taken that such device is routinely inspected maintained and monitored In the event that the building maybe expose to freezing temperatures and will be vacant all water bearing pipes should be drained the building should be properly winterized and the ...

Page 4: ...système de ventilation au moment de sa mise en marche cela peut entraîner une intoxication au monoxyde de carbone ou la mort Les étapes suivantes doivent être suivies pour chacun des appareils raccordés au système de ventilation au moment de sa mise en marche alors que tous les autres appareils raccordés au système de ventilation ne sont pas en marche 1 Sceller toutes les ouvertures inutilisées du...

Page 5: ...tion and operating instructions all local building codes and ordinances or in their absence with the latest edition of the National Fuel Gas Code NFPA 54 ANSI Z223 1 and National Standard of Canada CAN CSA B149 Installation Codes The heating and cooling capacities of the unit should be greater than or equal to the design heating and cooling loads of the area to be conditioned The loads should be c...

Page 6: ... neces sary to elevate the unit to avoid these problems When the unit is heating the temperature of the return air entering the unit must be between 50 F and 100 F Units manufactured on or after May 1 2017 are not permitted to be used in Canada for heating of build ings or structures under construction Ground Level Installations Only When the unit is installed on the ground adjacent to the buildin...

Page 7: ...r curb installation Curbing must be installed in compliance with the National Roofing Contractors Association Manual Lower unit carefully onto roof mounting curb While rigging unit center of gravity will cause condenser end to be lower than supply air end Unit should be lifted by the 4 holes located at the base frame corners Lifting cables should be attached to the unit with shackles While rigging...

Page 8: ...on or equipment damage due to under firing of equipment do not undersize the natural propane gas piping from the meter tank to the unit When siz ing a trunk line include all appliances on that line that could be operated simultaneously The rating plate is stamped with the model number type of gas and gas input rating Make sure the unit is equipped to operate on the type of gas available The gas li...

Page 9: ...pply pressure must be within 9 7 10 3 inches W C at the manifold with all gas appliances in operation Maintaining proper gas pressure depends on three main factors 1 Vaporization rate which depends on a temperature of the liquid and b wetted surface area of the con tainer or containers 2 Proper pressure regulation 3 Pressure drop in lines between regulators and be tween second stage regulator and ...

Page 10: ...IN ACCORDANCE WITH NFPA PAMPHLET NO 54 NOMINAL PIPE SIZE SCHEDULE 40 TUBING SIZE O D TYPE L PIPE OR TUBING LENGTH FEET WARNING To avoid property damage personal injury or death due to fire or explosion caused by a propane gas leak install a gas detecting warning device If the propane gas unit is installed in an excavated area or a confined space a confined space a warning device is required due to...

Page 11: ...void the risk of electrical shock wiring to the unit must be polarized and grounded CAUTION To avoid risk of property damage personal injury or fire use only copper conductors WIRING To prevent improper and dangerous operation due to wiring errors label all wires prior to disconnection when servicing controls Verify proper operation after servicing For unit protection use a fuse or hacr circuit br...

Page 12: ...s See Unit Dimensions section for chassis sizes Ductwork Duct systems and register sizes must be properly designed for the C F M and external static pressure rating of the unit Ductwork should be designed in accordance with the recommended methods of Air Conditioning Contractors of America Manual D Residential or Manual Q Commer cial All ductwork exposed to the outdoors must include a weatherproof...

Page 13: ...light the main burners by any other method 1 Thermostat calls for low or high stage heating 2 Induced draft blower energizes for 15 second pre purge 3 The spark igniter and low and high stage gas valve are energized for 7 seconds NOTE The igniter pro duces a very intense electrical spark that ignites the gas 4 Main burners light and control detects presence of flame 5 If the call is for low stage ...

Page 14: ... unusual sounds are en countered shut off electrical power and check for wiring errors or obstructions in or near the blower motors Duct covers must be removed before operating unit Rollout Protection Control The rollout protection device opens cutting power to the gas valve if the flames from the burners are not proper ly drawn into the heat exchanger The rollout protection device is located on t...

Page 15: ...Back inlet pressure test screw inlet pressure boss out one turn counterclockwise not more than one turn Alternately inlet gas pressure may be measured by removing the cap from the drip leg and installing a pre drilled cap with a hose barb fitting 2 Connect a water manometer or adequate gauge to the inlet pressure tap of the gas valve or hose barb fitting on predrilled cap With Power And Gas On 3 P...

Page 16: ...fold Gas Pressure NOTE For Natural gas to LP gas conversion Conversion Kit LPM 08 must be used Consult your dealer for appro priate conversion kit s Gas BTU Input Check Natural Gas Only To measure the gas input use a gas meter and proceed as follows 1 Turn off gas supply to all other appliances except the unit 2 With the unit operating time the smallest dial on the meter for one complete revolutio...

Page 17: ...ings together NOTE Both readings may be taken simultaneously and read directly on the manometer if so desired 4 Consult proper table for quantity of air If the external static pressure exceeds the minimum or max imum allowable statics check for closed dampers dirty fil ters undersized or poorly laid out ductwork Mode Total External Static Blower Speed Adjustments Blower speeds are changed at the i...

Page 18: ... each applica tion As the outdoor ambient temperature rises the sub cooling decreases and as the outdoor ambient temperature lowers the subcooling increases Checking Subcooling NOTE Units with a TXV should be charged to Sub cooling only EXAMPLE a Liquid Line Pressure 417 PSI b Corresponding Temp 120 F c Thermometer on Liquid line 109 F To obtain the amount of subcooling subtract 109 F from 120 F T...

Page 19: ...n explanation Fault Recall The ignition control is equipped with a momentary push button switch that can be used to display on the diagnostic LED the last five faults detected by the con trol The control must be in Standby Mode no thermostat inputs to use the feature Depress the push button switch for approximately 2 seconds NOTE Do not hold for longer than 4 seconds Holding the button for 4 secon...

Page 20: ...and air circulator blowers remain energized until the limit switch re closes The diag nostic LED red code for an open limit is four 4 flashes NOTE If the primary limit opens five 5 times with in the same call for heat the ignition control will lock out for one 1 hour with the air circulating blower energized at high heat speed The diagnos tic LED red code for this condition is seven 7 flashes Flam...

Page 21: ...bri cated No additional oiling is required Flame Sensor Qualified Servicer Only A drop in the flame current can be caused by a nearly invisible coating on the flame sensor This coating created by the fuel or combustion air supply can be removed by carefully cleaning the flame sensor with steel wool Flame Sensor NOTE After cleaning the microamp signal should be stable and in the range of 4 6 microa...

Page 22: ...into the tubes They should not be yellow They should ex tend directly outward from the burner ports without curling downward floating or lifting off the ports ACCESSORIES AND FUNCTIONAL PARTS Sheet Metal Accessories Additional accessories can be purchased to fit specific application needs Parts and instructions are available from your distributor Burner Bracket Burner Manifold Manifold Assembly CA...

Page 23: ...8 Flashes Indoor Outdoor Thermostat Open Cooling Only Devices Not present On All Models 9 Flashes High Pressure Loss of Charge Switch Open Cooling Only Devices Not Present On All Models Amber Light Signal Refer to Abnormal Heating or Cooling Operation Sections of this Manual Off No Flame Present On Normal Flame 1 Flash Low Flame Current 2 Flashes Flame Detected with Gas Valve De energized Heating ...

Page 24: ... W H W H GPGM524 41 16 16 16 16 GPGM530 41 16 16 16 16 GPGM536 41 16 18 16 18 GPGM542 41 16 18 16 18 GPGM548 41 16 18 16 18 Duct Openings Supply Return Model W D A B GPGM524 41 47 51 32 34 1 2 Medium GPGM530 41 47 51 32 34 1 2 Medium GPGM536 41 47 51 40 42 1 2 Large GPGM542 41 47 51 40 42 1 2 Large GPGM548 41 47 51 40 42 1 2 Large Model Unit Dimensions Inches Chassis Size Height ...

Page 25: ...OR SHORTS IN FLAME SENSOR WIRING CHECK GAS VALVE CHECK ROLLOUT LIMIT SW CHECK AUXILIARY LIMIT SW CHECK MAIN LIMIT SWITCH C CHECK WIRING FOR SHORTS CHECK PRESSURE SWITCH PRESSURE SWITCH CLOSED CHECK VENT MOTOR CHECK TUBING CHECK FUSE S CHECK INPUT POWER GAS PRESSURE FLAME SENSOR GAS VALVE GAS FLOW CHECK PRESSURE SWITCH OFF ON 1 FLASH 3 FLASHES 2 FLASHES 4 FLASHES 5 FLASHES FALSE FLAME DETECTED OPEN...

Page 26: ...148 1349 413 1355 369 0 4 775 146 58 1095 256 55 766 156 1302 420 1300 383 0 5 710 152 63 1045 263 57 695 163 1253 428 1260 396 0 6 650 160 X 990 277 61 634 168 1203 436 1210 402 0 7 590 163 X 935 285 64 571 173 1152 442 1160 397 0 8 540 171 X 870 288 X 509 178 1102 449 1110 415 E S P T1 LOW STAGE HEATING SPEED T2 HIGH STAGE HEATING SPEED GPGM53608041 Rise Range 35 65 T3 LOW STAGE COOLING SPEED T4...

Page 27: ...he only agents deemed safe and approved for use to clean round tube aluminum coils TP 109 is available on the web site in Partner Link Service Toolkit NOTE Ensure coils are rinsed well after use of any chemical cleaners Annual Inspection Qualified Servicer Only Your package unit should be inspected by a qualified installer or service agency at least twice every year This check should be performed ...

Page 28: ... Type NG Natural Gas LP Liquid Propane Residential Package Outdoor Section ELECTRICAL Supply Voltage Measure L1 and L2 Voltage L1 L2 Compressor Amps Condenser Fan Amps PRESSURES TEMPERATURES Suction Circuit Pressure Suction Line Temperature PSIG TEMP F Liquid Circuit Pressure Liquid Temperature PSIG TEMP F Outdoor Air Temperature Dry bulb Wet bulb DB F WB F SUPERHEAT SUBCOOLING SH SC Additional Ch...

Page 29: ...29 THIS PAGE LEFT INTENTIONALLY BLANK ...

Page 30: ...30 THIS PAGE LEFT INTENTIONALLY BLANK ...

Page 31: ...31 THIS PAGE LEFT INTENTIONALLY BLANK ...

Page 32: ...ion please register as follows Goodman Brand products https www goodmanmfg com product registration You can also scan the QR code on the right for the product brand you purchased to be directed to the Product Registration page NOTE SPECIFICATIONS AND PERFORMANCE DATA LISTED HEREIN ARE SUBJECT TO CHANGE WITHOUT NOTICE Quality Makes the Difference All of our systems are designed and manufactured wit...

Reviews: