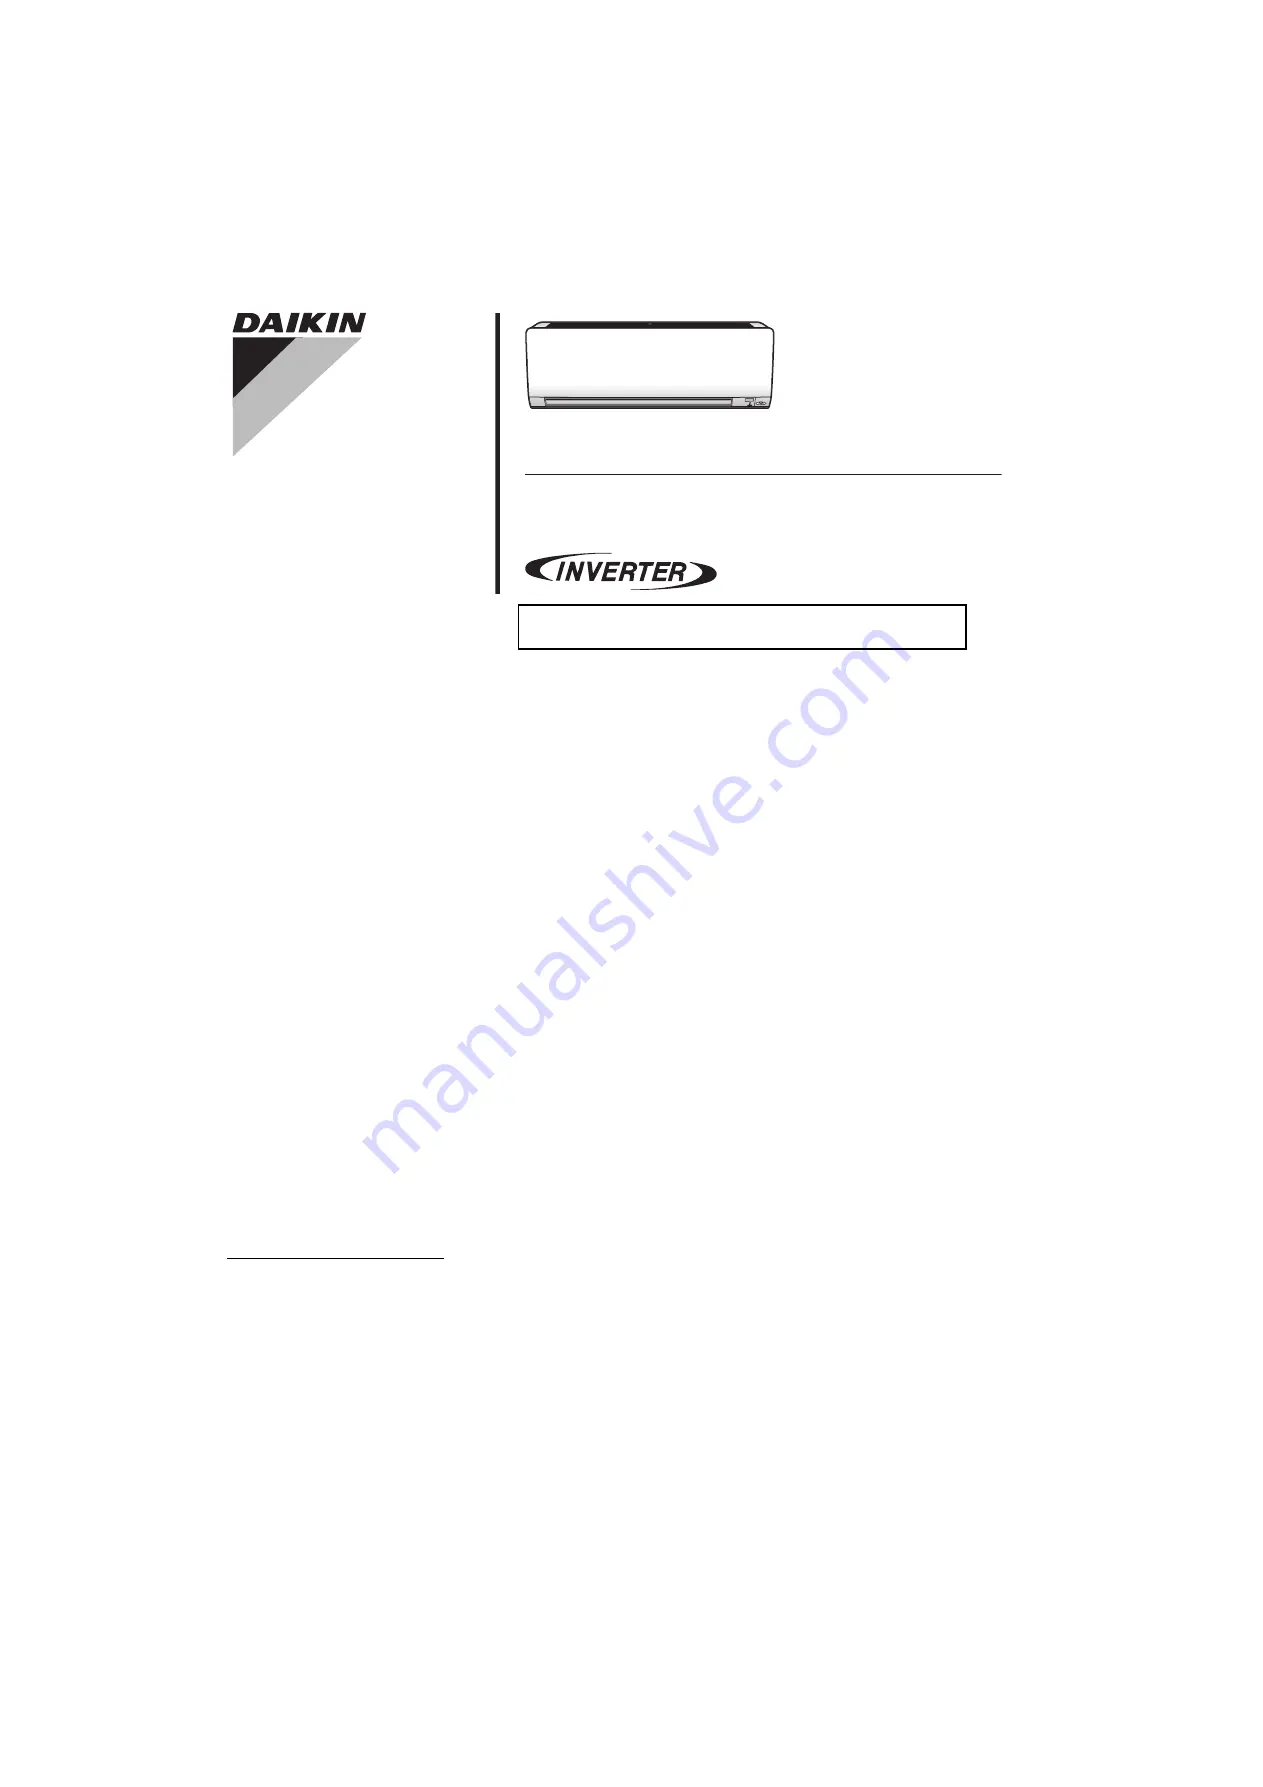
DAIKIN ROOM AIR CONDITIONER
INSTALLATION MANUAL
R410A Split Series
MODELS
FTXLS25K3V1BFTXLS35K3V1B
УСТАНОВКА КОНДИЦИОНЕРОВ DAIKIN
Page 1: ...DAIKIN ROOM AIR CONDITIONER INSTALLATION MANUAL R410A Split Series MODELS FTXLS25K3V1B FTXLS35K3V1B DAIKIN...
Page 2: ......
Page 3: ...ivamente por B de acuerdo con el Certificado C 06 Nota delineato nel A e giudicato positivamente da B secondo il Certificato C 07 A B C 08 Nota tal como estabelecido em A e com o parecer positivo de B...
Page 4: ...cause overheating electric shocks or fire Make sure that all wiring is secured the specified wires are used and that there is no strain on the terminal connections or wires Improper connections or se...
Page 5: ...emote controller signals are properly received by the indoor unit within 7m CAUTION Do not install the air conditioner at any place where there is a danger of flammable gas leakage In the event of a g...
Page 6: ...grille there are 3 upper hooks Lightly pull the front grille toward you with one hand and push down on the hooks with the fingers of your other hand When there is no work space because the unit is cl...
Page 7: ...move the front grille Opening the service lid The service lid is removable 1 Remove the service lid screw 2 Pull out the service lid diagonally down in the direction of the arrow 3 Pull down The mount...
Page 8: ...o the hole 3 Insert a wall cover into wall pipe 4 After completing refrigerant piping wiring and drain piping caulk pipe hole gap with putty 3 Installing the indoor unit In the case of bending or curi...
Page 9: ...late hooks by using the markings at the top of the indoor unit as a guide 4 Open the front panel then open the service lid Refer to preparation before installation 5 Pass the inter unit wire from the...
Page 10: ...onto the left side 1 Remove the insulation fixing screw on the right and remove the drain hose 2 Remove the drain plug on the left side and attach it to the right side 3 Insert the drain hose and tig...
Page 11: ...R T THERMISTOR DS DIPSWITCH RC RECEIVER E H HEATER S C LIMITSWITCH F U FU FORCHARACTERISTICS REFERTOPCBINSIDEYOURUNIT FUSE S L FLOATSWITCH FG CONNECTOR FRAMEGROUND S NPH PRESSURESENSOR HIGH H HARNESS...
Page 12: ...nnect the power wire to the indoor unit Doing so may cause electric shock or fire 5 When connecting to an HA system Wired remote controller central remote controller etc 1 Remove the metal plate elect...
Page 13: ...trical wiring covers as shown below 1 Lean the metal plate electrical wiring cover as shown in the figure and attach tab 1 on the lower side to the electrical wiring box 2 Attach tab 2 on the lower si...
Page 14: ...properly made WARNING Do not use mineral oil on flared part Prevent mineral oil from getting into the system as this would reduce the lifetime of the units Never use piping which has been used for pre...
Page 15: ...frigerant gas pipe s surface temperature reaches 110 C max Choose heat insulation materials that will withstand this temperature 2 Be sure to insulate both the gas and liquid piping and to provide ins...
Page 16: ...stem will restore the original operation mode when the circuit breaker is opened again 2 Test items If the is not displayed make sure not to cut the switching jumper J8 for cooling operation when cutt...
Page 17: ......
Page 18: ...3P377527 3D 2017 03 Copyright 2015 Daikin...