D-EOMHP01501-22_00EN 7/29
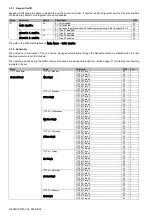
Parameters can be writable, only readable or give access to other sub-parameters (see table in
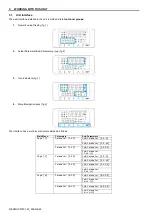
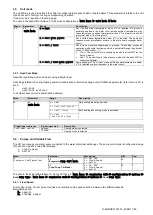
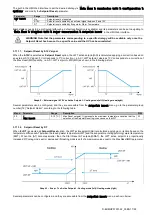
The list of actions for browsing through the menu is:
1.
Press [▲] [▼], in the navigation keys, to browse through the parameter groups, that is shown in (f.g.
) by its number,
and in (f.g.
) by its name.
2.
Press [SET] to select a parameter group.
3.
Press [▲] [▼] to browse through the parameters in the specific group or menu.
4.
Press [SET] to start value setting phase.
a. During this phase, the value string (f.g.
) of the HMI will start to blink
5.
Press
[▲] [▼] to set/change the parameter value, that is shown in the numeric display (f.g.
).
6.
Press [SET] to accept the value.
a. After exiting the setting phase, the value string of the HMI will stop to blink. If an unavailable value is selected
the value will continue to blink
and value won’t be set.
In order to go back through the pages, press the On/Stand-by button
.
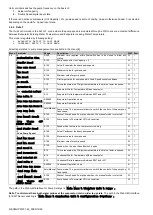
3.1.1. Icons Description
Icons provide an indication about current unit status.
ICON
Description
LED ON
LED OFF
LED BLINKING
LED Functioning mode Chiller
Running in cooling mode
-
-
LED Functioning mode Heat Pump
-
Running in heat mode
-
LED Compressor ON (Circuit 1 Left,
Circuit 2 Right)
Compressor ON
Compressor OFF
Compressor performing
preopen or pump-down
procedure
LED Circulation Pump ON
Pump ON
Pump OFF
-
°C
LED Temperature
Temperature Value displayed -
-
Bar
LED Pressure
Pressure Value displayed
-
-
%
LED Percentage
Percentage Value displayed
-
-
LED Alarm
-
No Alarm
Alarm Presence
LED Setting mode
Customer parameter
unlocked
-
-
LED Connection status on Daikin on
site
Connected
No Connection
Requesting Connection
LED on/stand-by
Unit Enabled
Unit Disabled
-
LED remote BMS control
BMS control ON
BMS control OFF
-
3.2.
Insert Password
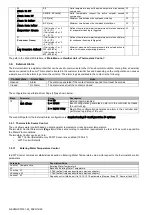
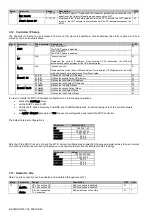
In order to unlock customer functionalities, the User has to insert the Password through the HMI menu [0]:
Menu
Parameter
Range
Description
R/W
00
00
(
Insert
Password
)
0-9999
To insert all the 4 digits of the password
, press “Set” after the insertion of the
number to move on the next digit.
W
The
password to access the customer’ setting pages is:
2526
3.3.
Chiller On/Off
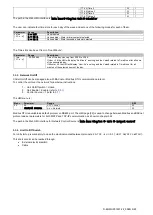
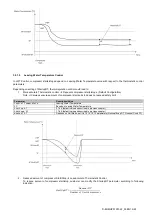
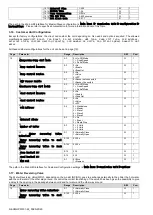
Unit controller provides several features to manage unit start/stop:
1. Keypad On/Off
2. Scheduler (Time programmed On/Off)
3. Network On/Off (optional with Accessory
EKRSCBMS
)
4. Unit On/Off Switch


