REMOVAL
PROCEDURE
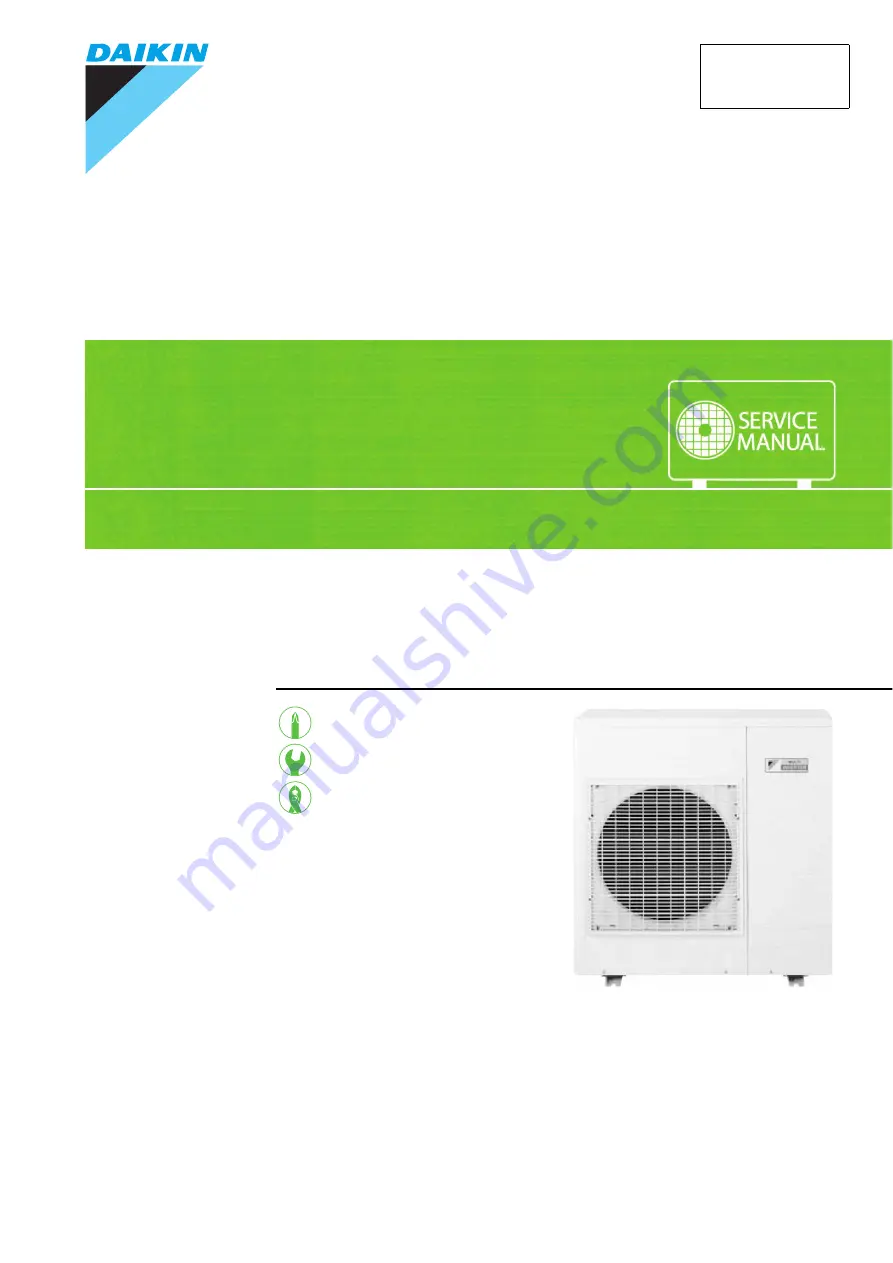
S E R V I C E M A N U A L
8.0/9.0 kW Class
Outdoor Unit
Inverter
Multi Type
Si12-796
Page 1: ...REMOVAL PROCEDURE S E R V I C E M A N U A L 8 0 9 0 kW Class Outdoor Unit Inverter Multi Type Si12 796 ...
Page 2: ...Service Manual Removal Procedure Outdoor Unit zCooling Only zHeat Pump 4MKD90BVM 4MXD80BVMA 4MKD90BVMA 4MKD90BVMD ...
Page 3: ... Removal of Fan Motor 16 6 Removal of Electronic Expansion Valve and Thermistor 18 7 Removal of Sound Blanket and Reactor 19 8 Removal of Shunt 21 9 Removal of Solenoid Valve and Four Way Valve 22 10 Removal of Compressor 24 Note The illustrations may be slightly different depending on the model The illustrations are for heat pump models as representative ...
Page 4: ...ng Be sure to wait 10 minutes or more after turning off all power supplies before disassembling work Step Procedure Points 1 External appearance Remove the piping in the backward direction 2 Remove 11 screws of the top panel Handle R2208 Outdoor air thermistor Piping connection slot R2209 R2210 ...
Page 5: ... view of piping connections 5 Unscrew 1 screw of the front right panel slide it downwards and release the tabs to remove Step Procedure Points Right panel Main unit side Tabs Right panel side R2211 PC board for servicing Servicing port for gas pipe Servicing port for fluid pipe C port D port A port B port Insects stopper shield R2212 Front right panel Tabs R2213 ...
Page 6: ...Removal Procedure 6 Unscrew 3 screws of the front panel to remove 7 Remove 4 screws of the discharge outlet grille 8 Slide the discharge outlet grille upwards and release 6 tabs to remove Step Procedure Points R2214 R2215 Tabs Tabs R2216 ...
Page 7: ...ies before disassembling work Step Procedure Points Remove the discharge outlet grille 1 To take off propeller fan remove the washer fitted nut M8 2 Remove the propeller fan For reassembling align the mark of the propeller fan with the D cut section of motor shaft Mount the propeller fan while positioning the mark to the top D cut Washer fitted nut M8 R2217 mark R2218 ...
Page 8: ... as follows 1 Black Power 2 White Power 3 Red Transmission Wires are fixed to the terminal board with screws 1 The figure shows the right side view 1 Remove the tie wire 1 Loosen the terminal board screws and remove the wires at A and B ports 2 Open the terminal board cover and remove the wires at C and D ports When reassembling reconnect the wires to C and D ports PC board for servicing Power ter...
Page 9: ...he terminal board 5 Release the tab on the top right of the terminal board 6 Pull out the terminal board and open it Glass tube fuse and varistor cannot be replaced individually because lead free soldering is provided Step Procedure Points R2222 R2223 R2224 Tab Glass tube fuse Soldered Varister R2225 ...
Page 10: ... wire to the correct connector 2 Remove the four way valve connector S80 The cooling only models do not have harness for S80 3 Remove the connector S93 for liquid pipe thermistor Step Procedure Points S20 white S21 red S22 blue S23 yellow R2226 R2227 Connector Electronic expansion valve No Harness length S20 White EVA 630 S21 Red EVB 730 S22 Blue EVC 825 S23 Yellow EVD 940 S80 R2228 S93 R2229 ...
Page 11: ...s pipe thermistor 5 Remove the connector S90 for thermistor Outdoor air thermistor Blue Discharge pipe thermistor Black Heat exchanger thermistor Gray 6 Remove the overload relay connector S40 7 Remove the reactor lead wire Step Procedure Points S92 R2230 S90 R2231 R2232 S40 Reactor R2233 ...
Page 12: ...8 Remove the relay connector for compressor 9 Remove the electrical box cover 10 Disconnect the fan motor connector 11 Remove the discharge pipe thermistor Step Procedure Points Relay connector for compressor R2234 Electrical box cover R3060 S70 R2236 R2237 ...
Page 13: ...ser spring Be careful not to lose the presser spring for the discharge pipe thermistor 3 Remove the electrical box 1 Remove 2 screws of the electrical box 2 Turn the electrical box up side down halfway and disconnect the thermistor lead wire from the hook Step Procedure Points Thermistor presser spring Discharge pipe thermistor R2238 Thermistor Pipe Thermistor presser spring R2239 Hook R2240 ...
Page 14: ...al Box Si12 796 12 Removal Procedure 3 Remove the outdoor air thermistor lead wire from the groove 4 Remove each wire harness and dismount the electrical box by lifting it Step Procedure Points R2241 Electrical box R3061 ...
Page 15: ...er turning off all power supplies before disassembling work Step Procedure Points 1 Remove the controller PCB 1 Release the tab of the electrical box and open the terminal board 2 Disconnect each connector of the terminal board 3 Unscrew 1 screw and release two tabs to remove the PCB Tab R2243 R2244 Tabs Base bar R2246 ...
Page 16: ...Removal of PCB Si12 796 14 Removal Procedure 4 Lift the PCB at the terminal board side 5 Disconnect each wire harness connector linked to the inverter PCB Step Procedure Points R2247 R2248 ...
Page 17: ...0 Thermistor Outdoor air heat exchanger and discharge pipe S92 Gas pipe thermistor S93 Liquid pipe thermistor 2 Remove the service monitor PCB 1 Remove the service monitor PCB by releasing its tab 3 Remove the inverter PCB 1 Remove the 9 screws of the inverter PCB Step Procedure Points S93 S80 S23 S22 S21 S20 S40 S31 S71 S33 S32 S92 S90 Rectifier stack R2249 Service monitor LED A LED 1 LED 2 LED 3...
Page 18: ...ff all power supplies before disassembling work Step Procedure Points Remove the outer panels 1 Remove the fan motor lead wire connector S70 2 Remove the propeller fans For reassembling align the mark of the propeller fan with the D cut section of motor shaft 3 Remove 2 screws of the fan motor mount S70 R2251 Washer fitted nut M8 R2252 R2253 ...
Page 19: ... screws of the fan motor 5 Cut the wrapper fixing the lead wire When reassembling fix the lead wire to avoid contact with the propeller fan 6 Remove the fan motor Mount the fan motor so as to position the Q mark on the top Step Procedure Points R2254 R2255 R2256 ...
Page 20: ...that its end comes up to the end of the presser spring Be careful not to lose the presser spring for the discharge pipe thermistor 2 Take off the putty and remove each thermistor S90 Outdoor air thermistor Blue Heat exchanger thermistor Gray Discharge pipe thermistor Black S92 Gas pipe thermistor Room A Black Room B Gray Room C Brown Room D Red S93 Liquid pipe thermistor Room A Black Room B Gray R...
Page 21: ...k Step Procedure Points 1 Release the clip fixing the compressor lead wire 2 Remove 2 screws of the partition board and move the board leftward The partition board is not removable as it is fixed with the fitting screw in the rear bottom 3 Remove the sound blanket outer Carefully remove the sound blanket which is easily torn in the piping section Clip R2260 Partition board fitting screw R2261 Soun...
Page 22: ...ocedure 4 Remove the sound blanket top Carefully remove the sound blanket which is easily torn in the piping section 5 Remove the sound blanket inner 6 Remove the screw of the reactor Step Procedure Points Sound blanket top R4767 Sound blanket inner R4768 R2265 ...
Page 23: ...pe when mounting 3 Remove the putty Caution Be careful not to get yourself burnt with the pipes and other parts that are heated by the gas welding rod Warning If refrigerant gas leaks during the job ventilate the room Bear in mind that if the refrigerant gas is exposed to open flames noxious gas may be generated Before taking this procedure make sure there is no refrigerant gas left in the refrige...
Page 24: ... the solenoid valve coil Before taking this procedure make sure there is no refrigerant gas left in the refrigerant pipes 2 Disconnect the 2 brazed points a and b in this order Warning If refrigerant gas leaks during the job ventilate the room Bear in mind that if the refrigerant gas is exposed to open flames noxious gas may be generated 2 Remove the four way valve The cooling only models do not h...
Page 25: ...e pipes be careful not to over tighten them with pliers The pipes may get deformed If the gas welding machine fails to remove the four way valve take the steps below 1 Disconnect the brazed pipe sections that are readily easy to separate and join together later 2 With a small copper tube cutter cut off the internal pipes to easily take out the four way valve Note Never use a hack saw The sawdust m...
Page 26: ...ssembling work Step Procedure Points 1 Remove the terminal cover Be careful to avoid burning the compressor terminals or the nameplate 2 3 Disconnect the terminals of the compressor Remove the overload protector 4 There is the nut fixing the compressor Remove the nut with a spanner Terminal cover R2274 U red V yellow W blue N brown Terminal nameplate R2275 Overload relay R2277 ...
Page 27: ...job ventilate the room Bear in mind that if the refrigerant gas is exposed to open flames noxious gas may be generated Caution Be careful not to get yourself burnt with the pipes and other parts that are heated by the gas welding rod When heating up the brazed parts make sure to carry out the N2 replacement 5 Remove the 2 sheets of putty 6 Disconnect the brazed part a at discharge side of the comp...
Page 28: ...Revision History Month Year Version Revised contents 07 2013 Si12 796 First edition ...
Page 29: ...sories supplied or specified by Daikin Ask a qualified installer or contractor to install those parts and accessories Use of unauthorised parts and accessories or improper installation of parts and accessories can result in water or refrigerant leakage electrical shock fire or explosion z Read the User s Manual carefully before using this product The User s Manual provides important safety instruc...