INSTALLATIONMANUAL
R410A Split Series
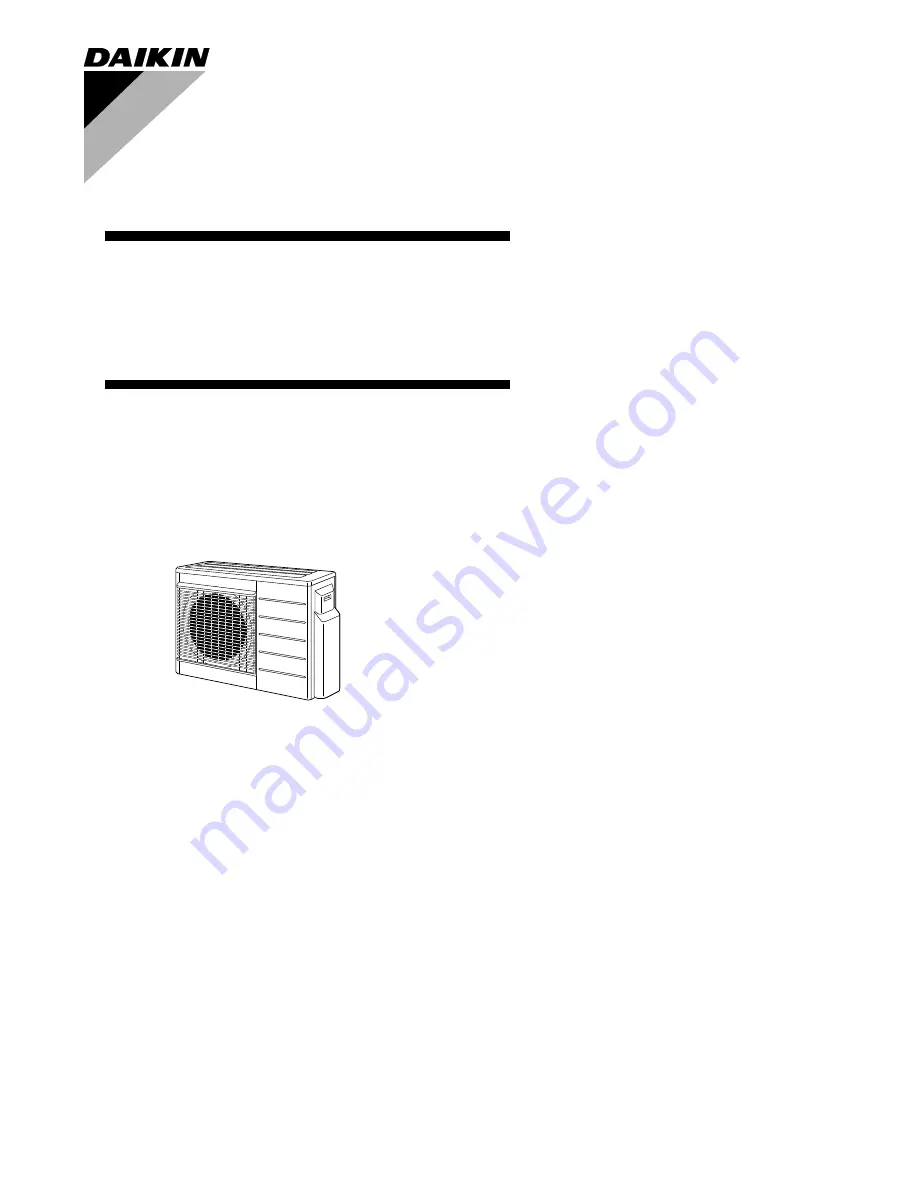
Models 3MXS40K3V1B23MXS52E4V1B23AMX52E4V1B2
Page 1: ...INSTALLATION MANUAL R410A Split Series Models 3MXS40K3V1B2 3MXS52E4V1B2 3AMX52E4V1B2...
Page 2: ...Certificado C 06 Nota delineato nel A e giudicato positivamente da B secondo il Certificato C 07 A B C 08 Nota tal como estabelecido em A e com o parecer positivo de B de acordo com o Certificado C 0...
Page 3: ......
Page 4: ...ng terminals If refrigerant gas leaks during installation ventilate the area immediately Toxic gas may be produced if the refrigerant comes into contact with fire After completing installation check f...
Page 5: ...ty atmosphere of sulfate gas corrosion may shorten the life of the air condi tioner 9 Since drain flows out of the outdoor unit do not place under the unit anything which must be kept away from moistu...
Page 6: ...ne Wrap the insulation pipe with the finishing tape from bottom to top Caulk pipe hole gap with putty Foot bolt hole centres 580 Foot bolt hole centres 330 250mm from wall Allow space for piping and e...
Page 7: ...52 Up to 9 0kW Precautions on Installation Check the strength and level of the installation ground so that the unit will not cause any operating vibration or noise after installed In accordance with t...
Page 8: ...the piping is as short as possible Shortest allow able length per room is 3m Outdoor unit capacity class 3MXS40 3MXS52 3AMX52 Piping to each indoor unit 25m max Total length of piping between all unit...
Page 9: ...ce of the flare Use refrigeration oil for R410A Use torque wrenches when tightening the flare nuts to prevent damage to the flare nuts and gas leakage Align the centres of both flares and tighten the...
Page 10: ...etely close its high pressure valve Hi High pressure valve subsequently requires no operation 3 Apply vacuum pumping Check that the compound pressure gauge reads 0 1MPa 76cmHg Evacuation for at least...
Page 11: ...k out do not leave the flare nut removed for a long period of time Outdoor capacity class 3MXS40 3MXS52 3AMX52 Total length of piping for all rooms 30m Filling a cylinder with an attached siphon Stand...
Page 12: ...ould reduce the lifetime of the units Never use piping which has been used for previous installations Only use parts which are delivered with the unit Never install a dryer to this R410A unit in order...
Page 13: ...readed connection port of the outdoor unit where the flare nut comes in Use an appropriate wrench to avoid damaging the connection thread by overtightening the flare nut Flare nut tightening torque Fl...
Page 14: ...the liquid stop valve with a hexagonal wrench 4 After two to three minutes close the gas stop valve and stop forced cooling operation 1 Forced operation 1 Turn the Operation Mode switch SW2 to COOL 2...
Page 15: ...make sure that it does not disconnect Then fix the wire in place with a wire stop n Earth This air conditioner must be earthed For earthing follow the applicable local standard for electrical installa...
Page 16: ...perating all other indoor units do not operate and enter standby mode according to the operation mode of the set indoor unit 1 2 Priority during high power operation If the indoor unit which is set fo...
Page 17: ...ed Setting procedure Remove the SW5 jumper switch Once the settings are complete reset the power NOTE Install the removed jumper switch as described below This switch will be needed to later disable t...
Page 18: ...OTE 1 For two rooms LED 3 and 4 are not displayed and for three rooms LED 4 is not displayed 2 If the outside air temperature is 5 C or less the wiring error check function will not operate 3 After wi...
Page 19: ...ers operation procedures and temperature adjustment Even when the air conditioner is not operating it consumes some electric power If the customer is not going to use the unit soon after it is install...
Page 20: ...3P401524 2 2015 02 Copyright 2015 Daikin...