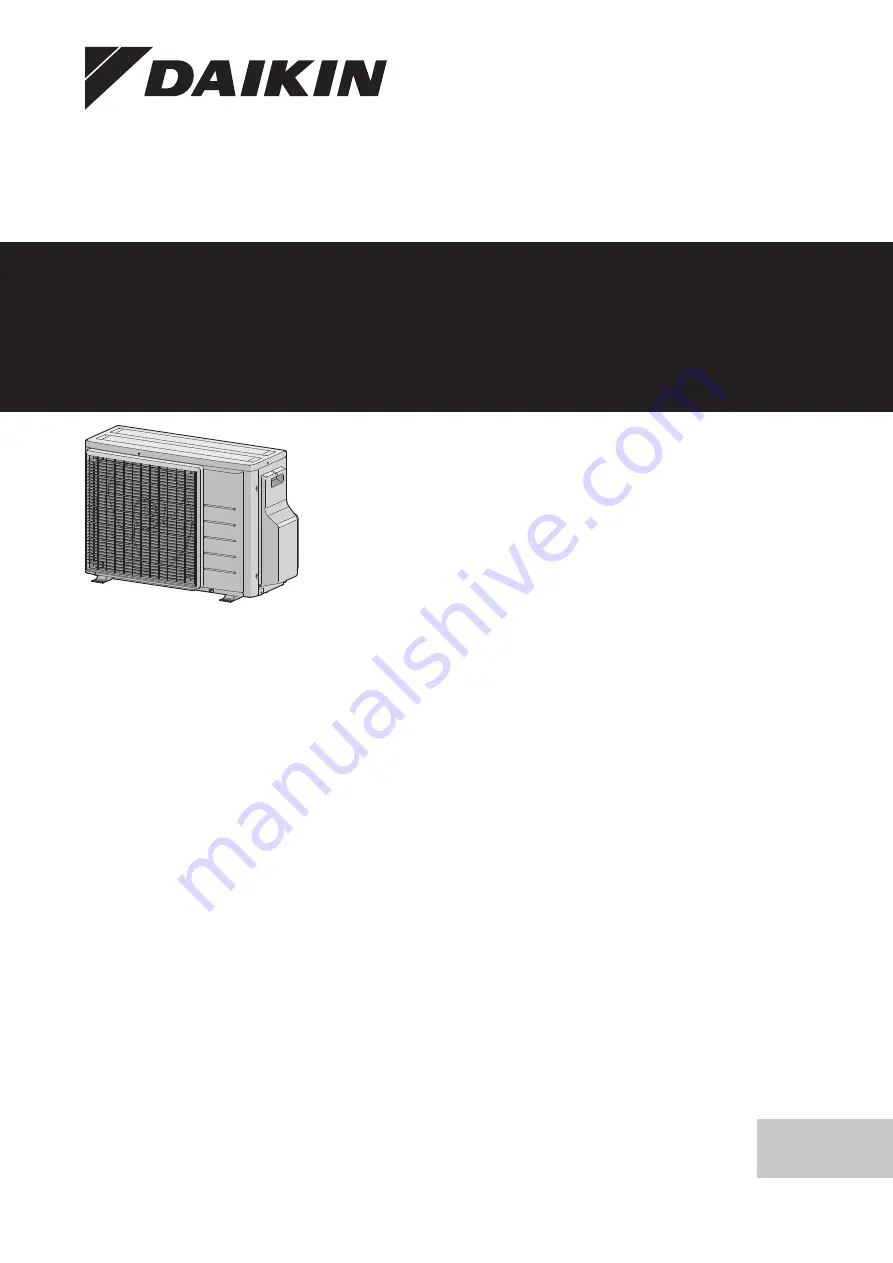
Installation manual
R32 Split series
English
2AMXM40M4V1B92AMXM50M4V1B92AMXF40A2V1B2AMXF50A2V1B2MXF40A2V1B2MXF50A2V1B2MXM40N2V1B92MXM50N2V1B9
Page 1: ...Installation manual R32 Split series English Installation manual R32 Split series 2AMXM40M4V1B9 2AMXM50M4V1B9 2AMXF40A2V1B 2AMXF50A2V1B 2MXF40A2V1B 2MXF50A2V1B 2MXM40N2V1B9 2MXM50N2V1B9...
Page 2: ...izate n conformitate cu instruc iunile noastre skladni z naslednjimi standardi in drugimi normativi pod pogojem da se uporabljajo v skladu z na imi navodili on vastavuses j rgmis t e standardi te ga v...
Page 3: ...kuin ne ovat muutettuina v platn m zn n Smjernice kako je izmijenjeno ir nyelv ek s m dos t saik rendelkez seit z p niejszymi poprawkami 18 19 20 21 22 23 24 25 Directivelor cu amendamentele respectiv...
Page 4: ...taava kyll stysl mp tila M C Kylm aine N Varmuuspainelaitteen asetus P bar Valmistusnumero ja valmistusvuosi katso mallin nimikilpi Maxim ln p pustn tlak PS K bar Minim ln maxim ln p pustn teplota TS...
Page 5: ...zate n conformitate cu instruc iunile noastre skladni z naslednjimi standardi in drugimi normativi pod pogojem da se uporabljajo v skladu z na imi navodili on vastavuses j rgmis t e standardi te ga v...
Page 6: ...tiivej sellaisina kuin ne ovat muutettuina v platn m zn n Smjernice kako je izmijenjeno ir nyelv ek s m dos t saik rendelkez seit z p niejszymi poprawkami 18 19 20 21 22 23 24 25 Directivelor cu amend...
Page 7: ...ava kyll stysl mp tila M C Kylm aine N Varmuuspainelaitteen asetus P bar Valmistusnumero ja valmistusvuosi katso mallin nimikilpi Maxim ln p pustn tlak PS K bar Minim ln maxim ln p pustn teplota TS TS...
Page 8: ...fie utilizate n conformitate cu instruc iunile noastre skladni z naslednjimi standardi in drugimi normativi pod pogojem da se uporabljajo v skladu z na imi navodili on vastavuses j rgmis t e standard...
Page 9: ...aisina kuin ne ovat muutettuina v platn m zn n Smjernice kako je izmijenjeno ir nyelv ek s m dos t saik rendelkez seit z p niejszymi poprawkami 18 19 20 21 22 23 24 25 Directivelor cu amendamentele re...
Page 10: ...taava kyll stysl mp tila M C Kylm aine N Varmuuspainelaitteen asetus P bar Valmistusnumero ja valmistusvuosi katso mallin nimikilpi Maxim ln p pustn tlak PS K bar Minim ln maxim ln p pustn teplota TS...
Page 11: ...nd testing 21 10 3 1 To perform a test run 21 11 Disposal 21 12 Technical data 21 12 1 Wiring diagram 22 12 1 1 Unified wiring diagram legend 22 12 2 Piping diagram Outdoor unit 23 1 About the documen...
Page 12: ...e which may result in equipment damage and even injury CAUTION Incomplete flaring may cause refrigerant gas leakage Do NOT re use flares Use new flares to prevent refrigerant gas leakage Use flare nut...
Page 13: ...pply before servicing Install the switch box cover before turning on the power supply 3 About the box 3 1 Outdoor unit 3 1 1 To remove the accessories from the outdoor unit 1 1 1 1 1 c d e f g 1 h 1 a...
Page 14: ...ssary construct a pedestal See 4 2 Mounting the outdoor unit 414 for more details In heavy snowfall areas it is very important to select an installation site where the snow will NOT affect the unit If...
Page 15: ...20 mm to prevent condensation on the surface of the insulation 5 1 3 Refrigerant piping length and height difference The shorter the refrigerant piping the better the performance of the system The pi...
Page 16: ...eration cycle which may result in equipment damage and even injury 1 Connect the liquid refrigerant connection from the indoor unit to the liquid stop valve of the outdoor unit a c b a b a Liquid stop...
Page 17: ...ls or means to accelerate the defrosting process other than those recommended by the manufacturer Be aware that the refrigerant inside the system is odourless WARNING The refrigerant inside the unit i...
Page 18: ...the indoor unit This could result in electrical shock or fire WARNING Do NOT use locally purchased electrical parts inside the product Do NOT branch the power supply for the drain pump etc from the t...
Page 19: ...1 2 3 L N A B 9 Reattach the switch box cover and the service cover 8 Finishing the outdoor unit installation 8 1 To finish the outdoor unit installation DANGER RISK OF ELECTROCUTION Make sure that t...
Page 20: ...ck Heat mode lock limits the unit to heat operation 9 3 1 To turn on heat mode lock 1 Remove the top plate 2 screws and the front plate 8 screws 2 To set heat mode lock remove the S99 connector 3 To r...
Page 21: ...ulti shall not be selected as the priority room 10 2 Checklist during commissioning To perform a wiring check To perform an air purge To perform a test run 10 3 Trial operation and testing Before star...
Page 22: ...emitting diode HAP Light emitting diode service monitor green HIGH VOLTAGE High voltage IES Intelligent eye sensor IPM Intelligent power module K R KCR KFR KHuR K M Magnetic relay L Live Symbol Meanin...
Page 23: ...4CuT EVA EV B 9 5CuT 6 4CuT 6 4CuT 6 4CuT 9 5CuT 9 5CuT HPS1 9 5CuT 9 5CuT 12 7CuT 6 4CuT 6 4CuT a b c d e f g g h i j A B A B k l l m n o o p q r s t n m i h g c c A Room A B Room B a 4 way valve ON...
Page 24: ...3P600450 3G 2021 03 Copyright 2021 Daikin Verantwortung f r Energie und Umwelt...