


Switching Mode 4
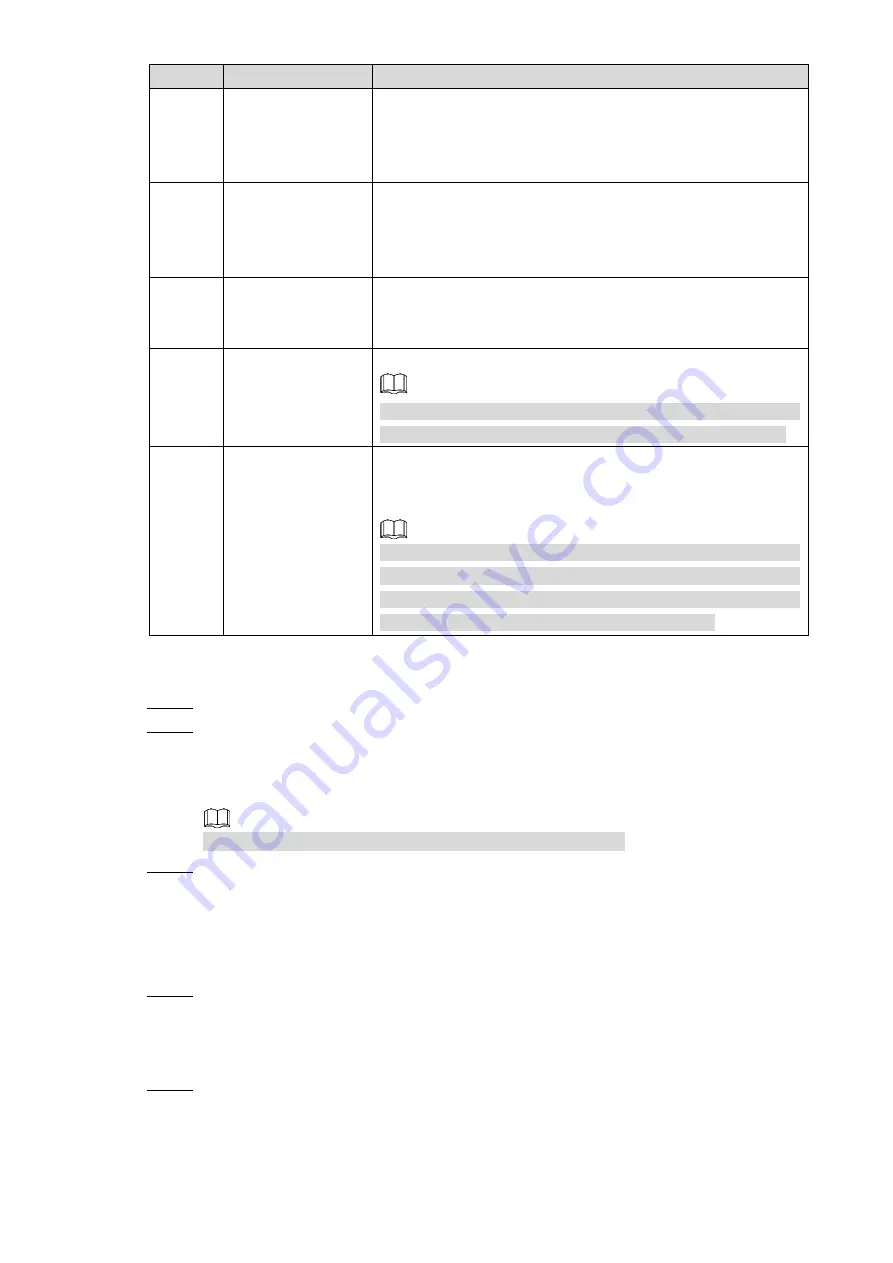
No.
Connector/Button
Function
③
SD
In Mode A: CVBS video format. It corresponds to red
indicator.
In Mode B: Adjust OSD information and realize zoom
control.
④
TVI
In Mode A: TVI video format. It corresponds to green
indicator.
In Mode B: Adjust OSD information and realize zoom
control.
⑤
CVI
In Mode A: CVI video format. It corresponds to orange
indicator.
In Mode B: Adjust OSD information.
⑥
ENTER
Press ENTER to start the Controller.
If there is no operation for the Controller within 30 s, the red
indicator turns off, and the Controller enters low power mode.
⑥
+
⑤
ENTER + CVI
Press and hold ENTER + CVI to switch between Mode A and
Mode B, and the red indicator glows (Mode A) or flashes (Mode
B).
It is Mode A by default after the Controller is started, and the red
indicator glows. Switch the video format to CVBS (see steps in
Mode A), and then press and hold ENTER + CVI for 5 s, the red
indicator flashes. Mode B is successfully switched.
Mode A
Connect the Controller to the camera and the recorder.
Step 1
Press ENTER to start the Controller.
Step 2
After starting the Controller, indicators corresponding to the four buttons above the
ENTER button glow for 1 s, and after the Controller detected the current video format,
only indicator corresponds to this format glows.
For indicators correspond to different formats, see Table 3-1.
Press and hold the button of target video format for 8 s, until indicator corresponds to
Step 3
the current video format is off. Wait 3 s, and the indicator corresponds to the target
video format glows. The video format is successfully switched.
Mode B
Switch the video format to CVBS (see steps in Mode A), and then press and hold
Step 1
ENTER + CVI for 5 s to switch to Mode B.
After successfully switching to Mode B, the red indicator flashes. You can press and
hold TVI or SD to zoom in/out.
Press and hold ENTER for 5 s, and then the OSD menu of CVBS video format is
Step 2
displayed. You can select and adjust OSD information by pressing the buttons on the
Controller.


