background image


31

5


Web Operation 

This series IPC product support the Web access and management via PC. 

Web includes several modules: monitor channel preview, PTZ control, system configuration, 

alarm and etc. 

5.1


Network Connection  

Please follow the steps listed below for network connection. 

z


Make sure the IPC has connected to the network properly. 

z


Please set the IP address, subnet mask and gateway of the PC and the IPC respectively. 

IPC default IP address is 192.168.1.108. Subnet mask is 255.255.255.0. Gateway is 

192.168.1.1. 

z


Use order ping ***.***.***.***(* IP camera address) to check connection is OK or not.  

5.2


Login and Logout 

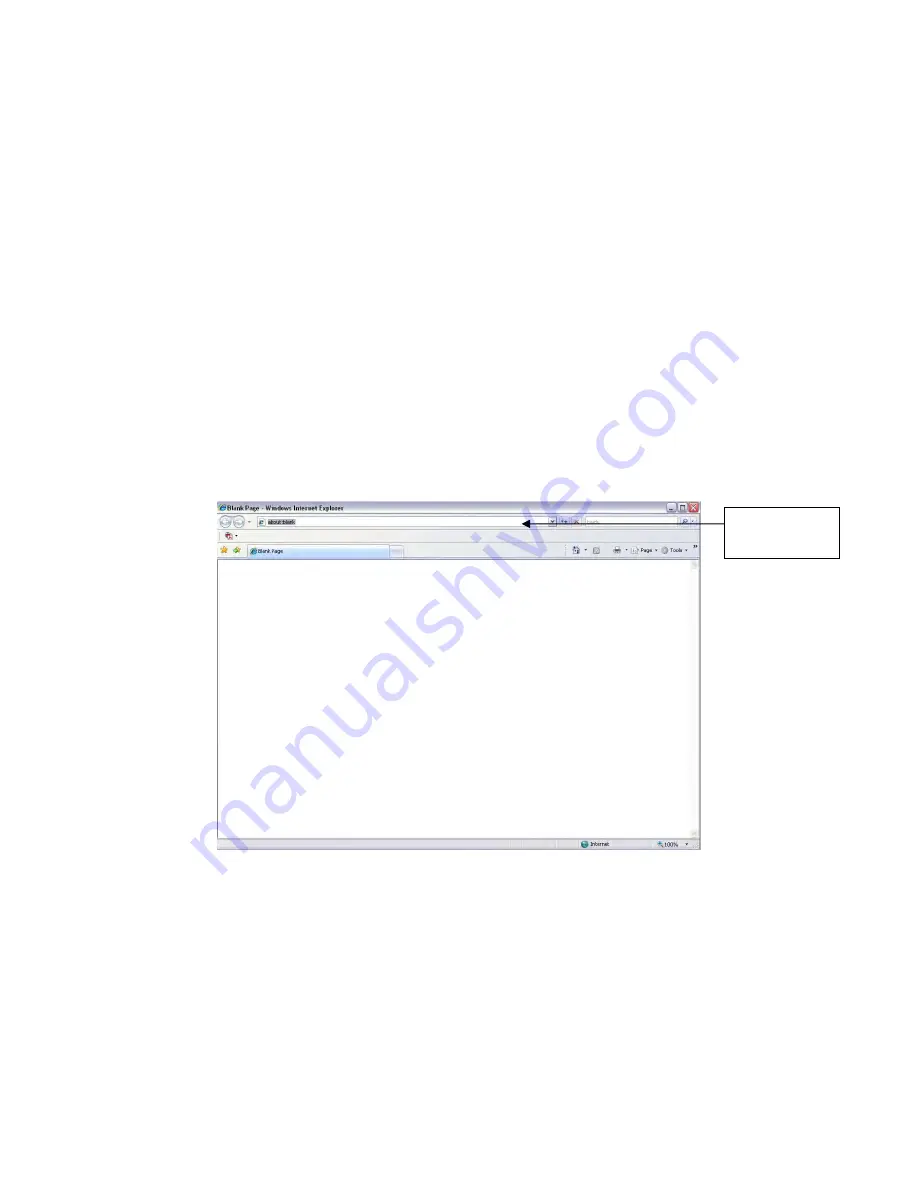
Open IE and input IP camera address in the address bar.  

For example, if your camera IP is 192.168.1.108, then please input http:// 192.168.1.108 in IE 

address bar. See Figure 5-1. 


Figure 5-1 

The login interface is shown as below. See Figure 5-2. 

Please input your user name and password.  

Default factory name is admin and password is admin.  

Note: For security reasons, please modify your password after you first login. 

Input your IP 

address here

eLineTechnology.com

Summary of Contents for IPC-HF3500 Series

Page 1: ...Megapixel Indoor IP Camera User s Manual Version 3 5 0 eLineTechnology com...

Page 2: ...era This user s manual is designed to be a reference tool for your system Please read the following safeguard and warnings carefully before you use this series product Please keep this user s manual w...

Page 3: ...d environment Please keep the sound ventilation Do not allow the water and other liquid falling into the IPC Thunder proof device is recommended to be adopted to better prevent thunder The grounding s...

Page 4: ...iii Quick Start Guide 1 CD 1 eLineTechnology com...

Page 5: ...onal talk 18 2 4 1 Device end to PC end 18 2 4 2 PC end to the Device end 18 2 5 Alarm Setup 19 2 5 1 Alarm Input and Output Connection 19 2 5 2 IR Light Connection 20 3 Installation 21 3 1 Lens Insta...

Page 6: ...e 25 3 5 I O Port 26 4 Quick Configuration Tool 28 4 1 Overview 28 4 2 Operation 28 5 Web Operation 31 5 1 Network Connection 31 5 2 Login and Logout 31 6 FAQ 34 Appendix Toxic or Hazardous Materials...

Page 7: ...schedule setting z Support record via Web and the recorded file are storage in the client end PC z Support local SD card hot swap Support short time storage when encounter disconnection z Support netw...

Page 8: ...meter IPC HF3500 Series IPC HF3300 Series IPC HF3200 Series IPC HF3100 Series IPC HF3110 Series Main Processor TI Davinci high performance DSP OS Embedded LINUX System Resources Support real time netw...

Page 9: ...am 704 480 1 2 5fps Main stream 1280 720 30fps Extra stream 704 480 3 0fps Video Bit Rate H 264 56Kbps 8192Kbps JPEG is adjustable and bit rate is adjustable Support customized setup Flip Support Mirr...

Page 10: ...ort 3G SIM card TD EVDO WCDMA function For 3G series product only Antenna Port Support to receive the wireless signal This function is for 3G and WIFI series product only AUX Interface RS485 port PTZ...

Page 11: ...e FPS PAL 25 NTSC 30 Bit Rate Type CBR Recommen ded Bit 3584 8192 Kb S Bit Rate 8192 I Frame 50 Watermark Enable Main Stream Watermark character DigitalCCTV Enable Enable Bit stream type General Encod...

Page 12: ...m Encode Mode G 711A Enable Disable Audio Sub Stream Encode Mode G 711A Host Name IPC Ethernet Card Wire Default Mode Static Mac Address Device MAC address when it is shipped out of the factory IP Ver...

Page 13: ...DDNS Server IP none Server Port 80 Domain Name none User none Password N A DDNS Update Period 10 minutes IP Filter Trusted sites Disable SMTP Server none Port 25 Anonymity Disable User Name anonymity...

Page 14: ...SNMP SNMP v3 disable Enable Enable Bonjour Server Name SN It depends on the device Multicast Address 239 255 42 42 Multicast Port 36666 Real time Monitor 0 Command 0 QoS Wireless Qos Disable Enable D...

Page 15: ...ss 0 Video Masking Snapshot Disable Enable Disable Relay in Alarm 1 Anti dither 0 seconds Sensor Type NO Record Channel Enable Record Delay 10 seconds Relay out Enable Alarm Delay 10 seconds Send Emai...

Page 16: ...Enable Record Delay 10 seconds Relay out Enable Disconnectio n Relay out Delay 10 seconds Enable Disable Record Enable Record Delay 10 seconds Relay out Enable IP Conflict Relay out Delay 10 seconds W...

Page 17: ...e Format Y M D Time Format 24H Time Zone GMT 08 00 System Time Sync PC DST Disable DST Type Week Start Time 00 00 00 of the first Sunday of the month End Time 00 00 00 of the second Monday of the mont...

Page 18: ...Setup Setup Item IPC HF3500 Series IPC HF3300 Series IPC HF3200 Series IPC HF3100 Series IPC HF3110 Series End Time Current time Start Time The previous day System Log All Types Select all eLineTechn...

Page 19: ...Figure 2 1 The rear panel with the network port The rear panel with the 100M fiber port Figure 2 1 Please refer to the following sheet for detail information Interface Name Connector Function VIDEO OU...

Page 20: ...light is on z Display record status Record green light flashes STATUS Indication Light Yellow light z Detect the wireless device yellow light is on 3G Connect to 3G card Please note it is for 3G seri...

Page 21: ...receive end TX RS232 port RS232_TX RS232 COM send out end G GND RS232 ground end NA IR light port External IR light signal control port RESET RESET button Restore factory default setup When system is...

Page 22: ...odule Transmit 100M Ethernet data SD SD card port Connect to SD card Note z When you install the SD card please make sure current card is not in write mode and then you can install it to the camera z...

Page 23: ...rm strike 2 2 Side Panel Please refer to the following interface for side panel dimension information The unit is mm See Figure 2 2 Figure 2 2 2 3 Front Panel Please refer to the following interface f...

Page 24: ...you can get the audio from the earphone or sound box at the pc end 2 4 2 PC end to the Device end Device Connection Connect the speaker or the MIC to the audio input port in the PC and then connect th...

Page 25: ...rm output The alarm output 01 is the alarm output port of the device rear panel Figure 2 4 2 5 1 Alarm Input and Output Connection Please refer to the following figure for alarm input information See...

Page 26: ...2 6 2 5 2 IR Light Connection Please refer to the following figure for external IR light information See Figure 2 7 IR synchronization input signal When the external IR light is on the signal cable fr...

Page 27: ...hen turn counter clockwise to move the focusing ring out for several millimeters Now you can focus manually and check the video is clear or not If you can not see the clear video you can adjust via th...

Page 28: ...ion cap back to protect the CCD Figure 3 3 3 2 SD Card 3 2 1 Installation Please follow the steps listed below to install SD card The interface is shown as in Figure 3 4 and Figure 3 5 z Use the screw...

Page 29: ...Remove the cap from the camera z Follow the SD card direction to remove the SD card z Insert the SD card protection cap z Use the screwdriver to fix the screw to secure the protection cap Figure 3 6...

Page 30: ...card protection cap screw firmly to secure the 3G card protection cap Figure 3 7 Figure 3 8 3 3 2 Remove Please follow the steps listed below to remove 3G card The interface is shown as Figure 3 9 z U...

Page 31: ...panel See Figure 3 10 Please turn according to the direction in the following figure until antenna is secure firmly See Figure 3 11 Figure 3 10 Figure 3 11 After you fix the 3G WIFI antenna to the WIF...

Page 32: ...e 3 13 Now you can see the antenna is away from the thread See Figure 3 14 Figure 3 13 Figure 3 14 Remove the 3G WIFI antenna from the port of the rear panel See Figure 3 15 Figure 3 15 3 5 I O Port I...

Page 33: ...into the groove and then release the screwdriver Remove Cable Please follow the steps listed below to remove the cable Use the small slotted screwdriver to press the corresponding button of cable gro...

Page 34: ...to the IP addresses in the same segment 4 2 Operation Double click the ConfigTools exe icon you can see an interface is shown as in Figure 4 1 In the device list interface you can view device IP addre...

Page 35: ...you can select an IP address and then click the Login button to go to the login interface See Figure 4 4 In Figure 4 4 you can view device IP address user name password and port Please modify the cor...

Page 36: ...Figure 4 5 For detailed information and operation instruction of the quick configuration tool please refer to the Quick Configuration Tool User s Manual included in the resources CD eLineTechnology c...

Page 37: ...ult IP address is 192 168 1 108 Subnet mask is 255 255 255 0 Gateway is 192 168 1 1 z Use order ping IP camera address to check connection is OK or not 5 2 Login and Logout Open IE and input IP camera...

Page 38: ...K button system can automatically install the control When system is upgrading it can overwrite the previous Web too If you can t download the ActiveX file please check whether you have installed the...

Page 39: ...33 Figure 5 4 Please refer to the Web Operation Manual included in the resource CD for detailed operation instruction eLineTechnology com...

Page 40: ...record file It may damage the SD card duration I can not use the disk as the storage media When disk information is shown as hibernation or capacity is 0 please format it first Via Web I can not upgr...

Page 41: ...nvironmental friendly use period EFUP period the toxic or hazardous substance or elements contained in products will not leak or mutate so that the use of these substances or elements will not result...

Reviews: