


129
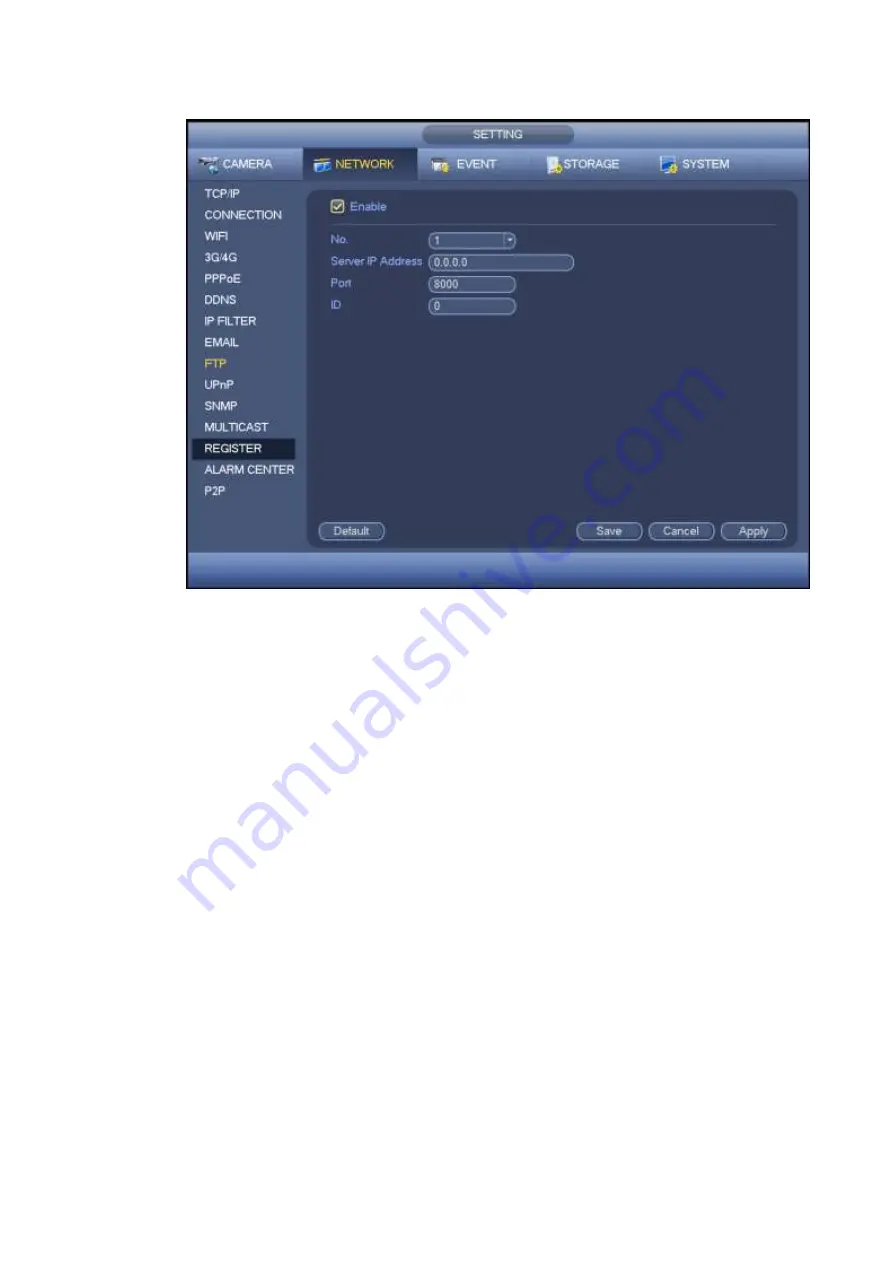
Figure 4-116
2) The proxy server software developed from the SDK. Please open the software and input the global
setup. Please make sure the auto connection port here is the same as the port you set in the previous
step.
3) Now you can add device. Please do not input default port number such as the TCP port in the mapping
port number. The device ID here shall be the same with the ID you input in Figure 4-116. Click Add button
to complete the setup.
4) Now you can boot up the proxy server. When you see the network status is Y, it means your
registration is OK. You can view the proxy server when the device is online.
Important
The server IP address can also be domain. But you need to register a domain name before you run proxy
device server.
4.12.14 Alarm Centre
Here you can set alarm center server. Once there is an alarm event, system can send out the alarm to
the alarm center. Please refer to chapter 4.15 Alarm events to set upload function.
From main menu->Setting->Network->Alarm center, you can go to the following interface. See Figure
Enable: Check the box to enable alarm center function.
Host IP/Port: The IP address and the communication port of the PC that have installed the alarm
client.
Self-report time: Select alarm upload time from the dropdown list.
Summary of Contents for HCVR82**A-S3 Series
Page 1: ...Dahua HDCVI Standalone DVR User s Manual Dahua HDCVI Standalone DVR User s Manual V1 1 0 ...
Page 84: ...72 Figure 4 44 Figure 4 45 ...
Page 102: ...90 Figure 4 73 Figure 4 74 ...
Page 104: ...92 Figure 4 76 Figure 4 77 ...
Page 120: ...108 Figure 4 93 Check a file name double click file or click to play ...
Page 158: ...146 Figure 4 135 Figure 4 136 ...
Page 167: ...155 Figure 4 145 Click Draw button to draw the tripwire See Figure 4 146 Figure 4 146 ...
Page 183: ...171 Figure 4 162 Figure 4 163 ...
Page 190: ...178 Figure 4 171 Figure 4 172 ...
Page 191: ...179 Figure 4 173 Figure 4 174 ...
Page 199: ...187 4 186 and Figure 4 187 Figure 4 186 Figure 4 187 ...
Page 275: ...263 Figure 5 60 Figure 5 61 ...
Page 289: ...277 Figure 5 77 Click to draw the rule See Figure 5 78 Figure 5 78 ...
Page 349: ...337 ...
Page 358: ...346 the sound ventilation Please check and maintain the device regularly ...
Page 360: ...348 896K 393M 1024K 450M 1280K 562M 1536K 675M 1792K 787M 2048K 900M ...
Page 376: ...364 ...


