48
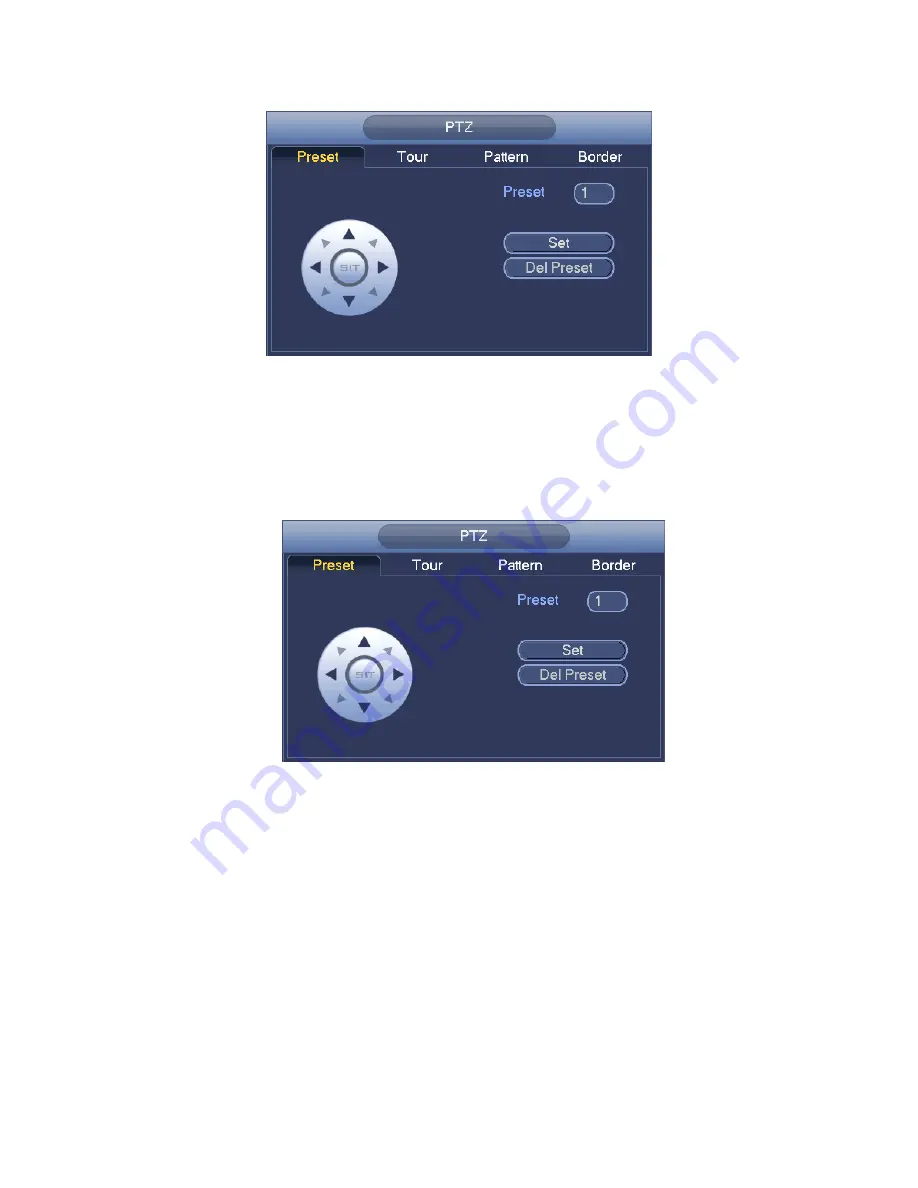
Figure 4-16
Preset Setup
In
Figure 4-16, click preset button and use eight direction arrows to adjust camera to the
proper position. The interface is shown as in Figure 4-17.
Click Set button and then input preset number.
Click Set button to save current preset.
Figure 4-17
Tour Setup
In Figure 4-16, click tour button.
Input tour value and preset No. Click Add preset button to add current preset to the tour.
See Figure 4-18.
Tips
Repeat the above steps to add more presets to the tour. Click Del preset button to remove
it from the tour. Please note some protocols do not support delete preset function.
Summary of Contents for HCVR5204A-S2
Page 1: ...Dahua HDCVI Standalone DVR User s Manual Dahua HDCVI Standalone DVR User s Manual V1 0 0 ...
Page 89: ...80 Figure 4 53 Figure 4 54 4 10 1 3 Encode ...
Page 115: ...106 Figure 4 81 Figure 4 82 Figure 4 83 ...
Page 121: ...112 Figure 4 89 Figure 4 90 ...
Page 122: ...113 Figure 4 91 Figure 4 92 ...
Page 125: ...116 Figure 4 96 Figure 4 97 ...
Page 131: ...122 Figure 4 106 Figure 4 107 4 10 4 1 2 2Trigger Snapshot ...
Page 159: ...150 Figure 4 141 ...
Page 250: ...241 ...


