4
It is not allowed to use on-site listening when the device is applying bidirectional talk.
Step 1
Connect the speaker or the MIC to the audio input port of the device and PC; connect the
earphone to the audio output port of the device and PC respectively.
Step 2
Log in the device WEB interface, click “Talk” button to enable bidirectional talk. You can see the
button becomes orange after you enabled the audio talk function. Click “Talk” button again to
stop the bidirectional talk function.
Step 3
Input audio to speaker or MIC on the device end and PC respectively, and receive the audio via
earphone on the device end and PC.
1.4 Alarm Setup
Note:
Some devices don’t support alarm function, which can’t be applied to this chapter.
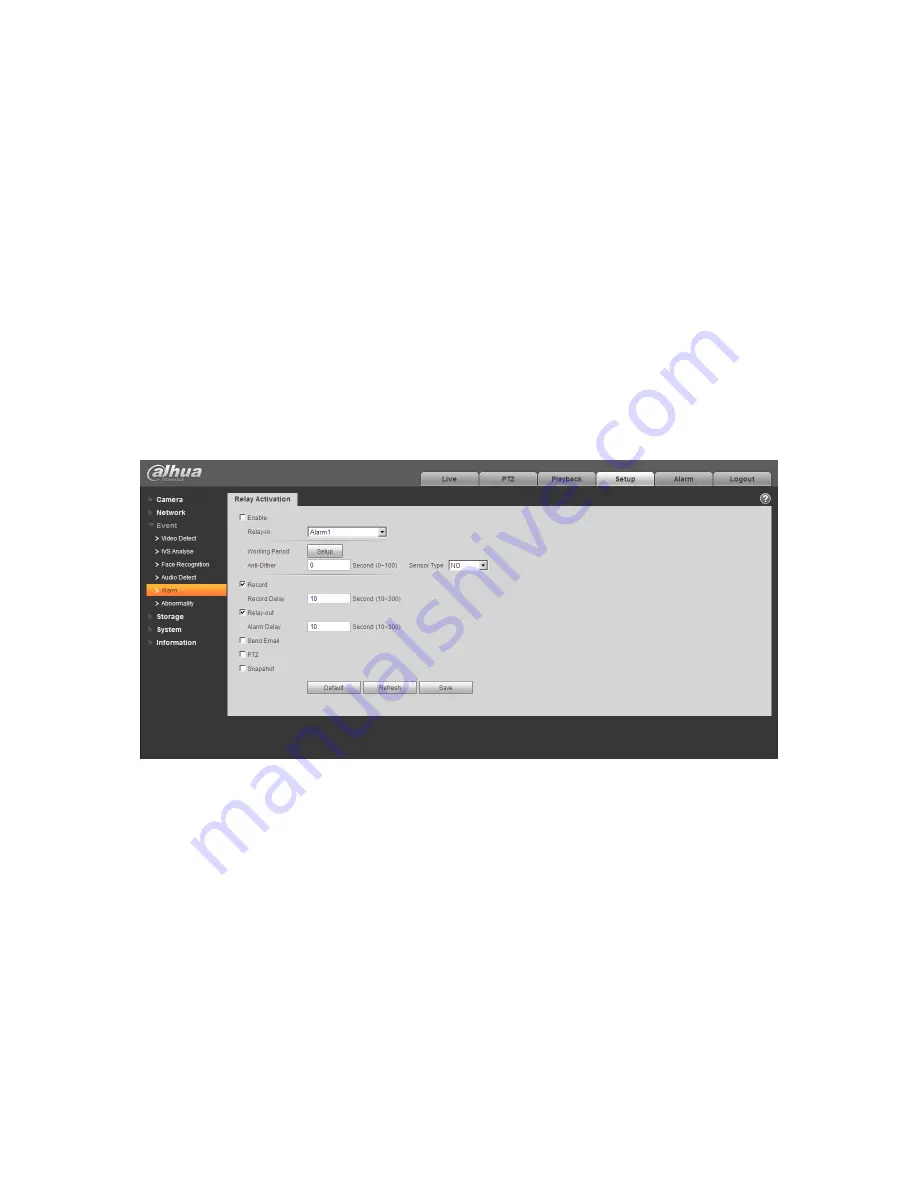
The alarm interface is shown as in Figure 1-5.
Figure 1-5
The alarm input, output connection description:
Step 1
Connect the alarm input device to the IN alarm input port on the rear panel I/O port.
Step 2
Connect the alarm output device to the NO alarm output port and C alarm output public
port on the rear panel I/O port. The alarm output port supports NO (normal open) alarm device
only.
Step 3
Open the Web; go to the Figure 1-6. Here you can set the alarm input setup and alarm output
setup. Here the alarm input is the alarm input on the rear panel I/O port (as IN port). Then you
can select the corresponding type (NO/NC) according to the high/low level type when an alarm
occurs.
Step 4
Summary of Contents for H-IPC-HF81230E
Page 11: ...6 Figure 1 8 ...


