88
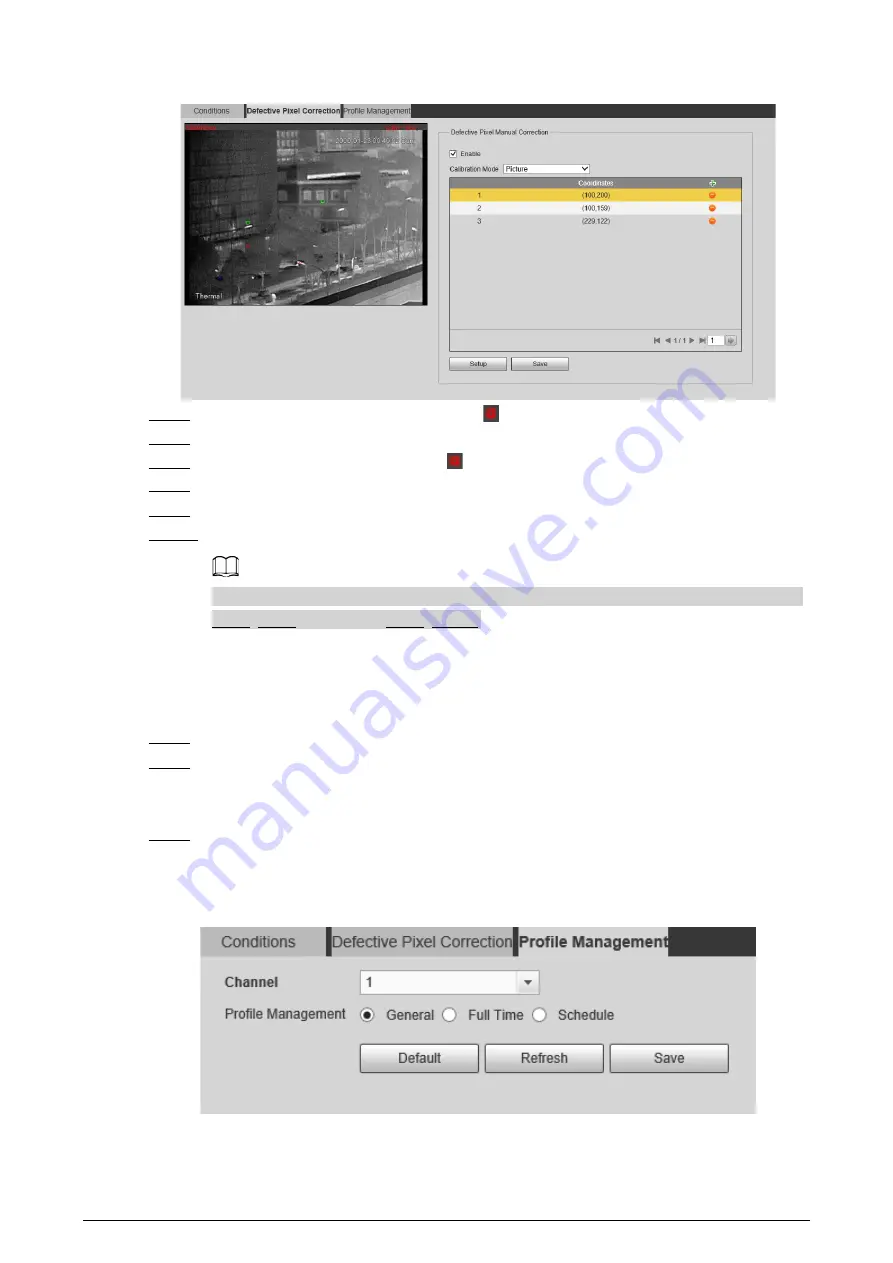
Figure 6-9 Thermal image
Step 5
Click a defective pixel on the image, and
is displayed near the defective pixel.
Step 6
Roll the mouse wheel to zoom in the image.
Step 7
Click the defective pixel again, and
overlaps the defective pixel.
Step 8
Click
Calibration Confirmed
.
Step 9
Click
Setting
.
Step 10 Click
Save
.
To correct multiple defective pixels at the same time, calibrate one defective pixel, repeat
Step1–Step8, and then do Step9–Step10.
6.1.1.4 Configuring Profile Management
When configuring the profile management, you can select from
Normal
,
Full Time
and
Schedule
.
Step 1
Select
Setting
>
Camera
>
Conditions
>
Profile Management
.
Step 2
Select the channel.
●
Select
1
in
Channel
to configure the profile management for the visible channel.
●
Select
2
in
Channel
to configure the profile management for the thermal channel.
Step 3
Configure profile management.
●
When
Profile Management
is set as
Normal
, the surveillance system works under
normal configuration.
Figure 6-10 Common setting
●
When
Profile Management
is set as
Full Time
, you can select
Day
or
Night
as
Always
Enable
, and the surveillance system works under
Always Enable
.


