background image

Quick Start Guide 

Foreword 

General 

This manual introduces the installation and operations of network camera. Read carefully before 
using the device, and keep the manual safe for future reference. 

Safety Instructions 

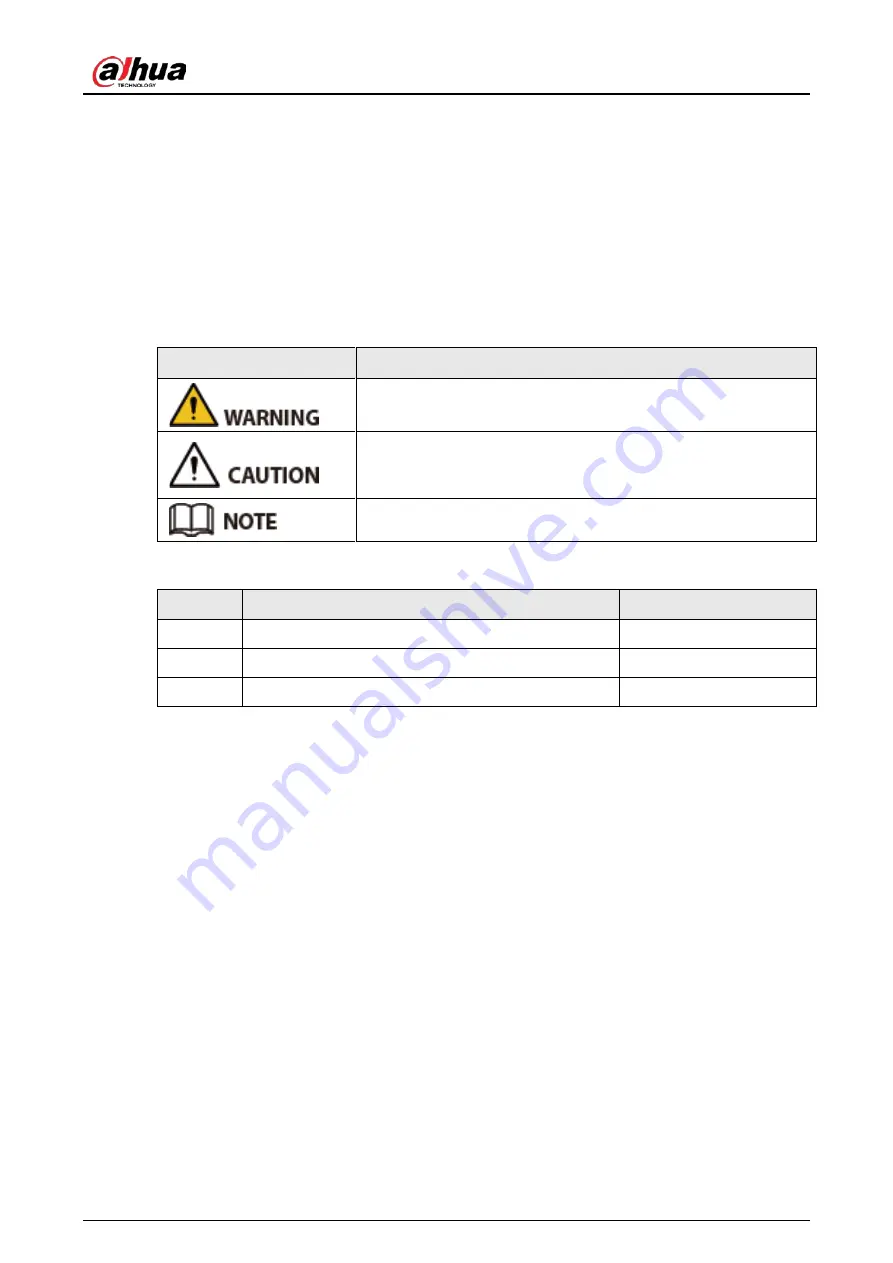
The following signal words might appear in the manual. 

Signal Words 

Meaning 


Indicates a medium or low potential hazard which, if not avoided, 
could result in slight or moderate injury. 


Indicates a potential risk which, if not avoided, could result in 

property damage, data loss, lower performance, or unpredictable 

result. 


Provides additional information as a supplement to the text. 

Revision History 

Version 

Revision Content 

Release Date 

V1.0.2 

Updated the installation information. 

June 2022 

V1.0.1 

Updated "Important Safeguards and Warnings". 

April 2021 

V1.0.0 

First release. 

March 2018 

Privacy Protection Notice 

As the device user or data controller, you might collect the personal data of others such as their face, 
fingerprints, and license plate number. You need to be in compliance with your local privacy 
protection laws and regulations to protect the legitimate rights and interests of other people by 
implementing measures which include but are not limited: Providing clear and visible identification 
to inform people of the existence of the surveillance area and provide required contact information. 

About the Manual 

  The manual is for reference only. Slight differences might be found between the manual and the 

product. 

  We are not liable for losses incurred due to operating of the product in ways that are not in 

compliance with the manual. 

  The manual will be updated according to the latest laws and regulations of related jurisdictions. 

For detailed information, see the paper User Manual, use our CD-ROM, scan the QR code or visit 
our official website. The manual is for reference only. Slight differences might be found between 
the electronic version and the paper version. 

  All the designs and software are subject to change without prior written notice. Product updates 

might result in some differences appearing between the actual product and the manual. Please 
contact customer service for the latest program and supplementary documentation. 

Summary of Contents for D-IPC-HDBW3441F-AS-M-0280B

Page 1: ...Dome Network Camera Quick Start Guide ZHEJIANG DAHUA VISION TECHNOLOGY CO LTD V1 0 2...

Page 2: ...n compliance with your local privacy protection laws and regulations to protect the legitimate rights and interests of other people by implementing measures which include but are not limited Providing...

Page 3: ...the reader software or try other mainstream reader software if the manual in PDF format cannot be opened All trademarks registered trademarks and the company names in the manual are the properties of...

Page 4: ...fety code and standards and check whether the power supply is correct before operating the device Please follow the electrical requirements to power the device When selecting the power adapter the pow...

Page 5: ...oint where they exit from the device Do not directly touch the photosensitive CMOS Use an air blower to clean the dust or dirt on the lens The dome cover is an optical component Do not directly touch...

Page 6: ...t use volatile solvents such as ethyl alcohol benzene diluent or abrasive detergents on the device to avoid damaging the coating and degrading the performance of the device The dome cover is an optica...

Page 7: ...tializing the Camera 4 2 2 Changing the Device IP Address 5 2 3 Logging in to the Web Page 5 3 Installation 6 3 1 Packing List 6 3 2 Dimensions 6 3 3 Installing the Camera 7 3 3 1 Installation Methods...

Page 8: ...onnects to the network through a network cable Provides power to the device with PoE PoE is available on select models 2 Power input Inputs 12 VDC power Be sure to supply power as instructed in the ma...

Page 9: ...the input signal is connected to 3 V to 5 V or idling Device collects logic 0 when the input signal is grounded Figure 1 2 Alarm input Step 2 Connect the alarm output device to the alarm output end o...

Page 10: ...alarm input end of the I O port There will be high level and low level alarm signals generated by the alarm input device when an alarm occurs Set the input mode to NO default if the alarm input signa...

Page 11: ...er are on the same network segment Carefully plan the network segment for the device The following figures and pages are for reference only 2 1 Initializing the Camera Step 1 Search for the device tha...

Page 12: ...nitializing the device Step 2 Select the devices whose IP addresses need to be changed and then click Modify IP Step 3 Configure IP address Static mode When you select Static you need to enter Start I...

Page 13: ...t Tools required for installation such as the electric drill are not included in the package The operation manual and information on the tools are on the disk or the QR code Figure 3 1 Packing list 3...

Page 14: ...allation methods 3 3 2 Optional Installing the SD Card SD card slot is available on select models Disconnect the power before installing or removing the SD card Do not leave the device uncovered for a...

Page 15: ...ast three times the weight of the camera and bracket Figure 3 6 Cable going through the side cable tray Figure 3 7 Cable going through the mounting surface 3 3 4 Optional Installing the Waterproof Con...

Page 16: ...Quick Start Guide 9 Figure 3 8 Install the waterproof connector 3 3 5 Adjusting the Lens Angle Figure 3 9 Adjust the lens angle...

Page 17: ...Quick Start Guide 10 3 3 6 Closing the Camera Figure 3 10 Closing the camera...

Page 18: ...Quick Start Guide...

Reviews: