DVD Operation
DVD System Operation
System operation will define the setting of the set; these definitions will be stored until you change them
again.
General Steps of Setup Menu
1. Pause or Stop the player. Press
DVD SETUP
on the remote control. The main menu will be shown as
2. Press the
/
buttons to select the Icon of the desired section, e.g. “TV System" and press
button to open that section.
3. Press
/
to select the desired feature and again press
button to open that section.
4. Press
/
to select the desired feature and then press "
OK
" to select the new setting.
5 To exit the menu, press "
DVD SETUP
" or
to select EXIT SETUP and then press "
OK
"
When launching the setup routine, the pressing of the following buttons will turn off the setup menu,
while the choices that have been changed will be saved.
Menu specification
1. SYSTEM SETUP
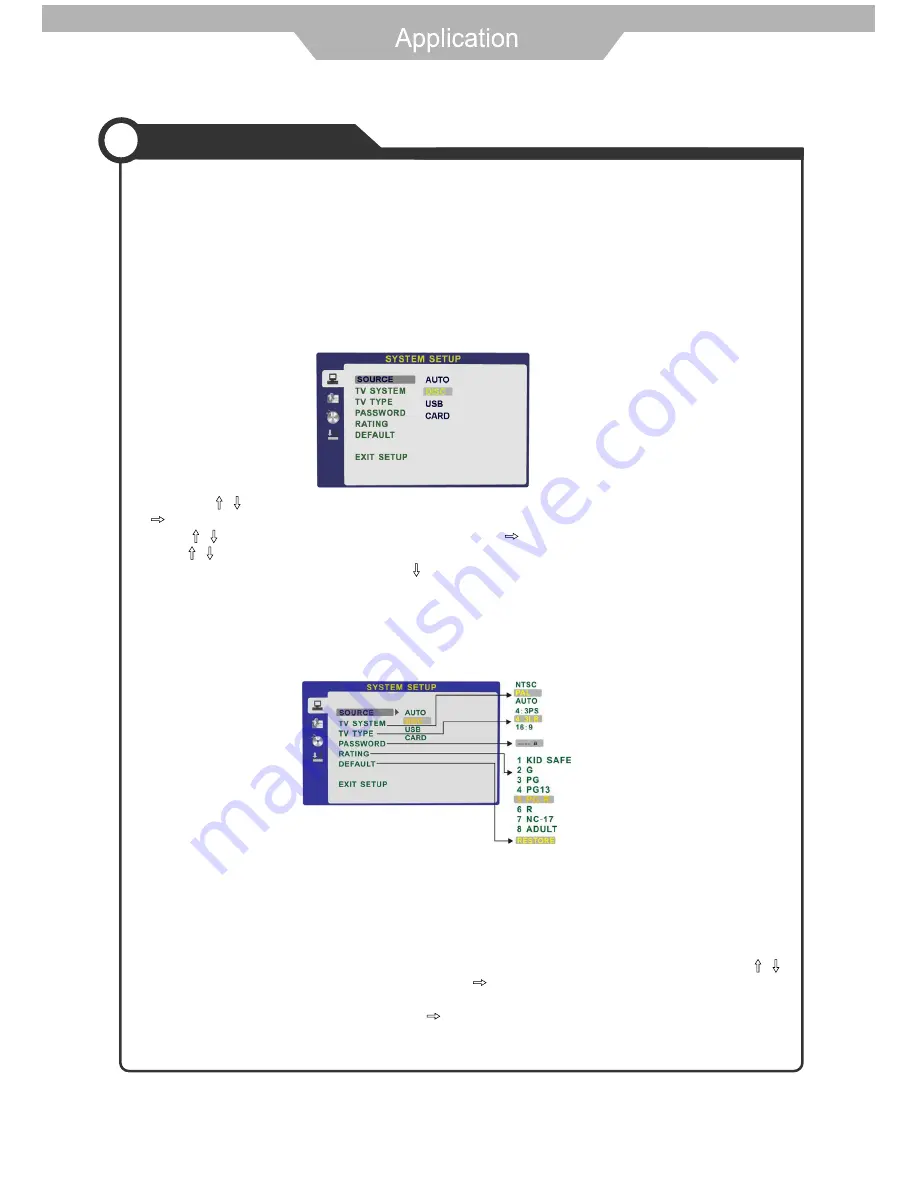
The system setup options are illustrated below:
TV SYSTEM
According to the Color system of your TV, select proper TV TYPE.
PASSWORD
The password option is initialized as locked. You cannot set the ratings limit or change the password.
To enable these features you must unlock the Password. The default password is "0000". Using the
/
button, move the highlight to "PASSWORD", press the
button and enter "0000". You will see the
padlock symbol open. You may now change the RATING or put in a new password number.
If the Lock symbol is BLUE you must press the
button to enter the lock field, the lock symbol will change
to YELLOW, you may now enter a new 4 digit number. Please remember or write down the new Password
and keep safe.
3. The player will then start to play the first track, of the selected directory.
4. To change directories use the direction buttons.
below.
SOURCE
Select the source of the information you want to play: AUTO, DISC, CARD, USB
31
In DVD mode, insert USB/CARD, it will auto display.
Summary of Contents for DSL26T2WCH
Page 1: ...LCD TEVISION DSL26T2WCH...
Page 2: ......
Page 4: ...1...
Page 5: ...2...
Page 6: ...3...
Page 7: ...4...
Page 8: ...5...
Page 11: ...8...
Page 15: ...12...
Page 21: ...18 TV Component VGA DVD HDMI1 HDMI2 AV AV2 S Video...


