SETUP
31
Setup menu
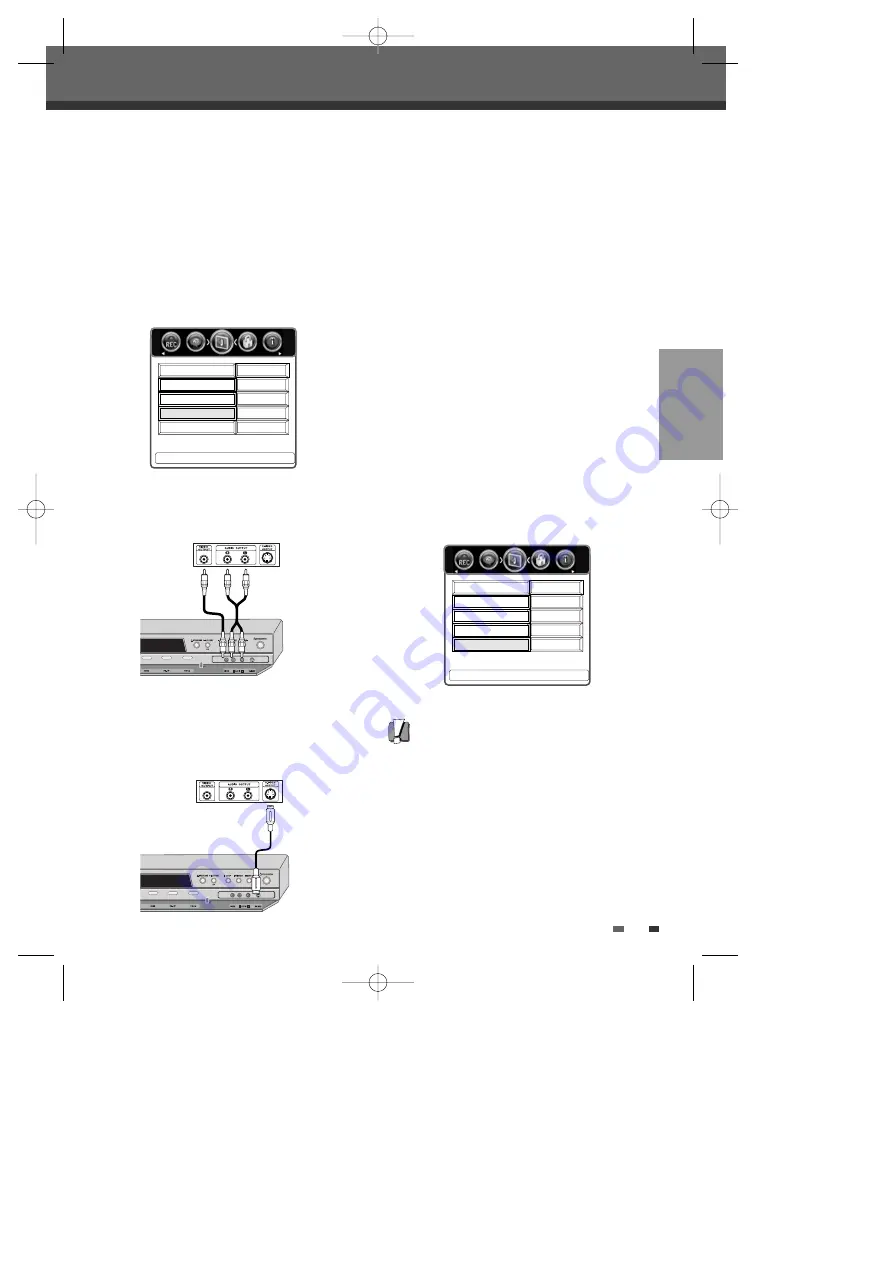
CVBS :
When you select this signal mode, you can
use the audio/video cord to connect other
equipment.
S-VIDEO :
When you select this signal mode, you
can use the S-VIDEO cord to connect other
equipment.
Front AV
1
Follow steps 1-2 as shown under ‘Digital
Audio’.
2
Use [
…
/
†
] to select ‘Front AV’.
3
Use [
œ
/
√
] to select the desired Front AV type.
4
Press [SETUP] to exit the menu.
4:3
Auto
Off
œ
CVBS
√
Interlace
Television
Video Output
Press < > To Change
Preferences
Picture Format
Digital Audio
Front AV
Caution
• Once the Progressive Scan setting is entered,
an image will only be visible on a Progressive
Scan compatible TV or monitor. Press
[P.SCAN] to return to Interlace Scan mode.
Video Output
Progressive Scan Video provides the highest picture
quality with reduced flickering.
RGB :
If you connect the DVB-T DVD Recorder to an
analog television using the SCART jacks, set Video
Output to ‘RGB’.
Interlace or Progressive :
If you connect the DVB-T
DVD Recorder to a digital television (DTV) or
Monitor using the COMPONENT jacks, set Video
Output to ‘Interlace’ or ‘Progressive’.
1
Press [SETUP].
2
Use [
œ
/
√
] to select ‘Preferences‘.
3
While ‘Preferences‘ is selected, press [
†
] to
select ‘Video Output‘.
4
Use [
œ
/
√
] to select the desired Video Output
mode.
5
Press [SETUP] to exit the menu.
4:3
Auto
Off
CVBS
œ
Interlace
√
Television
Press < > To Change
Preferences
Picture Format
Digital Audio
Front AV
Video Output
Front of DVB-T DVD Recorder
Jack Panel of Accessory Component
(VCR, Analog Camcorder, etc.)
Front of DVB-T DVD Recorder
Jack Panel of Accessory Component
(VCR, Analog Camcorder, etc.)
0817DTBD-LN11PA-AGN(GB)
2006.8.17
4:8
AM
˘
`
31


