31
CAUTION
●
If the cooling water capacity is under the
designated level, check on leakage of
cooling water(from engine, radiator,
hose, etc)
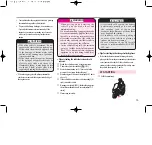
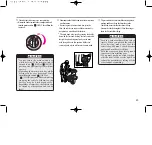
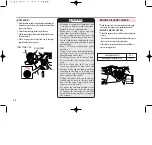
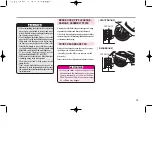
[ REPLACEMENT OF WINKER BULB ]
0
FRONT WINKER BULB >
①
Dip into a hand under the front cover.
②
Press smoothly the bulb and rotate it counterclock-
wise and disassemble it.
③
Replace with the new bulb, and assemble in the
reverse order of disassembly.
0
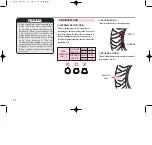
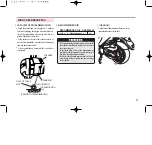
REAR WINKER BULB
1
①
Untie 2 tapping screws and remove the rear winker
lens.
②
Press the bulb smoothly, rotate it counterclockwise
and disassemble it.
③
Replace with the new bulb, and assemble in the
reverse order of disassembly.
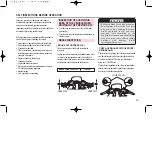
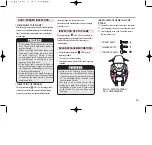
Check the objects at the back are well noticed when
seating on a driver’s seat, and also mirror for damage or
contamination.
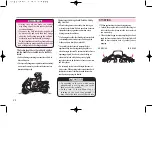
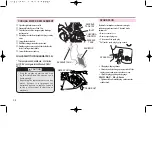
Check there is no gasoline leakage from fuel
tank, hoses, carburetor, etc.
Check whether the license plate being contaminated or
damaged.
To check complete assembly of license plate, touch it
by hand and check.
①
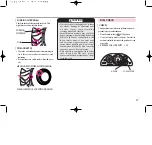
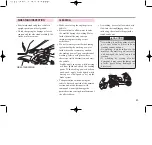
Stand the vehicle onto the flat ground by main
stand.
②
Open inner box lid in right side of inner box, check
whether the capacity of cooling water is within the
specified range(between the upper and lower level).
③
If the cooling water is under the lower level, refill
water to the designated level.
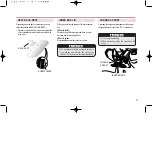
INSPECTION OF CONTAMINATION
OR DAMAGE OF LICENSE PLATE
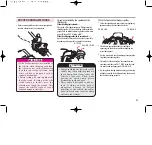
INSPECTION OF COOLING WATER
BULB
INSPECTION OF BACK MIRRORS
FUEL LEAK INSPECTION
BULB
REVERSE
TANK
COOLING
WATER CAP
INLET
CHECKING
WINDOW
WINKER LENS
SEAT
REAR WINKER BULB
12V 10W
FRONT WINKER BULB
12V 10W
COOLING WATER CAPACITY
1.5 L
Summary of Contents for Q2
Page 86: ...84 MEMO...
Page 87: ...85 MEMO...
Page 88: ...86 MEMO...
Page 89: ...87 MEMO...
Page 90: ...88 MEMO...

