40
English
Using the Basic Oven
Using the Cleaning Features, cont.
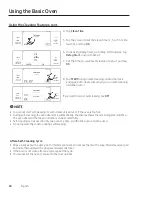
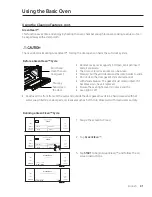
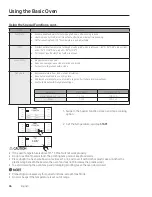
4. Tap
Clean Time
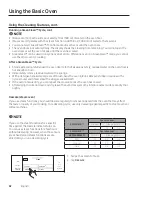
5. Tap the screen to set the clean time (2, 3, or 5 hrs (de-
fault: 3), and tap
OK
.
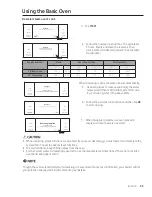
6. If not using Delay Start, go to Step 8. Otherwise, tap
Delay Start
, and go to Step 7.
7. Set the time you want self-cleaning to start, and tap
OK
.
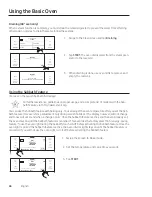
8. Tap
START
to begin self-cleaning. (Auto door lock
engages; both doors lock when you run self-cleaning
on either oven.)
If you need to cancel self-cleaning, tap
OFF
.
• You cannot start self-cleaning if control lockout is active or if the oven is too hot.
• During self-cleaning, the oven doors lock automatically. The display shows the remaining cleaning time.
The oven doors will not open until the oven has cooled fully.
• Self-cleaning can be used in only one oven at a time, and the idle oven cannot be used.
• Do not operate the cooktop during self-cleaning.
After a Self-Cleaning Cycle
•
Wipe up any ash with a damp cloth. (If white spots remain, remove them with a soap-filled steel-wool pad
and rinse thoroughly with a vinegar and water mixture.)
• If the oven is not clean after one cycle, repeat the cycle.
• You cannot set the oven to cook until the door unlocks.
TIMER
OPEN/CLOSE
RESERVOIR
OFF
LIFT PANEL
TIMER
OPEN/CLOSE
RESERVOIR
TIMER
OPEN/CLOSE
RESERVOIR
OFF
LIFT PANEL
TIMER
OPEN/CLOSE
RESERVOIR
OFF
LIFT PANEL
TINGS
TIMER
OPEN/CLOSE
RESERVOIR
LIFT PANEL
OFF

