


Automatic Coffee System
Deluxe Features
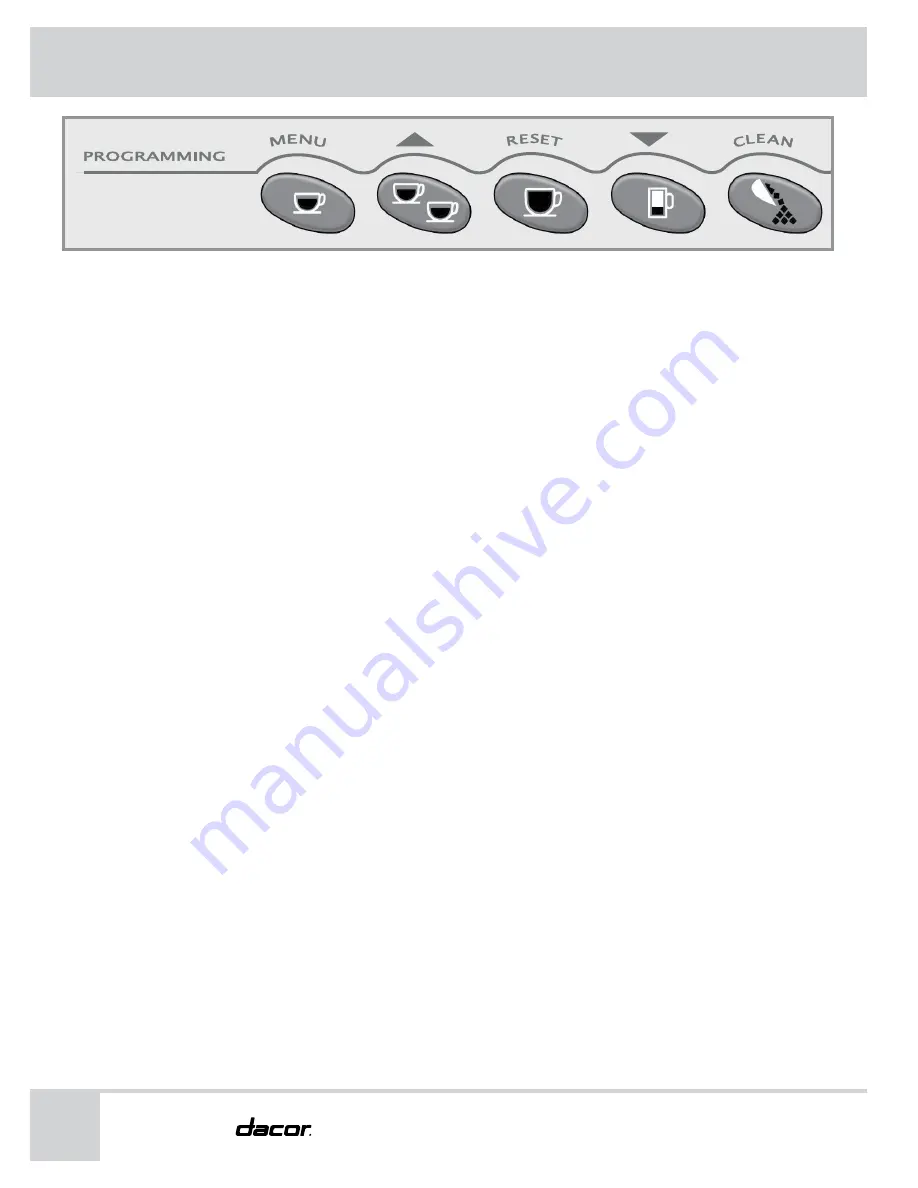
Feature Menus
Cumulative Total
The cumulative total feature allows you to view the total number
of drinks made by your coffee system and the number of individual
drinks made. It is not programmable. To view the number of drinks
made:
With “Cumulative Total” displayed on the main programming
menu, push the MENU button.
To check each drink individually, repeatedly push the MENU
button.
Push RESET to exit.
Push the
button repeatedly to select a feature to change or
close the front panel door to exit the main programming menu.
Changing the Button Assignment
With the main programming menu accessed, push the
or
button repeatedly until “Product Name” appears on
the display. “Product Name” changes the type of drink
programmed for each button.
Push the MENU button.
Repeatedly push the MENU button to see the drink assigned
to each button. Each drink type shown has a number in the
upper right of the display. The number represents the button
programmed for this drink. 1 is the button on the far left, 2
is the next button to the right and so on. Stop on the button
number you want to change.
To select a drink for the button number shown, scroll using the
or
buttons until you find the desired beverage.
Push the RESET button to change to the new drink type.
Push the
or
button repeatedly to select another feature
to change or close the front panel door to exit the main
programming menu.
1.
2.
3.
4.
1.
2.
3.
4.
5.
6.
Summary of Contents for CM24P-1
Page 49: ...47 Use and Care Manual Notes...