13
The primary cable supplied with the power source has 4 conductors. When connecting an
attachment plug or hard wiring to an electrical service box, connect the green/yellow wire to the
ground. The remaining 3 conductors can be connected to the phases in any order.
Once connected to the primary power, the power source must be turned OFF before the unit is
moved.
3.5 Fuses and Circuit Breakers
It is recommended that input fuse sizes be in accordance with the table below:
Input Voltage
Welder input
Maximum Amperage
Recommended
Fuse
Capacity
400V (CE Version)
24
30A Time Delay (Slo-Blow)
460V-480V
20
30A Time Delay (Slo-Blow)
575V
18
30A Time Delay (Slo-Blow)
Table 2.0
3.6 Output cable connections
The standard supplied output connectors on output the rear panel are female Cam-Lok.
Welders may have been supplied with Tweco type or Dinse (DIX) type if special ordered.
Certain adapters can be supplied as an option.
For connection to welding cables. Maximum
recommended length is 50 feet 2/0 gun and ground cable.
3.7 Stud Guns
There are several manufacturers of Stud welding guns. A Stud gun is shaped to fit in the hand,
in the shape of a handgun, and is a semi-automatic stud welding tool. Guns vary in design,
connection, weight, capacity and Duty Cycle. Only guns suitable for drawn arc Stud welding can
be used and are available for Short Cycle, Standard Duty and Heavy-Duty use. The pin
configuration of the gun must be compatible with
The DT1200i
.
Units come standard with a 4-pin panel mounted control connector for the firing gun. The pistol
grip switch initiates the stud current through the welding cables and, at the same time, powers
the solenoid in the gun so that it retracts.
Attach the gun cable to the (-) jack on the power supply and attach the ground clamp to the (+)
jack on the power supply.
There is very little to do when unpacking the Stud Welding gun. The gun should be complete
with all the tools and accessories required for setup, adjustment and maintenance. Guns should
be equipped with the correct chuck, ferrule grip and special accessories for each application.
Operators should consult the Operation/Maintenance Manual from the Stud Gun manufacturer
for complete instructions for safe operation and maintenance.
Summary of Contents for DT1200i
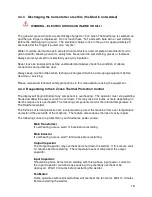
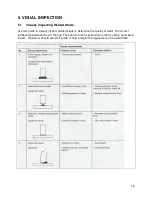
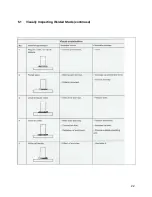
Page 20: ...20 5 1 Visually Inspecting Welded Studs continued...
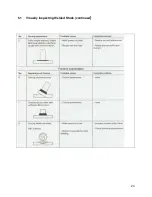
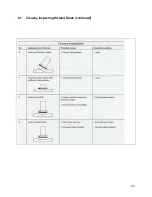
Page 21: ...21 5 1 Visually Inspecting Welded Studs continued...
Page 22: ...22 5 1 Visually Inspecting Welded Studs continued...
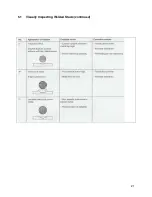
Page 23: ...23 5 1 Visually Inspecting Welded Studs continued...
Page 29: ......
Page 30: ......
Page 31: ...1 of 1...
Page 32: ...1 of 1...
Page 33: ...1 of 1...
Page 34: ...1 of 1...


