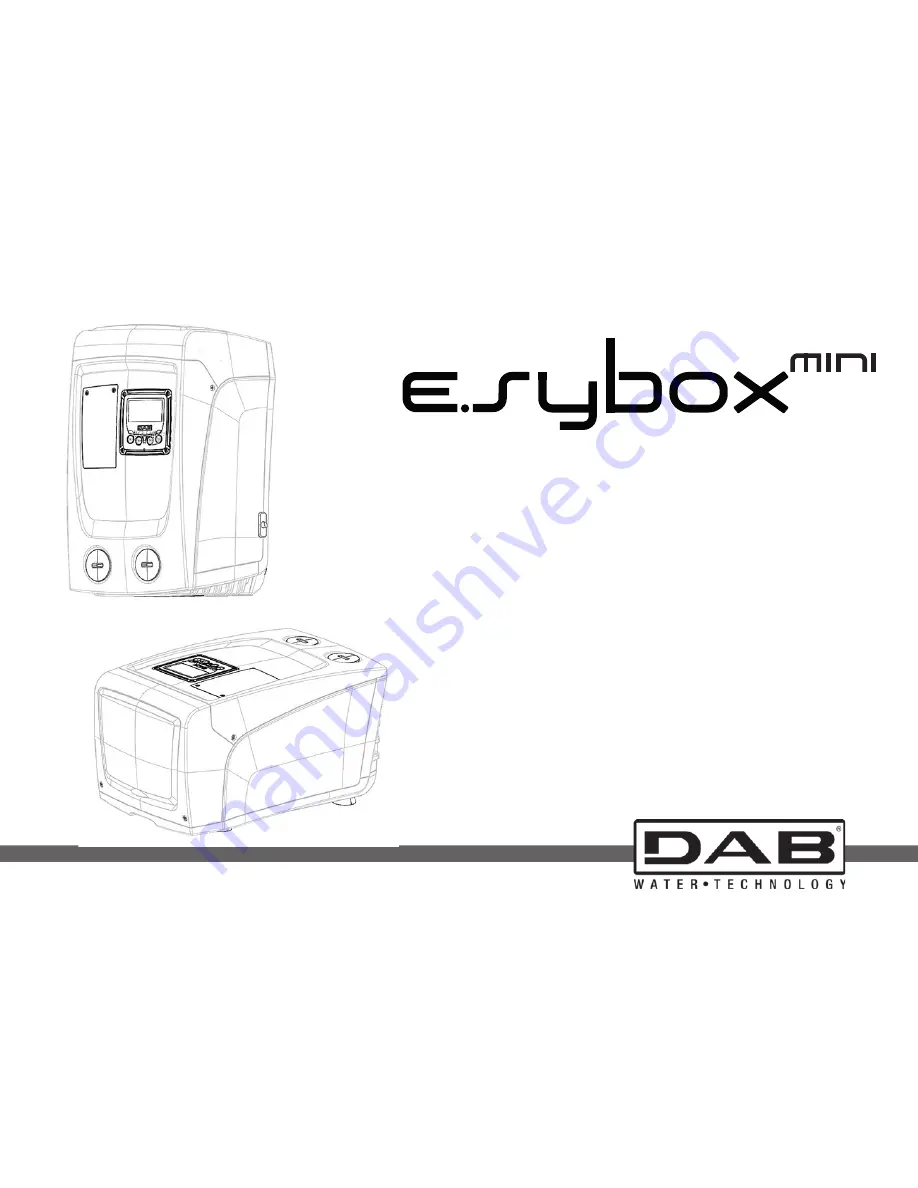
INSTRUCTIONS FOR INSTALLATION AND MAINTENANCE
Page 1: ...INSTRUCTIONS FOR INSTALLATION AND MAINTENANCE...
Page 2: ...Manual valid for firmware versions 4 x 1 x...
Page 3: ...issipator temperature display 57 5 3 Setpoint Menu 57 5 3 1 SP Setting the setpoint pressure 57 5 4 Manual Menu 58 5 4 1 Status 58 5 4 2 RI Speed setting 58 5 4 3 VP Pressure display 58 5 4 4 VF Flow...
Page 4: ...reset 64 7 2 Factory settings 64 7 3 Restoring the factory settings 64 8 Particular installations 65 8 1 Inhibiting self priming 65 8 2 Wall installation 66 9 Maintenance 66 9 1 Accessory tool 66 9 2...
Page 5: ...persons or property and will void the product guarantee KEY The following symbols have been used in the discussioni SITUATION OF GENERAL DANGER Failure to respect the instructions that follow may cau...
Page 6: ...ce A a door allows access to the Technical Compartment Inside the technical compartment you can access see Fig 3 1 Rapid Guide 2 Technical data plate 3 Filling cap only for vertical configuration 4 Ac...
Page 7: ...otation speed of the electropump In operation without an inverter the electropump is unable to modulate and when there is an increase of the request for flow the pressure necessarily decreases or vice...
Page 8: ...to the pump keeping it open until it no longer gives any water The special structure of the expansion vessel ensures its quan tity and duration over time especially of the diaphragm which is typically...
Page 9: ...upply voltages Protection against excess temperature 2 INSTALLATION The system is designed for indoor use do not install the system outdoors and or directly exposed to atmospheric agents The system is...
Page 10: ...ave a further distance sufficient to manoeuvre the drainage cap The distance of at least 10mm between Face B of the system and an obstruction is obligatory to let out the power supply cable to the mai...
Page 11: ...pressure on the pump 2 1 2 Loading Operation Installation above head and below head Installation above head par 2 1 1 access the technical compartment and using a screwdriver remove the filling cap Fi...
Page 12: ...ced in a safe and stable position ensuring that its axis is vertical it must not be in an inclined position 2 2 1 Hydraulic connections Make the connection at input to the system through the mouth on...
Page 13: ...ion pipe 0 7 litres Installation below head if there are no check valves between the water de posit and the system or if they are open it loads automatically as soon as it is allowed to let out the tr...
Page 14: ...r is com ing out can be closed If a regular flow in delivery is not detected after 10 seconds the system asks for confirmation to enter the priming procedure typical case of instal lation above head p...
Page 15: ...he parameter selected After the key or the key has been held down for 3 seconds the automatic increase decrease speed increases When the key or the key is pressed the selected value is modified and sa...
Page 16: ...e appropriate combination of keys for the required time for example MODE SET to enter the Setpoint menu and the various items in the menu are scrolled with the MODE key Table 2 shows the menus that ca...
Page 17: ...ed setting VP Pressure VF Display of flow PO Power absorbed by pump C1 Pump phase current RS Revs per minute TE Dissipator temperature RP Decrease pressure for restart TB Block time for water lack Men...
Page 18: ...Information HW e SW FF Fault Warning Log AY Anti Cycling AE Anti blocking AF AntiFreeze RF Reset faults and warnings PW Modify Password Key Identifying colours Parameters available in version K Table...
Page 19: ...User Manual Setpoint Manual Installer Tech nical Assistance When an access key is selected the menus released remain available for 15 minutes or until they are disabled manually by means of the item H...
Page 20: ...Identifying code Description GO Motor stopped SB Motor stopped Disable Motor status manually disabled rpm Motor revs per minute bar Plant pressure FAULT Presence of an error preventing operation of th...
Page 21: ...e electropump in kW A flashing round symbol may appear under the symbol of the measured power PO This symbol indicates the pre alarm for exceeding the allowed maximum power 5 1 6 C1 Phase current disp...
Page 22: ...n access the MONITOR MENU In this menu by pressing the MODE key the following values are dis played in sequence 5 2 1 CT Display contrast Adjusts the display contrast 5 2 2 BK Display brightness Adjus...
Page 23: ...appears on the display In case of operation in this mode for more than 5 with no flow of liquid an alarm overheating alarm will be triggered with the error PH shown on the display Once the PH error co...
Page 24: ...usting the parameters GI and GP change to mode 2 Figure 17 Setting the restart pressure IMPORTANT The regulating parameters GP and GI also change in the two configurations In addition the GP and GI va...
Page 25: ...y elasticity for example with PVC pipes and lowered in rigid sys tems for example with iron pipes To keep the pressure in the system constant the inverter performs a type PI control on the measured pr...
Page 26: ...e blocked status is automatically reset 5 7 Setting low pressure detection on suction typically used in boosting systems connected to the water mains The low pressure detecting function generates the...
Page 27: ...ting to be manually reset This condition is com municated to the user by the lighting of the red Alarm led and the appear ance of the word ANTICYCLING on the display After the leak has been removed yo...
Page 28: ...pply voltage outside specifications This occurs when the allowed line voltage at the supply terminal assumes values outside the specifications It is reset only automatically when the voltage at the te...
Page 29: ...ion Value Installation Memo TK Backlight lighting T 2 min LA Language ENG SP Setpoint pressure bar 3 0 RI Revs per minute in manual mode rpm 2400 OD Type of plant 1 Rigid RP Pressure decrease to resta...
Page 30: ...ar When the water arrives at the system intake already under pressure maxi mum allowed 2 bar or when the installation is always below head it is pos sible and mandatory where local regulations require...
Page 31: ...etal key with a hexagonal section Fig 20 1 useful for performing some special maintenance operations on the system or during installation In particular use the key for the orientation of the interface...
Page 32: ...valve The system has an integrated non return valve which is necessary for cor rect operation The presence of solid bodies or sand in the water could cause malfunctioning of the valve and therefore of...
Page 33: ...he motor shaft access cap fig 22 4 insert a straight tip screwdriver in the groove on the motor shaft and manoeuvre turning in 2 directions fig 22 5 if it is turning freely the system can be started a...
Page 34: ...r faults it is necessary to disconnect the power supply to the pump take the plug out of the socket Figura 23 Solving typical problemsi Fault LED Probable Causes Remedies The pump does not start Red o...
Page 35: ...restore the air pressure according to the equation par 1 2 When the utility is turned on the flow falls to zero before the pump starts Red off White on Blue off Air pressure in the ex pansion vessel h...
Page 36: ...rchased by repair or replace ment as we decide The guarantee covers all substantial defects that can be assigned to man ufacturing faults or to the material used if the product has been used cor rectl...